When a client wants the warmth of a wood floor on a renter’s budget or a weekend timeline, I often point them toward wood peel and stick tile. These are self-adhesive vinyl planks and tiles printed with realistic wood grain, backed with a pressure-sensitive adhesive so you simply peel off a paper liner and press them onto the subfloor. No glue buckets, no click mechanisms, no nail guns, just a razor knife and a straightedge.
I’ve used peel-and-stick wood-look vinyl in rental units, home offices, laundry rooms, and starter-home kitchens, and when the conditions are right it performs surprisingly well for the money. But there’s a real gap between a peel-and-stick floor that lasts a decade and one that curls up in six months, and almost all of it comes down to product choice and subfloor prep. Here’s the honest rundown.
What Wood Peel and Stick Tile Actually Is
Under the printed wood-grain film, these products are vinyl through and through. A clear wear layer protects the printed design layer, which sits on a vinyl core, and the bottom face carries a factory-applied adhesive protected by a peel-off backing. The result is a thin, flexible plank, usually sized like real flooring at 6×36 or 6×48 inches to mimic wood boards, though some come as squares.
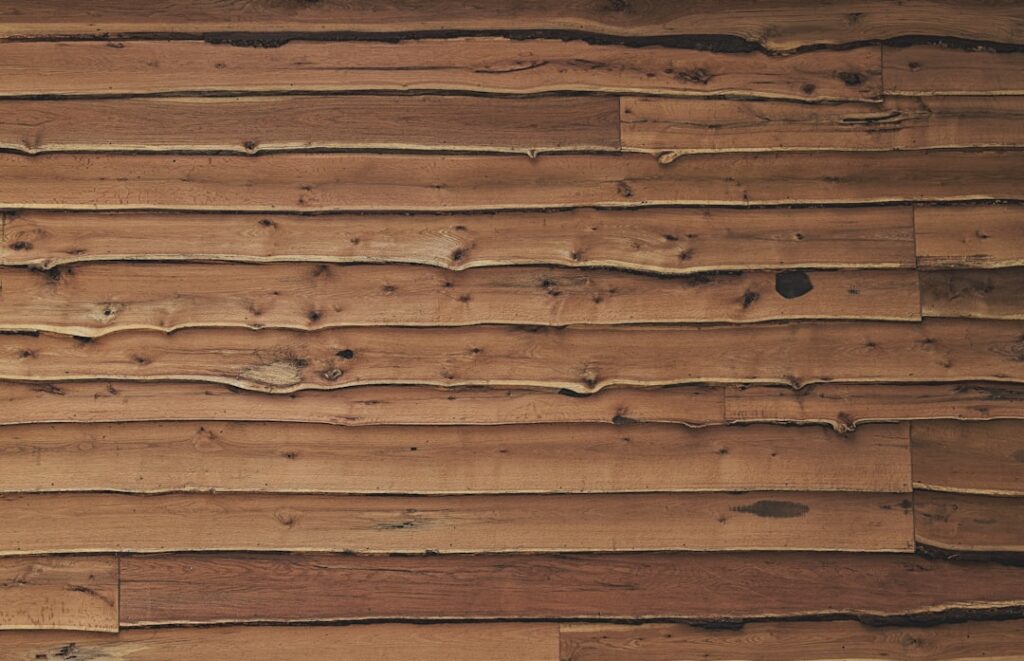
Because the wood look is a high-resolution print, the variety is enormous: light oak, gray-washed pine, rich walnut, weathered barnwood, you name it. The better products add a light surface texture or embossing that follows the grain, so the floor doesn’t just look like wood, it feels a little like it too. It’s important to understand this is a vinyl product wearing a wood costume, not engineered wood, and that shapes both its strengths and its limits.
Thickness and Why It Matters
Thickness is the single best predictor of quality in peel-and-stick flooring. Bargain products run as thin as 1.2mm, while better ones reach about 2mm. That difference sounds trivial, but a 2mm plank has a thicker wear layer, hides minor subfloor imperfections better, and simply holds up longer under furniture and foot traffic. The ultra-thin 1.2mm sheets telegraph every bump beneath them and wear through at pivot points sooner.
Pay attention to the wear layer specifically, measured in mils. A wear layer of 6 mil or more will survive a busy household far better than the 2 to 4 mil layers on the cheapest tiles. If you’re flooring a low-traffic closet or a temporary rental, thin and cheap may be fine. For a room you actually live in, spend up to the thicker end of the range; it’s the highest-value upgrade you can make.
Where Wood Peel and Stick Tile Works, and Where It Doesn’t
These floors shine in dry, climate-controlled rooms with a smooth, solid subfloor: bedrooms, home offices, dens, and finished basements that stay dry. They’re a favorite for rentals because they go down fast and, with the removable products, come up without wrecking the floor beneath. Over an existing smooth vinyl floor, clean plywood, or a well-prepped underlayment, they bond beautifully.
Where I steer people away is anywhere with real moisture or temperature swings. The adhesive is the weak point: in bathrooms with standing water, near exterior doors that flood in storms, or in unconditioned sunrooms that bake and freeze, the glue lets go and edges curl. Peel-and-stick is also unforgiving over rough, cracked, or dusty subfloors, and it should never go directly over carpet. If the room gets wet or gets hot, choose a click-lock LVP or tile instead.
Subfloor Prep Makes or Breaks It
I cannot overstate this: the adhesive only sticks as well as the surface underneath. The subfloor must be clean, dry, smooth, and flat. That means vacuuming and damp-mopping away every speck of dust, filling any gouges or seams with a floor patch and sanding them flush, and skim-coating a rough concrete slab with a leveling compound. Any grit under a tile becomes a bump you’ll feel and a spot where the bond fails.
Adhesion also depends on temperature. I let the planks acclimate in the room for 24 to 48 hours and make sure the room and floor are at least around 65 degrees Fahrenheit during install, because cold adhesive doesn’t grab. On concrete, confirm the slab is fully cured and dry with a moisture test; residual moisture will destroy the bond from below. Skip the prep and even a premium plank will fail; nail the prep and a mid-grade one will outlast expectations.
Cost Per Square Foot
The budget appeal is real. Wood peel and stick tile typically runs $0.70 to $2.50 per square foot for the material, putting it well below glue-down and click LVP, which generally start around $2 and climb past $5. The rock-bottom 1.2mm products sit near the low end, while thicker 2mm planks with a better wear layer land toward the top, and even those undercut most other flooring.
The other savings is labor. Because a reasonably handy homeowner can install peel-and-stick in a weekend with a utility knife and a straightedge, you often skip installation costs entirely. Add maybe $30 to $60 for a floor patch, a roller, and blades, and a small room can be refloored for a couple hundred dollars all in. For the price, nothing else delivers a convincing wood look this quickly.
Step-by-Step Installation
Installation is genuinely beginner-friendly. After prepping and acclimating, I snap a chalk line to establish a straight starting row, because a crooked first row throws off the whole floor. Peel the backing, set the plank down precisely (these grab on contact and don’t slide, so placement matters), and press firmly. Work row by row, staggering the end joints by at least 6 inches so the seams look like real wood planking rather than a repeating grid.
Cut planks to fit with a sharp utility knife: score the face along a straightedge and snap, no saw needed. At the end of the job, roll the entire floor with a 75 to 100-pound flooring roller, or at least press hard along every seam, to fully activate the adhesive. That final rolling step is the one most DIYers skip, and it’s exactly what keeps the edges down over time. Leave the room quiet for 24 hours before heavy furniture goes back.
Caring for a Peel-and-Stick Floor
Day-to-day maintenance is easy and forgiving, which is part of the appeal. Sweep or vacuum regularly to keep grit off the wear layer, since grit is what actually scratches a vinyl surface, and damp-mop with a mild cleaner as needed. Avoid soaking the floor or letting water pool at the seams, because standing water is the enemy of the adhesive underneath. Skip steam mops entirely; the heat and moisture combination is exactly what loosens the glue and lifts edges.
A few small habits stretch the lifespan considerably. Put felt pads under furniture legs so nothing gouges the print layer, use floor protectors under rolling chairs, and place a mat at exterior doors to catch tracked-in grit and moisture. If a single plank ever gets damaged, one of the underrated perks of this product is that you can usually warm the plank with a hair dryer, peel it up, and press a replacement in its place without disturbing the rest of the floor.
Removal, Durability, and the Pros and Cons
Durability is respectable for the price. A quality 2mm peel-and-stick floor with a decent wear layer can look good for 5 to 10 years in a moderate-traffic room, though it won’t match the 15-to-25-year life of premium click LVP. It’s water-resistant on the surface but vulnerable at the seams, and it scratches more easily than a thick-wear-layer rigid-core plank. Removal ranges from easy to stubborn: newer planks peel up cleanly, while older adhesive can leave residue that needs a solvent and a scraper.
Weighed against glue-down and click LVP, the trade-offs are clear. Peel-and-stick wins on price, speed, and DIY simplicity, and it’s the rental-friendly choice. Glue-down LVP bonds more permanently and handles heavier traffic; click-lock LVP floats over imperfect subfloors, tolerates moisture far better, and lasts longest, but costs more and takes more skill. If you need a fast, cheap, good-looking wood floor in a dry room and you’re realistic about its lifespan, wood peel and stick tile is a smart, satisfying choice. Just respect the prep, buy the thicker plank, and keep it out of the wet zones.
Prefer to explore on your own?
See how new flooring looks in your actual room in seconds — free, no signup.
Try the free Floor Studio →