A solid patio table is one of the most rewarding weekend builds you can tackle, and these wooden diy outdoor table plans walk you through a sturdy 6-foot design that seats six comfortably for under $150 in lumber. You do not need a shop full of tools or years of experience; a circular saw, a drill, and a couple of clamps will get you there. Build it once with weather-rated materials and it will hold up to a decade of cookouts.
- Choosing the Right Wood for Outdoors
- Tools and Materials You Will Need
- Step-by-Step Build Instructions
- 1. Build the leg-and-apron frame
- 2. Add the center stretcher
- 3. Assemble the tabletop
- 4. Join top to base
- 5. Sand everything smooth
- Finishing for Weather Resistance
- Cost and Time Estimate
- Pro Tips to Make It Last
- Frequently Asked Questions
I have built variations of this table for my own deck and for clients, and the design below balances strength, looks, and simplicity. It uses standard dimensional lumber you can buy at any home center, straightforward pocket-hole or through-bolt joinery, and a finish schedule that actually survives rain and sun. Let’s get into the plan.
Choosing the Right Wood for Outdoors
Wood selection determines whether your table lasts two seasons or twenty. The three practical choices for most builders are pressure-treated pine, cedar, and redwood. Each has trade-offs in cost, weight, and longevity.
- Pressure-treated pine: the cheapest and most rot-resistant option at roughly $4 to $8 per 8-foot 2×4. It is heavy and needs to dry for a few weeks before finishing, but it shrugs off moisture and insects.
- Cedar: naturally rot- and bug-resistant, lightweight, and beautiful, at about $8 to $14 per board. It is softer, so it dents more easily, but it ages to a lovely silver-gray if left unsealed.
- Redwood: premium looks and durability at $12 to $20 per board, best if budget is not the main concern.
Avoid untreated pine, poplar, or interior-grade plywood; they will cup, rot, and delaminate outdoors within a season. Whatever species you pick, choose the straightest boards on the rack. Sight down each one and reject anything with a twist, crook, or large loose knots.
Tools and Materials You Will Need
Keep the shopping list tight. Here is everything for the build.
- Circular saw or miter saw
- Drill/driver and a pocket-hole jig (optional but recommended)
- Two or more bar clamps
- Tape measure, speed square, and pencil
- Orbital sander plus 80, 120, and 220-grit paper
- Exterior wood screws (2.5-inch and 3-inch, coated or stainless)
- Waterproof wood glue (Titebond III or similar)
- Exterior stain or sealer and a brush
Cut list for a 6-foot table (seats 6)
- Tabletop boards: 5 pieces of 2×6 at 72 inches
- Breadboard ends: 2 pieces of 2×6 at 30 inches
- Legs: 4 pieces of 4×4 at 28.5 inches
- Aprons (long): 2 pieces of 2×4 at 60 inches
- Aprons (short): 2 pieces of 2×4 at 20 inches
- Center stretcher: 1 piece of 2×4 at 60 inches
This yields a finished table roughly 72 inches long, 30 inches wide, and 30 inches tall, standard dining height.
Step-by-Step Build Instructions
Work on a flat surface and check for square at every stage. A table that starts out of square never gets better.
1. Build the leg-and-apron frame
Attach the long and short aprons to the four 4×4 legs to form a rectangular frame. Inset the aprons about 3/4 inch from the outer face of the legs for a clean shadow line. Use glue plus two 3-inch screws or pocket screws at each joint. Measure the diagonals; when they match, the frame is square. Clamp and let the glue set.
2. Add the center stretcher
Run the 60-inch stretcher down the middle, connecting the two short aprons. This ties the frame together and gives the tabletop mid-span support so it will not sag under a loaded platter. Screw it flush with the top edge of the aprons.
3. Assemble the tabletop
Lay the five 2×6 boards side by side, good face down. Run a bead of waterproof glue between each and clamp them tight. Leave a slight gap, about the thickness of a nickel, between boards so water drains and the wood can expand without buckling. Once dry, add the two 30-inch breadboard ends across the grain to lock the top flat and hide the end grain.
4. Join top to base
Center the base upside down on the underside of the top. Drive screws up through the aprons into the tabletop, using slightly oversized holes or figure-8 fasteners so the top can move seasonally without cracking. Never glue the top rigidly to the base; outdoor wood expands and contracts, and rigid joints split.
5. Sand everything smooth
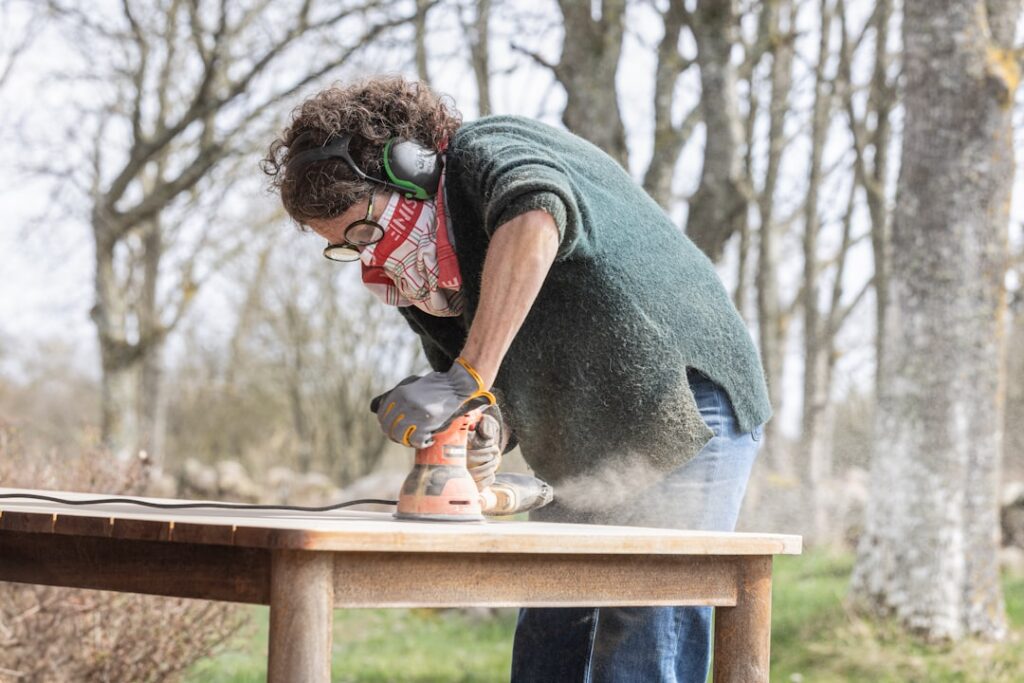
Work up through 80, 120, and 220 grit. Round over all edges and corners with the sander or a router; sharp outdoor edges chip and splinter. Pay special attention to the tabletop surface where hands and elbows land.
Finishing for Weather Resistance
Bare wood outdoors is a countdown to gray, cracked boards. A proper finish is not optional. For pressure-treated lumber, wait two to four weeks for it to dry before applying anything, or the finish will not adhere. Then choose one of these routes:
- Penetrating exterior oil or stain: soaks in, is easy to reapply, and shows off grain. Recoat every one to two years. My preferred choice for cedar and redwood.
- Spar urethane: forms a hard film with UV blockers, great for a smooth, wipeable surface, but it eventually peels and requires sanding to refresh.
- Solid stain: most protective and longest lasting, though it hides the grain like paint.
Apply at least two coats, sanding lightly between them with 220 grit. Do not forget the underside and the end grain of the legs, which drink up moisture fastest and rot first.
Cost and Time Estimate
Budget-wise, this build is a bargain compared with store-bought outdoor furniture. A comparable teak or all-weather dining table runs $600 to $2,000 retail. Here is the realistic breakdown for the DIY version:
- Pressure-treated lumber: $90 to $130
- Cedar upgrade: $180 to $260
- Screws, glue, and fasteners: $25 to $40
- Stain or sealer: $20 to $35
Plan on 6 to 10 hours of active work spread across a weekend, plus drying time for glue and finish. First-time builders should not rush the finish coats; that is what determines longevity.
Pro Tips to Make It Last
Small habits extend the life of any outdoor table dramatically. Add adjustable metal foot glides or a rubber cap to each leg so the end grain never sits in a puddle on the patio. Keep the table out of direct year-round sun and rain with a fitted cover, or store it under an overhang in winter. Refresh the finish before it looks worn, not after; a maintenance coat every year or two is far easier than stripping and rebuilding a weathered top. Tighten any screws that back out after the first season of expansion and contraction.
Frequently Asked Questions
What is the best wood for wooden DIY outdoor table plans?
For most builders, pressure-treated pine offers the best value and rot resistance, while cedar is the top choice when you want natural beauty and lighter weight. Both work well with these wooden DIY outdoor table plans as long as you seal them properly.
Do I need to seal a pressure-treated table?
Yes. Pressure treatment resists rot and insects but does nothing for cracking, splintering, or UV graying. Let the wood dry for a few weeks, then apply an exterior stain or sealer and reapply every one to two years.
How long does it take to build?
Expect 6 to 10 hours of hands-on work for a first build, spread over a weekend to allow glue and finish to cure between steps. Experienced builders can knock out the assembly in an afternoon.
Can beginners build this table?
Yes. The joinery relies on simple screws and glue rather than advanced techniques, so a beginner with a circular saw and a drill can complete it. Take your time squaring the frame and the rest follows easily.
Grab straight boards, keep your frame square, and never skip the finish coats. Follow these plans and you will have a handsome, rock-solid table that outlasts anything you would have bought at the store, for a fraction of the price.