The 12×12 ceramic tile has been a flooring staple for decades, and for good reason. At one square foot per piece, it is easy to estimate, simple to lay out, and forgiving for first-time tilers. It remains one of the most affordable hard-surface flooring options on the market, which makes it a go-to for kitchens, bathrooms, laundry rooms, and entryways on a budget.
This guide covers where this classic size works best, what it costs, how to install it, and how to keep it looking sharp for years.
Why the 12×12 Size Endures
A 12-inch square strikes a practical balance. It covers ground faster than small mosaics yet stays light and manageable enough to handle without a helper, unlike large-format planks. The one-square-foot footprint makes math effortless: a 100-square-foot room needs roughly 100 tiles plus 10 percent for cuts and waste. That simplicity, combined with wide availability at every home center, keeps this size popular even as larger formats trend.
Where It Works Best
This tile is a true generalist, but it shines in certain rooms:
- Bathrooms — water-resistant and easy to clean, ideal for floors and tub surrounds.
- Kitchens — handles spills, dropped pans, and heavy foot traffic.
- Laundry and mudrooms — shrugs off moisture, dirt, and grit.
- Entryways — durable enough for the busiest doorway in the house.
For high-traffic floors, look for a tile rated PEI 4 or higher, which indicates it can stand up to regular wear without showing scratches.
What It Costs
Price is a major draw. Basic 12×12 ceramic tile runs as little as $0.70 to $2 per square foot, with mid-range and designer styles reaching $3 to $5. Add roughly $1 to $3 per square foot for thinset, grout, and backer board if you DIY. Professional installation typically adds $5 to $10 per square foot in labor. Even fully installed, a ceramic tile floor often costs less than comparable hardwood or luxury vinyl.
Ceramic vs. Porcelain
Shoppers often confuse the two. Both are fired clay, but porcelain is denser, less porous, and rated for higher durability and moisture resistance. Ceramic is softer, easier to cut with a basic snap cutter, and cheaper. For interior floors and walls in normal residential use, ceramic performs well. Reserve porcelain for heavy commercial traffic, outdoor patios in freeze-prone climates, and areas with constant water exposure where its lower porosity matters.
Installation Basics
Start by preparing a clean, flat, solid substrate — cement backer board over plywood for most floors. Find the room’s center, snap perpendicular chalk lines, and dry-lay tiles to plan your cuts so slivers do not land in visible spots. Spread thinset with a notched trowel, set each tile with a slight twist, and use spacers for consistent 1/8 to 1/4 inch joints. Check level frequently and clean squeezed-up thinset out of the joints before it hardens. Let the thinset cure 24 hours, then grout, wipe, and seal cement grout once it has set.
Grout Lines and Layout Patterns
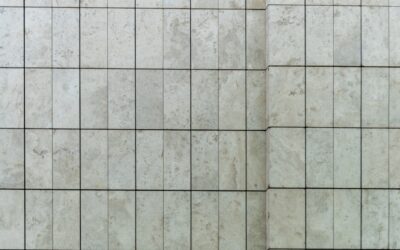
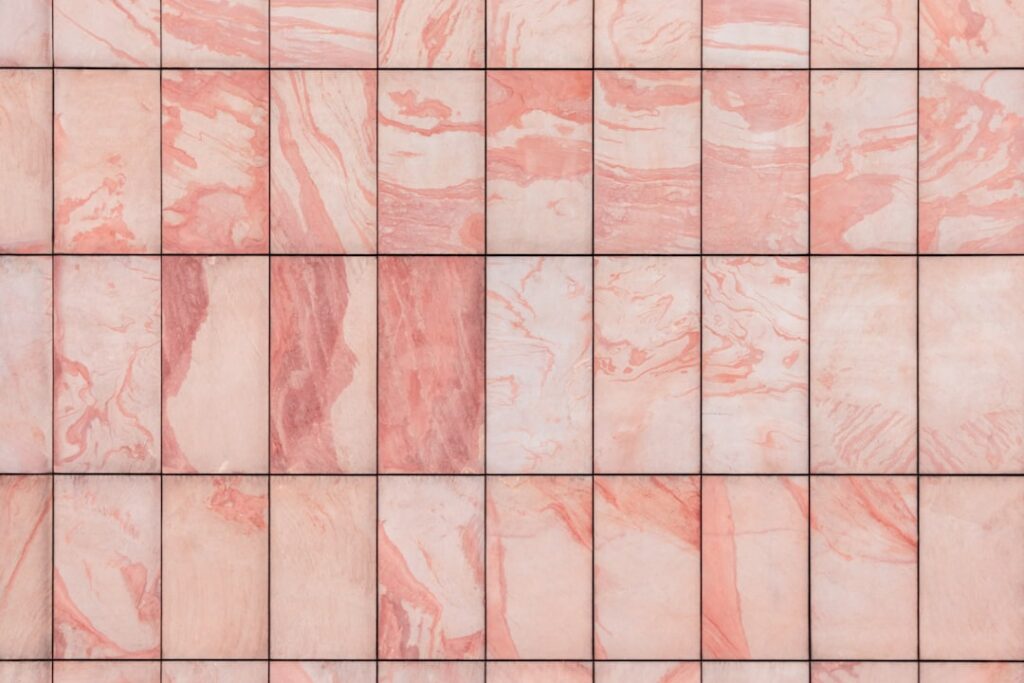
Grout color and joint width dramatically change the look. A tight 1/8 inch joint in a matching grout color gives a clean, seamless field, while a contrasting grout emphasizes the grid pattern. Beyond the standard straight grid, you can set 12×12 tiles in a diagonal pattern to make a small room feel larger, or alternate with smaller accent tiles for a custom border. Diagonal layouts create more cut waste, so order extra.
Estimating Your Materials
One of the great conveniences of this size is how easy it makes estimating. Since each tile covers exactly one square foot, your tile count roughly equals your room’s square footage. Measure the room’s length times width, then add 10 percent for cuts and waste, and 15 to 20 percent if you are setting a diagonal or patterned layout that produces more offcuts. Buy all your tile from the same lot number so the shade matches, and keep a few spare tiles after the job for future repairs — colors and production runs change, and a matching replacement years later is hard to find.
Finish and Texture Options
Ceramic tile is not just glossy white anymore. You can choose a glazed finish for easy cleaning and a bit of shine, a matte finish that hides water spots and offers better slip resistance, or textured surfaces that mimic stone and wood. For bathroom and entry floors, a matte or textured tile is safer underfoot when wet than a high-gloss glaze. Consider the slip rating, often listed as a coefficient of friction, for any floor that gets wet. Wall applications can use glossier tile freely since slipping is not a concern there.
Cutting 12×12 Tile Cleanly
Clean cuts make the difference between a tidy edge and a chipped, jagged line at the wall. For straight cuts in standard ceramic, a manual snap cutter scores and breaks the tile quickly and cheaply, and it handles the one-foot size easily. For L-shaped notches around cabinets and pipes, score the lines and nibble the waste with tile nippers, or use an angle grinder with a diamond blade for a faster, cleaner result. A wet saw gives the most precise cuts and is worth renting if you have many cuts or are working with denser tile. Always wear eye protection, and cut slightly oversized so the edge tucks under trim or baseboard where small imperfections disappear.
Cleaning and Maintenance
Ceramic tile is among the easiest floors to maintain. Sweep or vacuum regularly to keep grit from dulling the glaze, and mop with a mild, pH-neutral cleaner. Skip oil-based soaps and waxes, which leave a film. The grout, not the tile, is the part that needs attention — seal it on installation and reseal cement grout annually to fend off stains. A periodic scrub of the grout lines with a soft brush keeps them from darkening.
Final Thoughts
The 12×12 ceramic tile earns its lasting popularity through affordability, easy installation, and reliable performance in wet and high-traffic rooms. Choose a PEI 4 or higher tile for floors, prep your substrate carefully, mind your grout, and you will get a durable, low-maintenance surface that looks good and stretches your renovation budget further than almost any alternative.
Prefer to explore on your own?
See how new flooring looks in your actual room in seconds — free, no signup.
Try the free Floor Studio →