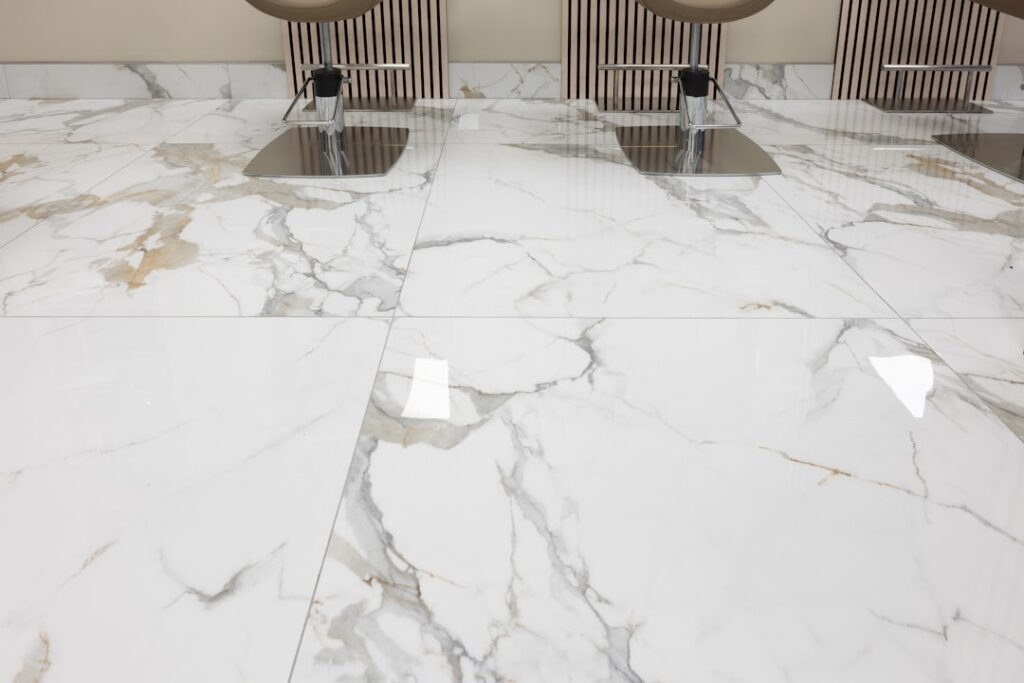
Few flooring choices transform a room as dramatically as 48×48 tile, the oversized large-format format that measures a full four feet on each side. With almost no grout lines breaking up the surface, these massive porcelain panels create a seamless, gallery-like floor that makes spaces feel larger and more modern.
That sleek look comes with real demands, though. Installing tile this big calls for a flat substrate, specialized tools, and careful planning. This guide covers where 48×48 tile shines, what installation involves, what it costs, and how to decide if it fits your project.
What 48×48 Tile Is and Why People Choose It
A 48×48 tile is a square measuring 48 inches by 48 inches, or 16 square feet per piece. It belongs to the large-format category, generally defined as any tile with at least one side longer than 15 inches. Most tiles this size are porcelain or a porcelain-based gauged panel, prized for being dense, hard, and water-resistant.
The main appeal is the uninterrupted look. A single tile can span a stretch of floor that would otherwise need a dozen smaller pieces and many grout lines. Fewer joints mean a cleaner appearance, easier cleaning, and a sense of continuity that smaller tiles cannot match. Many products mimic marble, concrete, or natural stone with high realism, giving you the drama of slab stone without the seams.
Best Rooms and Uses
Large-format tile rewards open, flat spaces. Spacious living rooms, open-concept kitchens, entryways, and commercial lobbies are ideal because the floor can show off long, uninterrupted runs. The look also suits modern and minimalist interiors where clean lines matter.
In smaller or chopped-up rooms, the benefit shrinks because you end up cutting tiles to fit, which wastes material and reintroduces the seams you were trying to avoid. Bathrooms can work, but sloped shower floors and tight layouts often call for smaller tiles. Some 48×48 panels are also used on walls and feature surfaces, where their thin profile and large coverage make a striking statement.
Subfloor and Surface Preparation
Flatness is everything with this format. The bigger the tile, the less it can conform to dips and humps in the floor, so even a slight high or low spot causes lippage, where one tile edge sits proudly above its neighbor. Industry guidance for large-format tile typically calls for a substrate flat to within 1/8 inch over 10 feet and 1/16 inch over 2 feet.
Reaching that tolerance usually means checking the floor with a long straightedge and applying a self-leveling underlayment to correct any deviation. The substrate must also be structurally sound and rigid, since flex in the floor can crack tile or break the bond. Skipping prep is the most common reason large-format installations fail, so budget time and money for it.
Installation Challenges and Tools
Handling a 16-square-foot tile is a two-person job at minimum. The panels are heavy, and they can crack under their own weight if lifted or carried incorrectly, so most pros use suction-cup carrying frames.
- A large-format or medium-bed mortar designed to support heavy tile and resist sag.
- A notched trowel sized for large tile, often 1/2 inch or larger, to achieve full mortar coverage.
- Back-buttering the tile, meaning spreading mortar on its back as well as the floor, to reach the near-total coverage large tiles require.
- A tile leveling system with clips and wedges to hold adjacent tiles flush while the mortar sets.
- A rail tile cutter or wet saw capable of scoring and cutting a full four-foot span.
Coverage matters because voids under a large tile create weak spots that crack under load. Many installers aim for 90 to 95 percent mortar coverage, well above what small tiles need.
Grout Lines and Layout
Even with large-format tile, you still need grout joints. Manufacturers usually specify a minimum joint width, often around 1/8 inch or slightly more, to absorb dimensional variation between tiles. Butting tiles tight together is not recommended because no tile is perfectly identical in size.
Layout also matters more than with small tile. Avoid the running-bond or brick pattern offset beyond about one-third for large-format pieces, since the slight bow many large tiles have can worsen lippage when offsets are large. A straight grid or a modest offset generally produces the flattest, cleanest result. Plan cut tiles to land at the room’s edges where they are less noticeable.
Cost Considerations
Material prices for 48×48 porcelain vary widely with quality and finish, but many products fall somewhere in the range of roughly $5 to $15 or more per square foot, with premium stone-look panels costing more. Because each tile covers 16 square feet, a single piece can represent a meaningful chunk of your budget, and a cracked tile during install is a costly mistake.
Installation labor typically runs higher than for standard tile because of the prep, specialized mortar, leveling systems, and the extra hands required. Expect professional labor to add a significant amount per square foot. Factor in self-leveling underlayment and extra tiles for cuts and breakage when you estimate the total.
Is 48×48 Tile Right for You?
This format delivers a high-end, contemporary floor that few other materials can match, but it is unforgiving. If your space is open and your subfloor is sound and can be made flat, the result can be stunning. If your rooms are small and broken up, or your floor is uneven and hard to correct, a smaller large-format size like 24×48 or 24×24 may give a similar look with fewer headaches.
For most homeowners, professional installation is the safest route given the weight, flatness tolerances, and specialized equipment involved. If you do tackle it yourself, invest in proper tools, recruit help, and follow the manufacturer’s mortar and joint specifications closely. Done right, a 48×48 tile floor is a long-lasting, low-maintenance centerpiece that elevates the entire room.
Maintenance and Long-Term Care
One of the quiet advantages of large-format porcelain is how easy it is to live with once installed. With so few grout lines, there is far less of the porous, stain-catching surface that smaller tile creates, so routine cleaning is faster. Sweep or dust-mop regularly to keep grit from scratching the finish, then damp-mop with a pH-neutral cleaner suited to porcelain. Harsh acids and abrasive pads can dull polished surfaces, so avoid them.
Porcelain itself rarely needs sealing because it is dense and water-resistant, but cement-based grout joints benefit from a penetrating sealer to resist staining. If your tile is a natural-stone-look gauged panel made of actual stone, follow the manufacturer’s sealing schedule, since real stone is more porous. Address any cracked or hollow-sounding tile promptly, because a single failing tile in a large-format floor is more noticeable and more expensive to replace than one small piece. Keeping a few spare tiles from the original lot makes future repairs far easier, since dye lots and patterns change over time.
Prefer to explore on your own?
See how new flooring looks in your actual room in seconds — free, no signup.
Try the free Floor Studio →