Bigger than a classic subway tile but smaller than a standard plank, the 6×12 tile hits a sweet spot that designers keep coming back to. This mid-size rectangle gives you the clean, rhythmic look of subway tile with fewer grout lines, and it works just as well on a shower wall as it does on a mudroom floor. If you find 3×6 subway a little busy but 12×24 planks a little bulky, 6×12 might be exactly what you are looking for.
I reach for this format often because it is genuinely versatile. It suits floors and walls, modern and traditional rooms, and it takes to more layout patterns than almost any other size. Here is everything you need to know before you order.
What Is a 6×12 Tile?
As the name says, a 6×12 tile measures 6 inches by 12 inches, giving it a clean 1:2 length-to-width ratio. That perfect proportion is what makes it so flexible for pattern work. You will find it in glazed ceramic, dense porcelain, natural stone like marble and travertine, and glass. Porcelain and ceramic versions are the most common and the most practical for everyday spaces.
Because it doubles a 6-inch square exactly, the 6×12 lays out cleanly on grids and interlocks neatly in offset and herringbone patterns without awkward fractional cuts.
Subway-Adjacent, But Bigger
Traditional subway tile is 3×6 inches. The 6×12 keeps the same elongated proportion but scales it up 4x in area, which changes the feel of a room in a few useful ways. You get roughly half the grout lines of subway over the same wall, which means a cleaner look and less grout to scrub. The larger face also reads as more contemporary and upscale, while still nodding to that timeless subway heritage.
For homeowners who love the subway vibe but find the small format too dated or too high-maintenance, 6×12 is the natural upgrade.
The Best 6×12 Tile Layouts
This is where the format really earns its keep. The 1:2 ratio unlocks more patterns than most sizes handle gracefully.
Offset (Running Bond)
The most popular layout stacks each row shifted from the one below. A 50 percent offset centers each tile over the joint beneath it for a classic brick look. Be aware that with longer tiles a 50 percent offset can exaggerate lippage, so many pros prefer a one-third offset, which stays elegant and lays flatter.
Stacked (Grid)
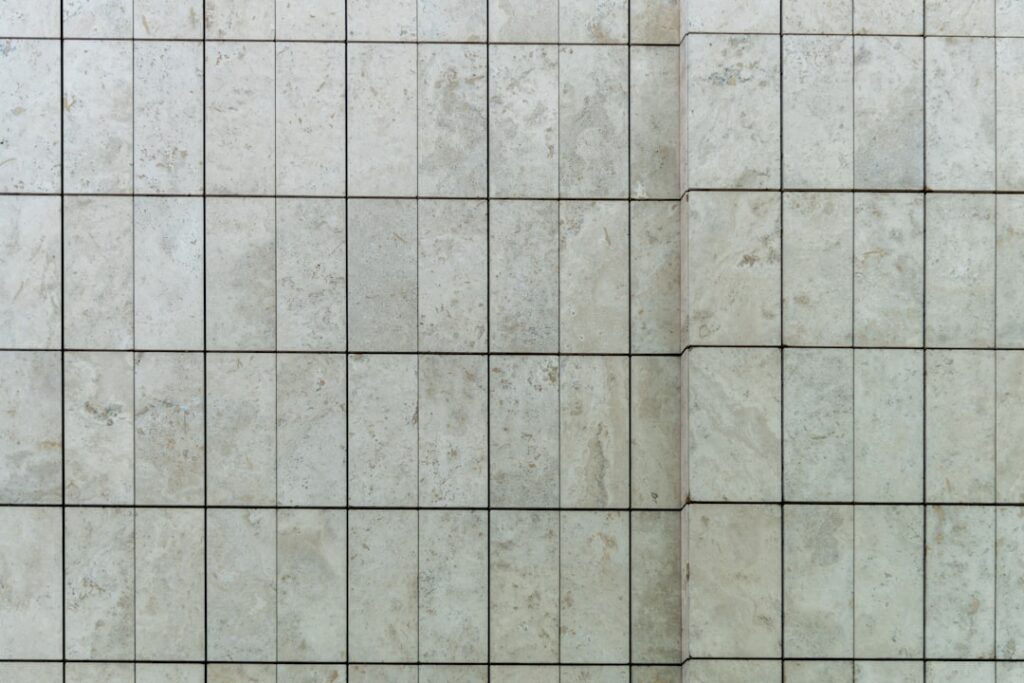
Line the tiles up in perfect vertical and horizontal rows for a crisp, modern grid. Stacked layouts show off straight grout lines, so they demand precise installation, but the payoff is a clean, architectural look that suits contemporary kitchens and baths.
Vertical Stack
Turn the tiles on end and stack them vertically to draw the eye upward. This trick makes low ceilings feel taller and gives a shower or backsplash a fresh, unexpected rhythm. Vertical 6×12 has become a favorite for feature walls.
Herringbone
Thanks to the 1:2 ratio, 6×12 tiles interlock into a flawless herringbone. Set at 45 or 90 degrees, this pattern turns a simple tile into a designer statement. Plan for 15 to 20 percent waste with herringbone because of the angled perimeter cuts.
Floors, Walls, and Wet Areas
One reason I like this format is that it goes almost anywhere.
- Kitchen backsplashes, where the larger size means fewer grout lines behind the range.
- Shower walls and tub surrounds, where vertical or offset 6×12 creates a spa-like feel.
- Bathroom and mudroom floors, provided you choose a porcelain tile with a slip rating of DCOF 0.42 or higher for wet areas.
- Fireplace surrounds and accent walls, where the format frames the space without overwhelming it.
For floors, always pick a through-body porcelain rated for foot traffic rather than a thin wall tile. Confirm the PEI rating is 3 or higher for residential floors, and 4 or 5 for busy entryways.
What 6×12 Tile Costs
Pricing depends heavily on material. Standard ceramic 6×12 runs about $1.50 to $4 per square foot. Porcelain lands around $3 to $8, and natural stone or handmade glazed versions can climb to $10 to $18. Installation adds roughly $7 to $14 per square foot for straight and offset layouts, with herringbone and other pattern work commanding a premium of a few dollars more per foot.
For a typical 40-square-foot backsplash, expect a total installed cost somewhere between $500 and $1,200. For a 100-square-foot bathroom floor, budget roughly $1,200 to $2,500 installed, depending on tile grade and pattern.
Grout and Spacing Tips
Grout lines shape the final look. Tight 1/16 inch joints give a sleek, seamless appearance, while 1/8 inch joints are more forgiving and easier to keep consistent. For a modern grid, match the grout to the tile for a near-invisible line. For a brick or herringbone pattern, a contrasting grout emphasizes the geometry.
Use unsanded grout for very thin joints and sanded grout for 1/8 inch and wider. In showers and kitchens, epoxy grout resists mold and staining and is worth the extra cost. Seal cement grout after it cures to protect the color.
Design Ideas That Work
- White glossy 6×12 in a vertical stack for a bright, modern kitchen backsplash.
- Matte greige 6×12 in a one-third offset for a warm, understated shower.
- Marble-look porcelain 6×12 in herringbone for a luxurious entry floor.
- Deep navy or emerald 6×12 stacked as a bold powder-room accent wall.
6×12 Versus Other Popular Sizes
To understand where 6×12 fits, it helps to line it up against its neighbors. Against 3×6 subway, the 6×12 halves your grout lines and reads more modern while keeping the same proportions. Against 4×12, the 6×12 is a touch taller and covers ground faster, though 4×12 gives a slimmer, more classic subway feel. Against big 12×24 planks, the 6×12 is easier to lay flat, more forgiving of an imperfect subfloor, and better suited to smaller walls and intricate patterns like herringbone.
There is no single best size, but the 6×12 lands right in the middle of the pack, which is exactly why it works in so many rooms. It gives you pattern flexibility that big formats cannot match and a cleaner, lower-maintenance surface than tiny subway.
Cutting and Installation Notes
Because 6×12 tiles are a manageable size, they are friendlier to install than heavy large-format planks, but a few details still matter. Dry-lay a row first to plan your cuts so you do not end up with a sliver of tile in the most visible spot. Center the layout so both ends of a wall get balanced cut pieces rather than a full tile on one side and a thin strip on the other.
- Use a wet saw with a diamond blade for clean, chip-free cuts on porcelain.
- Set tile leveling clips on floors and offset walls to prevent lippage.
- Back-butter tiles in wet areas to guarantee full mortar coverage and a solid bond.
- Keep a consistent spacer size throughout so grout lines stay uniform.
Care and Maintenance
A 6×12 tile surface is easy to live with. Sweep or vacuum floors regularly to keep grit from dulling the finish, and wipe walls and backsplashes with a damp cloth and mild cleaner. The reduced number of grout lines compared to subway tile means less grout to scrub and reseal, which is a real day-to-day advantage. Reseal cement grout every year or two, and in a shower, run the exhaust fan and squeegee the walls to keep the joints mold-free.
Is 6×12 Right for You?
If you want more visual interest than a plain square but less commitment than a huge plank, the 6×12 tile is hard to beat. It bridges the gap between classic subway charm and modern large-format simplicity, adapts to at least four distinct layouts, and works on nearly every surface in the home. Choose porcelain for floors and wet areas, pick a layout that fits the mood of your room, and pair it with the right grout, and this humble rectangle will deliver a finished space that looks anything but ordinary.
Prefer to explore on your own?
See how new flooring looks in your actual room in seconds — free, no signup.
Try the free Floor Studio →