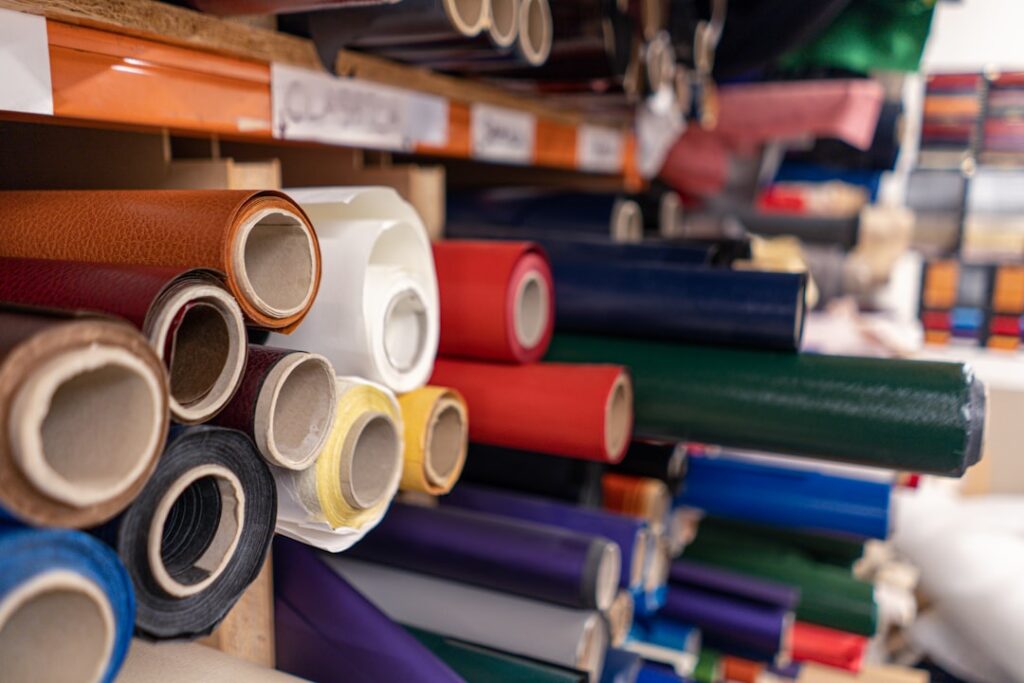
From custom mugs and wall decals to labeled storage bins and outdoor signs, adhesive vinyl is the material behind a huge range of craft and home projects. It is a thin, flexible film with a sticky backing that you cut into shapes, peel from its liner, and press onto a surface. The tricky part is choosing the right type for the job, because using removable vinyl where you need permanent, or the reverse, leads to peeling decals or ruined surfaces. This guide sorts out the differences.
What Adhesive Vinyl Is
Adhesive vinyl is a PVC-based film coated with a pressure-sensitive adhesive and mounted on a paper or plastic backing sheet. You cut the design with a craft machine or by hand, weed away the excess, and apply it using transfer tape that lifts the cut design and lays it down in position. It is different from heat-transfer vinyl, which bonds to fabric with an iron or heat press; adhesive vinyl sticks on contact to hard surfaces.
The two big categories are permanent and removable. The difference comes down to the adhesive strength and the finish, and knowing which to reach for is the foundation of every successful project.
Permanent vs Removable Vinyl
Choosing correctly here prevents most beginner frustration.
- Permanent vinyl — a stronger adhesive, usually with a glossy finish, rated for long-term and outdoor use. Best for tumblers, car decals, outdoor signs, and anything exposed to water or weather.
- Removable vinyl — a lighter adhesive, often matte, that peels away cleanly without residue for up to a few years. Best for wall decals, indoor labels, and temporary or seasonal decor.
A simple rule: if it will get wet, washed, or live outside, use permanent. If it goes on a painted wall or a surface you will want to change later, use removable. Permanent vinyl on drywall can pull off paint when removed, so resist using it indoors on walls.
Common Uses Around the Home
Adhesive vinyl is remarkably versatile. Crafters and homeowners use it for far more than decoration.
- Personalized drinkware — tumblers, water bottles, and mugs with permanent vinyl.
- Organization labels — pantry jars, bins, drawers, and cleaning bottles.
- Wall and door decals — quotes, monograms, and accent designs with removable vinyl.
- Signs and address numbers — mailboxes, planters, and yard signs with outdoor-rated permanent vinyl.
- Surface accents — backsplash stencils, switch-plate designs, and appliance trim.
Specialty finishes expand the options further: glitter, holographic, matte, glossy, chalkboard, and dry-erase vinyl each suit different looks and functions.
How to Apply Adhesive Vinyl
A clean surface and steady technique make the difference between a crisp decal and a bubbled mess.
- Cut and weed your design, removing all the negative vinyl around the shapes.
- Cut transfer tape to size, lay it over the design, and burnish firmly with a scraper.
- Peel the design off its backing, keeping it on the transfer tape.
- Clean the target surface with rubbing alcohol and let it dry completely.
- Position the tape, press from the center outward to push out bubbles, then slowly peel the tape away at a sharp angle.
If the vinyl lifts with the tape, lay it back down and burnish again. For curved surfaces like tumblers, work in small sections and warm the vinyl slightly to help it conform.
Surface Compatibility and Durability
Adhesive vinyl bonds best to smooth, hard, non-porous surfaces: glass, glazed ceramic, metal, sealed wood, plastic, and finished walls. Rough, textured, or unsealed surfaces hold poorly, so seal raw wood first. On surfaces that flex a lot, expect a shorter lifespan.
Permanent vinyl outdoors typically lasts several years before fading, depending on sun exposure and quality. For drinkware that will be washed, hand-washing extends the life dramatically, since dishwashers and direct heat break down the adhesive and any uncoated print over time.
What You Will Pay
Adhesive vinyl is affordable. Individual 12-inch sheets run about $1 to $3 each. Rolls of permanent or removable vinyl, typically 12 inches wide by several feet, cost roughly $8 to $20. Variety packs and large bulk rolls offer the best value per foot. Transfer tape adds a few dollars and is reusable for several projects. Specialty finishes like glitter and holographic cost a bit more.
Tools You Will Need
You do not need a workshop full of gear to work with adhesive vinyl, but a few tools make a big difference. A cutting machine handles intricate designs, though you can cut simple shapes by hand with a sharp craft knife and a cutting mat. A weeding tool, which looks like a fine hook, lifts away the negative vinyl around your design. A scraper or burnishing tool presses the vinyl down firmly and pushes out air bubbles.
Transfer tape is essential for moving cut designs onto a surface in one piece, and rubbing alcohol cleans the surface so the adhesive bonds well. A small squeegee, a ruler for alignment, and a pair of scissors round out a basic kit that handles nearly any project.
Common Mistakes to Avoid
Most adhesive vinyl problems trace back to a handful of errors. Applying vinyl to a dirty or oily surface causes peeling, so always clean with alcohol first. Skipping the burnishing step leaves bubbles and edges that lift. Using permanent vinyl on a painted wall can pull off the paint when removed, while using removable vinyl on a tumbler leads to a decal that peels in the wash.
Another frequent slip is peeling the transfer tape too quickly or at the wrong angle. Pull the tape back slowly and almost flat against itself, not straight up, so the vinyl stays on the surface instead of lifting with the tape. Patience at this stage is the difference between a crisp result and a frustrating do-over.
Final Thoughts
Once you understand the split between permanent and removable, adhesive vinyl opens the door to endless personalization at a low cost. Match the type to the surface and exposure, prep the surface well, and burnish thoroughly, and your decals, labels, and signs will stay crisp and stuck right where you put them.
Prefer to explore on your own?
See how new flooring looks in your actual room in seconds — free, no signup.
Try the free Floor Studio →