
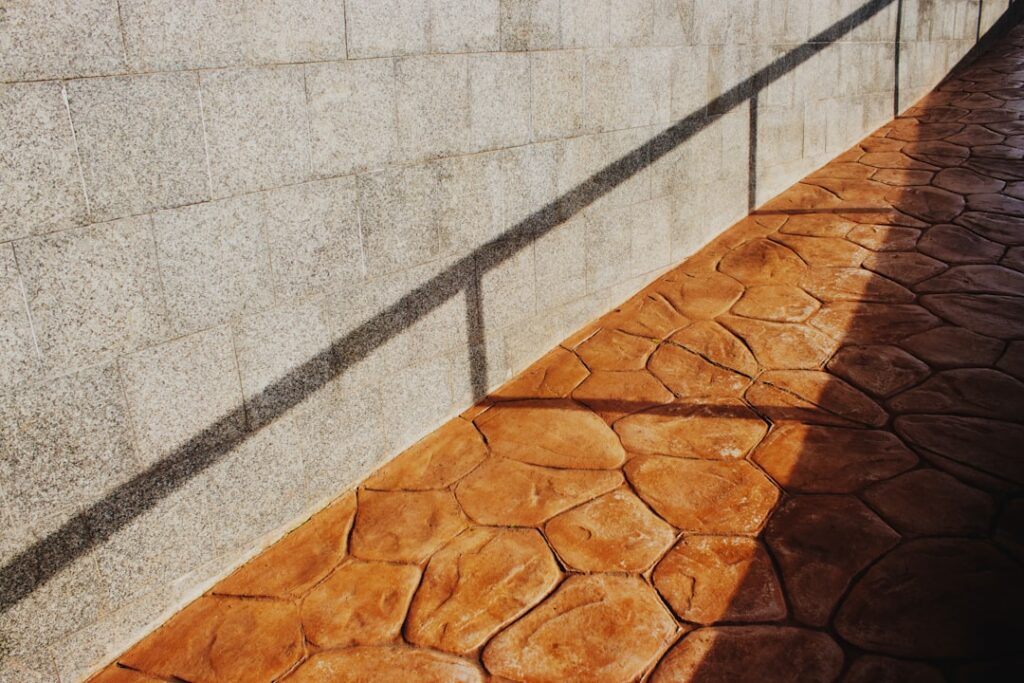
Walk past ten stamped patios and odds are half of them wear the same pattern. The ashlar slate concrete stamp is the best-selling texture mat in decorative concrete for a reason: it combines the clean, running-bond geometry of cut stone — the “ashlar” part — with the cleft surface texture of natural slate, and the interlocking rectangles hide the seams between stamp placements better than almost any other layout. The result reads as expensive quarried stone at a third of the price. This guide covers what the pattern actually is, what the mats and finished work cost, and the technique details that separate a convincing ashlar slate job from an obvious rubber-mat imprint.
What “Ashlar Slate” Means
Ashlar is a masonry term for stone cut into squared, rectangular blocks laid in courses — as opposed to random flagstone’s organic shapes. In the stamped version, each mat carries a field of interlocking rectangles and squares in mixed sizes, commonly 8 x 8 up to 24 x 24 inches within a single mat, arranged so the pattern staggers like real coursed stonework. The slate half of the name describes the surface: shallow, layered clefting molded from actual slate slabs, typically 1/8 to 3/8 inch of relief — pronounced enough to look like stone, shallow enough that chairs and snow shovels still glide. Most manufacturers sell the pattern in mat sets around 3 x 3 or 4 x 4 feet, and because the rectangles interlock across mat edges, a well-planned layout shows no repeating “tile” effect from more than a few feet away.
Where the Pattern Works Best
Ashlar slate is the pattern of choice for patios, pool decks, walkways, and driveways where the homeowner wants formal rather than rustic. Its rectangular geometry suits traditional and transitional architecture, complements brick and stone veneer houses, and — a practical point — its straight grout-line grid makes contraction joints easy to hide inside pattern lines, something random-stone patterns fight. The shallow relief also makes it one of the better stamp choices for driveways and snow-country slabs, where deep-textured patterns catch plow blades and collect ice. If the design calls for casual, irregular charm instead, random slate or flagstone patterns fit better; ashlar reads tailored.
Mat Costs and What Contractors Charge
For DIYers and new contractors, the tooling is the entry ticket. Individual polyurethane ashlar slate mats run $150 to $300 each from suppliers like Proline, Brickform, Butterfield Color, and Walttools, and a workable starter set — four or five rigid mats plus one floppy (an unbacked flexible mat for edges and walls) — lands at $800 to $1,600. Renting is the smarter DIY route where available: decorative concrete supply houses rent pattern sets for $100 to $250 per day. Add a texture skin or two ($75 to $150) for touch-up blending.
Hiring it out, stamped concrete in an ashlar slate pattern typically prices at $12 to $22 per square foot installed depending on region, coloring complexity, and site prep — against $6 to $10 for plain broom-finished concrete and $20 to $40+ for genuine slate or cut stone set on a slab. A 400 sq ft patio therefore runs roughly $4,800 to $8,800 stamped, and the pattern itself does not move price much; color systems and slab logistics do.
Coloring: Where the Realism Lives
The mat provides geometry and texture; color sells the stone. The standard system is two-tone. First, integral color mixed into the truck or a shake-on color hardener broadcast and floated into the fresh surface establishes the base stone color — for slate looks, grays, charcoal, buff, and blue-gray dominate. Then a contrasting antiquing release powder — the colored, waxy powder that keeps mats from sticking — is broadcast just before stamping. It lodges in the clefts and grout lines, leaving darker lowlights exactly where weathered slate holds shadow. Charcoal release over gray base is the classic slate combination; dark brown over buff mimics weathered sandstone ashlar. After curing, the slab gets washed to knock excess release back, optionally accent-stained, and sealed with a solvent- or water-based acrylic that deepens the colors the way rain deepens real stone.
Stamping Technique for a Clean Ashlar Job
Ashlar’s interlocking courses are forgiving of placement but unforgiving of alignment — crooked coursing shouts “fake” from across the yard. The essentials:
- Plan the layout dry. Snap a control line square to the house or the dominant sight line, and decide where mat rows start so cut courses land at the slab’s hidden edges.
- Time the pour. Stamp when the slab takes a thumbprint about 1/4 inch deep with firm pressure — typically after bull floating, coloring, and 1 to 4 hours of set depending on weather. Too early smears the pattern; too late and the mats need body weight plus a tamper and still print shallow.
- Work the sequence. Broadcast release, place the first mat on the control line, then leapfrog mats in courses, tamping each with a pole tamper. Interlock every mat edge into the previous imprint — the ashlar rectangles key together, which is exactly how the pattern hides mat seams.
- Detail the edges. Use the floppy mat and texture skins along forms, steps, and penetrations, and hand-tool any blurred grout lines with a chisel roller while the slab is still workable.
- Cut joints in the pattern. Saw or tool contraction joints within 12 hours, hiding them in the pattern’s straight grout lines at proper spacing — 10 feet or less each way on a 4-inch slab.
Crew Size and Pour-Day Logistics
Stamping is a race against hydration, and ashlar patterns demand enough hands to win it. For a 400 sq ft pour, plan a minimum three-person crew: one placing and screeding ahead, one broadcasting color hardener and release, one running mats — and a fourth person makes the difference between calm and panic on anything over 500 feet. Order the mix with stamping in mind: a 4-inch slab at a 4 to 5 inch slump, and in hot weather ask the plant for a retarder so the window stays open. Schedule morning pours in summer (surface temperatures above 90°F can halve your working time) and afternoon pours in cool spring weather. Stage everything before the truck arrives — mats stacked in placement order, tamper, release buckets, texture skins, and a scrap of plywood to kneel on. Veteran stampers also pre-stamp a test board or a hidden corner first placement to confirm release coverage and imprint depth before committing the visible field. None of this is complicated, but every step skipped on staging gets paid for in blurred imprints at the far end of the slab, which is always the end guests see from the back door.
Long-Term Care and Honest Trade-Offs
Existing slabs are not excluded from the pattern, either. Stampable overlays — polymer-modified toppings troweled on at 1/4 to 3/8 inch — accept ashlar slate mats over sound existing concrete, letting a tired but crack-free patio take the full stamped treatment for $8 to $15 per sq ft without demolition. The overlay route demands an honest substrate assessment first: active cracks and spalling telegraph straight through a thin topping, so a slab that is moving needs repair or replacement, not a costume.
A stamped ashlar slate surface is still concrete: it will hairline-crack if the base or joints are wrong, and its color system depends on sealer. Plan to reseal every 2 to 4 years at $0.50 to $1.00 per sq ft DIY, use plastic shovels in winter, and skip deicing salts the first two seasons entirely. Sealed and jointed properly, the finish holds its look 25-plus years, and unlike pavers there are no settling units or weed-filled joints. The trade-offs cut the other way too — repairs are hard to hide, sealed surfaces can be slick when wet (ask for a grit additive like SharkGrip in the sealer on pool decks), and DIY stamping is a one-shot performance with a 90-minute window and no rehearsal. For a first-timer, that argues for renting mats and pouring a small walkway before committing a 400-foot patio to the pattern. Done well, ashlar slate remains the most house-flattering imprint in the catalog — which is exactly how it earned the default spot.

