A bathroom floor plan determines how the space flows, how comfortable it feels, and which flooring materials work best. Whether you’re renovating a cramped half-bath or designing a spacious master suite, understanding standard bathroom layouts and the flooring options that work in each helps you make smart decisions.
Standard Bathroom Layout Types
Half Bath (Powder Room)
Contains only a toilet and sink. Typically 15 to 25 square feet. The smallest bathroom type, usually located near the main living area for guest use. No shower or tub means less moisture concern, though splashing near the sink and toilet still requires water-resistant flooring.
Three-Quarter Bath
Contains a toilet, sink, and shower (no tub). Typically 35 to 50 square feet. Common in secondary bedrooms and guest suites. The shower creates significant moisture, making waterproof flooring essential.
Full Bath
Contains a toilet, sink, tub, and often a shower (tub-shower combo). Typically 40 to 60 square feet. The standard family bathroom. The tub and shower generate the most moisture of any bathroom configuration.
Master Bath
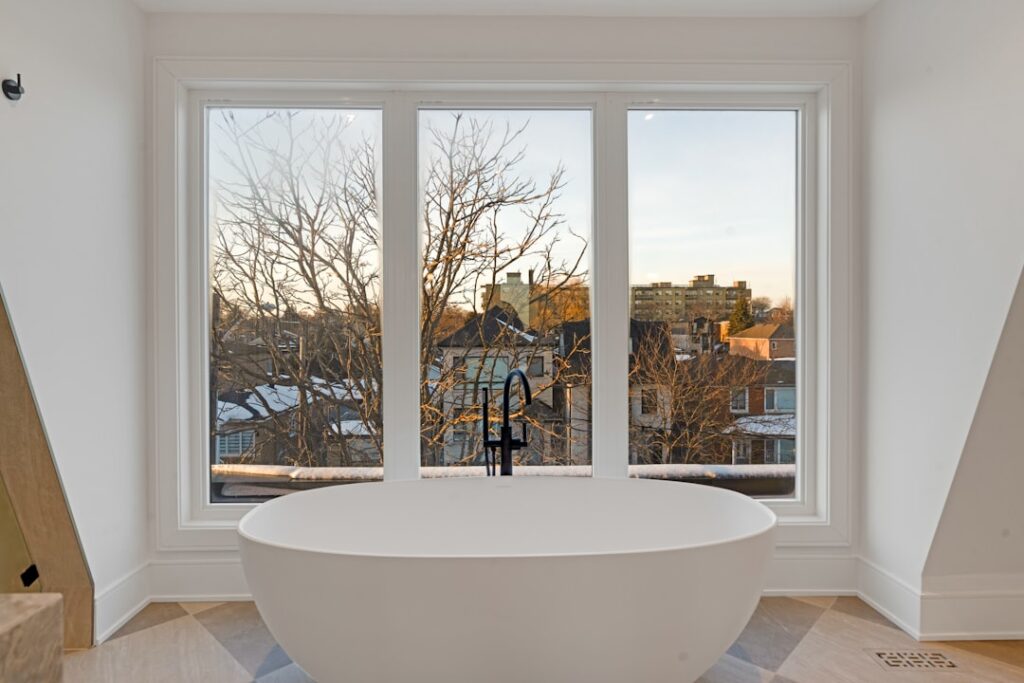
The largest bathroom, usually attached to the primary bedroom. Typically 80 to 160+ square feet. Often features a separate shower and tub, double vanity, and sometimes a separate water closet (toilet room). Master baths offer the most flooring design freedom due to their larger size.
Best Flooring Materials for Bathrooms
Porcelain Tile
Porcelain tile is the gold standard for bathroom floors. With less than 0.5% water absorption, it’s virtually impervious to moisture. Available in every style — marble-look, wood-look, concrete-look, mosaic, and solid colors. Use textured or matte finishes for slip resistance on wet bathroom floors.
- Cost: $6 to $15/sq ft installed
- Best for: All bathroom types, especially master baths and full baths
Ceramic Tile
More affordable than porcelain with good water resistance when properly glazed and grouted. Slightly more porous than porcelain, so seal the grout thoroughly. Works well in half-baths and three-quarter baths.
- Cost: $5 to $12/sq ft installed
- Best for: Budget-friendly bathroom renovations, half-baths
Luxury Vinyl (LVP/LVT)
Luxury vinyl is 100% waterproof, warm underfoot, and comfortable to stand on — a major advantage over cold tile. Modern vinyl realistically mimics wood, stone, and marble. Click-lock installation makes it DIY-friendly.
- Cost: $3 to $9/sq ft installed
- Best for: Budget bathroom renovations, comfort-focused bathrooms, DIY projects
Natural Stone
Marble, travertine, and slate create luxurious bathroom floors. Each piece is unique. Stone requires sealing every 6 to 12 months in bathrooms to prevent water absorption and staining. Use honed (matte) finishes for slip resistance — polished stone is dangerously slippery when wet.
- Cost: $10 to $30+/sq ft installed
- Best for: Master baths and luxury renovations
Sheet Vinyl
Seamless, waterproof, and affordable. Sheet vinyl provides complete moisture protection with no grout lines. Available in stone, tile, and wood-look patterns. Professional installation with heat-welded seams is best for bathrooms.
- Cost: $2 to $5/sq ft installed
- Best for: Budget renovations, rental properties, small bathrooms
Waterproofing Considerations
- Shower floor: Must have proper waterproof membrane (Kerdi, RedGard) beneath tile. Slope 1/4 inch per foot toward drain.
- Bathroom floor: Tile grout should be sealed. Consider a liquid membrane under tile in full baths. LVP handles water without additional waterproofing.
- Subfloor: Use cement board (not drywall or green board) under tile in wet zones. Plywood subfloors must be structurally sound — bathroom floors endure more moisture stress than any other room.
Layout Planning Tips
Tile Direction
In small bathrooms, lay rectangular tiles (12×24) with the long side perpendicular to the shortest wall — this makes the room feel wider. Diagonal tile layouts also create an illusion of more space.
Floor Drain Placement
Many modern bathroom designs incorporate a linear drain (especially in curbless showers). Plan drain placement during the framing stage — retrofitting drains is expensive.
ADA Considerations
If accessibility matters (aging in place, wheelchair access), plan for: 60-inch turning radius for wheelchairs, curbless shower entry, grab bar blocking in walls, non-slip flooring (DCOF 0.42+), and wider doorways (32-36 inches clear).
Heated Floors
Electric radiant floor heating mats install under tile and stone to eliminate cold bathroom floors. Plan for this during the flooring stage — the mat and thermostat need to be installed before the flooring goes down. Compatible with tile, stone, LVP, and engineered wood.
Flooring Do’s and Don’ts for Bathrooms
Do:
- Choose waterproof or water-resistant materials
- Use slip-resistant finishes (matte, textured, honed)
- Seal grout and natural stone regularly
- Run the bathroom exhaust fan during and after showers
- Use bath mats at tub/shower exits
Don’t:
- Install carpet (moisture, mold, hygiene issues)
- Use solid hardwood (will warp and cup from moisture)
- Skip waterproof membrane in shower areas
- Use polished stone without anti-slip treatment
- Ignore subfloor condition — bathroom subfloors take the most moisture abuse
The right bathroom floor plan and flooring combination creates a space that’s functional, beautiful, and built to handle years of daily moisture exposure. Match your flooring to your bathroom’s size, layout, and moisture level for the best results.
Prefer to explore on your own?
See how new flooring looks in your actual room in seconds — free, no signup.
Try the free Floor Studio →