Buying a vanity piece by piece sounds flexible until the countertop arrives a quarter inch too shallow and the faucet holes do not line up with the sink. A bathroom vanity combo sidesteps that problem by packaging the cabinet, countertop, and sink together, often with a faucet and backsplash included. For most bathroom remodels and quick upgrades, a combo saves money, cuts installation time, and removes the guesswork of matching parts. Below you will find how these sets are built, what sizes and materials to look for, what they cost, and how to install one without surprises.
Part of our Bathroom Remodeling & Flooring guide — explore the full guide →
What a Bathroom Vanity Combo Includes
A bathroom vanity combo is a pre-matched set sold as a single unit. At a minimum, it includes a base cabinet and a countertop with an integrated or pre-drilled sink. Many sets add a 4-inch backsplash, a faucet, a pop-up drain, and sometimes a matching mirror or medicine cabinet.
Knowing exactly what is in the box matters for budgeting. Typical configurations include:
- Cabinet plus top: The most common setup. Countertop has an undermount or integrated sink and is pre-drilled for a faucet.
- Cabinet, top, and faucet: Adds a matched faucet and drain assembly, saving $60 to $200 on a separate purchase.
- Full suite: Cabinet, top, faucet, mirror, and sometimes a side or wall cabinet in the same finish.
- Cabinet with vessel sink: A flat top with a bowl sink sitting above the counter, popular in modern and farmhouse styles.
Always check whether the P-trap, supply lines, and shutoff valves are included. They almost never are, so budget $30 to $60 for those parts from the plumbing aisle.
Common Sizes and How to Measure
Vanity combos come in standard widths, which makes replacement straightforward if you measure carefully. Standard depth runs about 21 inches, with compact models at 18 inches or less for tight powder rooms. Standard height used to be 30 to 32 inches, but most new sets are “comfort height” at 34 to 36 inches, matching kitchen counters.
| Width | Best For | Sinks |
|---|---|---|
| 18 to 24 inches | Powder rooms, half baths | Single |
| 30 to 36 inches | Small full baths, guest baths | Single |
| 42 to 48 inches | Hall baths, larger guest baths | Single, extra counter space |
| 60 inches | Primary baths | Single or double |
| 72 inches and up | Large primary baths | Double |
To measure, note the wall width available, then subtract clearance. Most building codes call for at least 15 inches from the centerline of the sink to a side wall or obstruction, and 21 inches of clear space in front of the vanity. Also measure the location of your existing drain and water supply stubs. If the new cabinet has a center drawer stack or a solid back, those pipes may need to move, which adds plumbing cost.
Door swing matters too. Check that the vanity doors will not collide with the bathroom door, toilet, or a tub apron when opened fully.
Cabinet Materials Compared
Bathrooms are one of the harshest environments in the house for cabinetry. Daily steam, splashes, and occasional leaks will expose weak materials quickly. Here is what you will find in the combo market:
- Solid wood: Oak, birch, maple, or rubberwood frames and doors. Durable and repairable. Expect $600 to $2,000 for a 36-inch set.
- Plywood box with solid wood face: A strong middle option. Plywood resists sagging and holds screws well, and handles humidity better than particleboard.
- MDF: Smooth, stable, and paints well, making it common in painted white and navy vanities. Holds up if the finish stays sealed, but swells if water gets into cut edges.
- Particleboard with laminate or thermofoil: Cheapest option, often $200 to $400 for a 30-inch set. Fine in a lightly used guest bath, but one slow leak under the sink can ruin it.
- PVC or composite: Waterproof cabinet boxes, increasingly common in budget and mid-range lines. Good choice for kids’ baths or basements.
Look at the cabinet floor, not just the doors. A solid plywood bottom panel under the sink is worth paying for, since that is where drips land.
Countertop and Sink Options
The top is where you see the biggest quality spread between combos. Common materials include:
- Cultured marble: Molded with an integrated sink, seamless and easy to clean. Budget friendly, but can chip or craze with heat and harsh cleaners.
- Engineered quartz: Nonporous, no sealing needed, and highly stain resistant. Usually paired with an undermount ceramic sink. Adds $150 to $500 over cultured marble.
- Granite: Natural variation and very durable. Needs sealing every 1 to 2 years.
- Natural marble: Beautiful but soft and porous; etches from toothpaste, mouthwash, and acidic cleaners.
- Solid surface or ceramic: One-piece ceramic tops are common on 24- to 30-inch combos and are very easy to wipe down.
Pay attention to the faucet drilling. Tops come pre-drilled for single-hole, 4-inch centerset, or 8-inch widespread faucets. If you already own a faucet you love, choose a top that matches its configuration, because you cannot easily re-drill stone or quartz at home.
What a Bathroom Vanity Combo Costs
Price depends mainly on width, cabinet construction, and countertop material. These are typical retail ranges for complete sets without installation:
- 24-inch combo: $200 to $700
- 30- to 36-inch combo: $300 to $1,200
- 48-inch combo: $600 to $1,800
- 60-inch double-sink combo: $900 to $2,800
- 72-inch double-sink combo: $1,200 to $3,500 or more
Professional installation of a pre-assembled combo usually runs $300 to $800 when the plumbing stays in place. Moving the drain or supply lines, patching drywall, or replacing damaged subfloor can push labor to $1,000 to $2,000. A handy homeowner with basic tools can install a single-sink combo in about four to six hours.
Compared with buying cabinet, top, and sink separately, a combo typically saves 15% to 30%. You lose some custom flexibility, but you avoid the cost of a fabricator cutting a stone top to fit.
Style and Configuration Choices
Beyond size and materials, a few design decisions shape how a vanity works day to day.
Freestanding vs. Floating
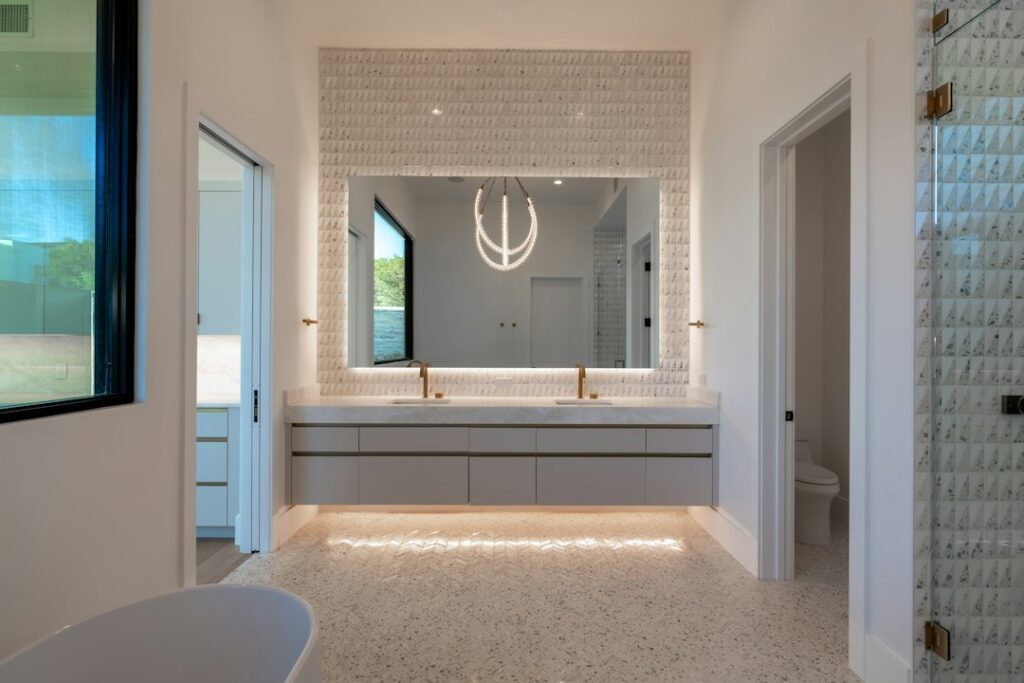
Freestanding combos sit on the floor on legs or a toe-kick base. They are easiest to install and offer the most storage. Floating or wall-mounted combos attach to studs or blocking, leave the floor open, and make small baths feel larger. They need solid backing in the wall, so plan for that if the drywall is already closed up.
Drawers vs. Doors
Drawers keep toiletries organized and visible, while doors give room for tall bottles and cleaning supplies. Many combos now use U-shaped drawers that wrap around the drain, which gives you drawer convenience without losing the space under the sink.
Single vs. Double Sink
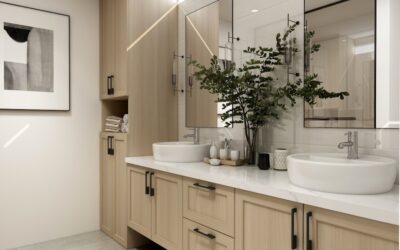
Double sinks are great for shared primary baths, but they eat counter space. On a 60-inch vanity, a single sink leaves generous landing room, while two sinks leave roughly 12 inches between bowls. Two sinks also mean two sets of plumbing and two faucets to buy if they are not included.
Installation Steps for a Standard Combo
If you are replacing an existing vanity with a similar-sized combo, here is the general sequence:
- Shut off water at the angle stops, open the faucet to relieve pressure, and disconnect supply lines and the P-trap.
- Remove the old top (cut caulk and adhesive with a utility knife) and unscrew the cabinet from the wall.
- Check the floor and wall for water damage. Soft subfloor or moldy drywall should be repaired now.
- Mark wall studs, then set the new cabinet in place. Level it with shims, and screw through the back rail into at least two studs.
- Install the faucet and drain onto the top before setting it; it is far easier than working under the counter later.
- Apply a bead of silicone on the cabinet edges, set the top, and caulk the back and side seams with 100% silicone.
- Connect new braided supply lines and the P-trap, turn on water, and check every joint for leaks with a dry paper towel.
If your bathroom flooring runs under the old vanity, great. If not, you may find a gap in the tile or vinyl where the new, smaller cabinet footprint does not cover. Measure the old footprint before buying, and choose a combo at least as large or plan a flooring patch.
Buying Tips to Avoid Regret
- Inspect on delivery: Tops often ship separately. Open every box before signing, and photograph any chips or cracks.
- Check hardware quality: Soft-close hinges and full-extension drawer slides are worth an extra $50 to $150.
- Read the finish details: Look for catalyzed lacquer or conversion varnish on wood; they resist moisture better than basic paint.
- Consider the backsplash: Loose 4-inch backsplashes can be skipped if you plan a tile backsplash above the vanity.
- Match your home’s plumbing: Confirm drain height works with your existing wall stub, usually 16 to 20 inches off the floor.
A well-chosen bathroom vanity combo delivers a finished, coordinated look for a fraction of custom cabinetry cost. Measure twice, favor moisture-resistant construction, and match the top to your faucet plans, and your new vanity should serve you for 15 to 20 years.