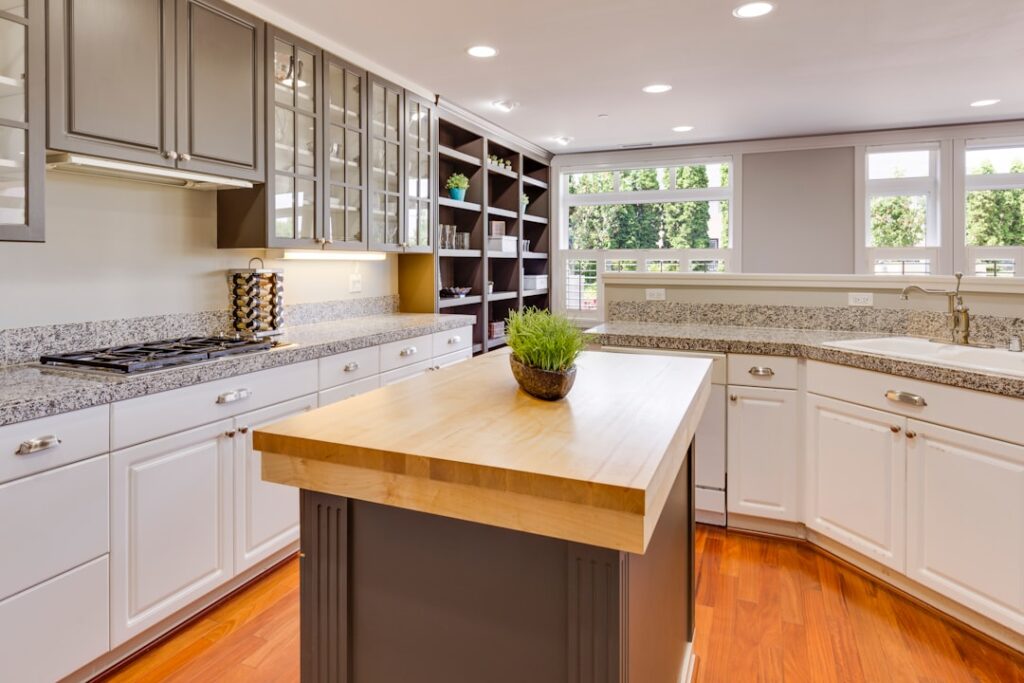
Wood moves. Ignore that single fact and even a flawless-looking install will crack, cup, or split within a year. A successful butcher block countertop installation is really an exercise in respecting wood’s seasonal expansion while still holding the slab securely to the cabinets. Get the fastening and sealing right and you end up with a warm, repairable surface that outlasts most laminates and rivals stone for character. This guide walks the whole job from measuring to the final coat of sealer.
Part of our Countertops guide — explore the full guide →
Tools and Materials You Will Need
Gather everything before you start so you are not running to the store mid-cut. A clean, organized workspace makes this a one-day job for a standard kitchen run.
- Circular saw or track saw with a fine-tooth (60- to 80-tooth) blade
- Jigsaw for the sink and cooktop cutouts
- Orbital sander with 120- and 220-grit paper
- Drill/driver, countersink bit, and pan-head screws
- Tape measure, straightedge, speed square, painter’s tape, and clamps
- Food-safe finish (mineral oil and beeswax, or a hardwax oil) or a film finish for non-prep areas
Measuring and Planning the Layout
Measure your cabinet run twice and write it down. Standard countertop depth is 25 to 26 inches, giving you a 1 to 1.5 inch overhang past the cabinet face. Butcher block typically comes in slabs 25 inches deep and in lengths from 4 to 12 feet, so plan your seams over cabinet partitions where you can screw into solid framing.
Before cutting anything, let the wood acclimate. Lay the slabs flat in the kitchen for a minimum of 48 to 72 hours so the wood reaches the room’s humidity level. Skipping this step is the most common cause of post-install movement. Check that your cabinets are level across the whole run and shim any low spots now, because you cannot fix a dished cabinet after the top is down.
Cutting the Slab to Size
Support the slab fully on sawhorses with sacrificial boards underneath so the offcut does not tear out at the end of the cut. Mark your line, then clamp a straightedge as a saw guide to keep the cut dead straight. Use painter’s tape along the cut line to reduce splintering on the visible top face, and cut with the finished side facing down when using a circular saw so any tearout lands underneath.
A fine-tooth blade run at a steady feed rate gives the cleanest edge. Sand the cut edge smooth with 120 grit before test-fitting. Dry-fit the slab on the cabinets, check the overhang and the wall fit, and scribe the back edge if your wall is uneven so the counter sits tight against it.
Cutting Sink and Cooktop Openings
Sink and cooktop cutouts are where careful work pays off. Use the template that ships with your sink, or trace the sink flange, then draw the actual cut line inside that trace to leave a lip for the sink rim to rest on. For an undermount sink, the cut line follows the interior dimension precisely.
Drill a starter hole inside the waste area at each corner, then cut the opening with a jigsaw fitted with a fine down-cutting blade. Support the cutout piece so it does not drop and tear the wood as you finish the cut. Sand the raw edges of the opening and, critically, seal them heavily; end grain and cut edges near a sink drink up water and are the first place a butcher block top fails.
Fastening With Room for Expansion
This is the heart of the whole install. Wood expands and contracts across its width with the seasons, and if you screw it down rigidly it will crack. Fasten the top through the cabinet corner brackets or through pre-drilled cleats from underneath, never from the top.
- Elongated holes: Drill the holes in the cabinet brackets into slots, or use a countersink that lets the screw slide as the wood moves.
- Pan-head screws with washers: These grip the slab without pinching it, allowing lateral movement.
- Snug, not tight: Tighten until the top is held down but the screw can still shift within its slot.
- Center the front: Anchor near the front edge and let the back expand toward the wall.
Screw length matters too. The screw should bite firmly into the underside of the slab without punching through the top, so if your block is 1.5 inches thick, keep penetration around 1 inch. At any seam between two slabs, draw the pieces together with draw bolts set into routed pockets on the underside, then reinforce with a food-safe wood glue only if the seam is away from the sink.
Sealing Before and After Installation
Sealing is not optional, and timing helps. Apply the first coats of finish before the slab goes down so you can reach the underside and all four edges, which is where moisture attacks first. An unsealed underside will absorb humidity unevenly and pull the top into a cup shape.
For a food-prep surface, a food-safe mineral oil followed by a beeswax-and-oil blend is the classic choice. Flood the surface with oil, let it soak 20 to 30 minutes, wipe the excess, and repeat until the wood stops drinking it in, usually three to four coats. For sections that will not see knives or food, a hardwax oil or a wipe-on polyurethane builds a tougher, more water-resistant film.
After installation, wipe on a fresh maintenance coat of oil every month for the first six months, then whenever the surface looks dry. Reseal the area around the sink more often, since that is where water lingers.
Common Mistakes to Avoid
Most failed butcher block installs trace back to a short list of avoidable errors. Learn them now and you sidestep the problems that send homeowners back to square one.
- Skipping acclimation: Installing wood straight from the store almost guarantees seasonal cracking or cupping.
- Screwing the top down rigidly: Fixed fasteners with no room to slide are the fastest route to a split slab.
- Sealing only the top: An unsealed underside and edges absorb moisture unevenly and warp the counter.
- Neglecting the sink edges: Unsealed cutout edges swell, darken, and rot first; flood them with finish.
- Using the wrong finish for the use: Mineral oil on a prep surface is great, but non-prep areas last longer under a film finish.
How Long the Job Takes
Set your expectations before you begin. The active work of measuring, cutting, and fastening a standard kitchen run is a solid one-day job for a competent DIYer, but the timeline stretches when you count the parts you cannot rush. Acclimation eats 48 to 72 hours up front, and sealing adds real time because each oil coat needs to soak and cure before the next.
Plan on roughly a week from delivery to a fully finished, ready-to-use counter: a few days to acclimate, a day to cut and install, and several days of building up and curing your oil or hardwax finish. Rushing the finish is the most common reason a new top stains within its first month, so give it the time it needs.
Final Checks and Long-Term Care
Once the top is fastened and sealed, run a bead of clear silicone where the counter meets the backsplash and around the sink to block water from wicking into the end grain. Confirm every fastener still allows movement and that no screw has bottomed out tight. A well-executed butcher block countertop installation rewards this patience with a surface you can sand and re-oil for decades, quietly healing the scratches and stains that would retire a stone or laminate counter for good.