
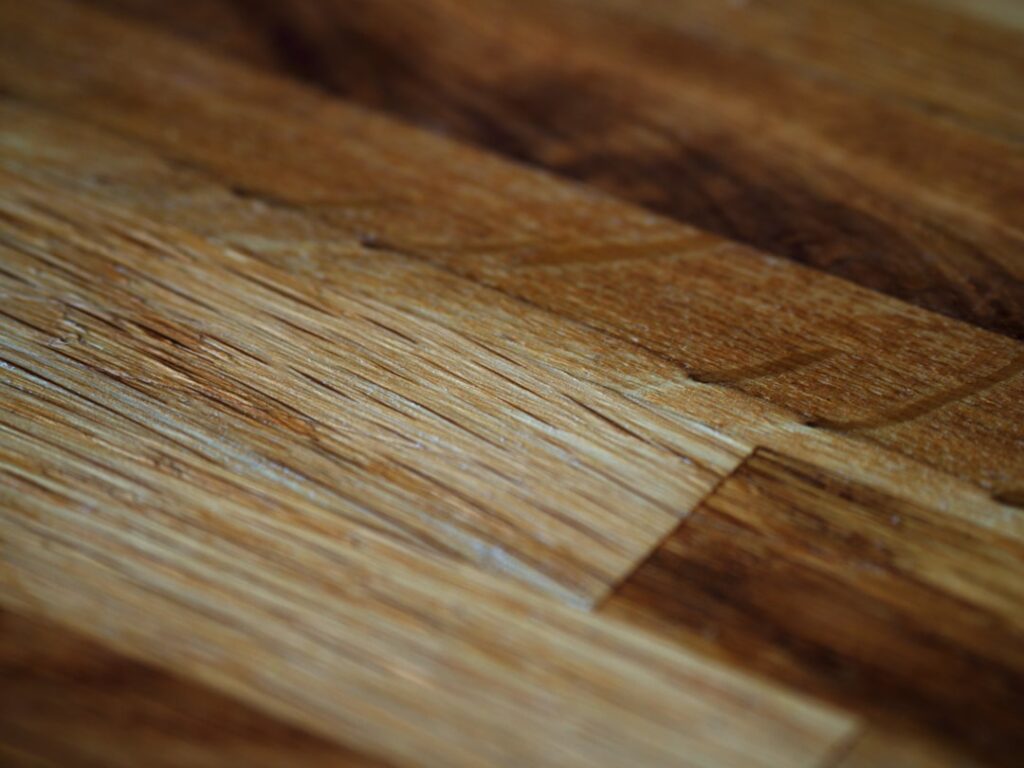
Refinishing kitchen cabinets with stain costs $200-$600 in materials DIY versus $3,000-$8,000 for professional work — making cabinet staining one of the highest-ROI weekend projects a homeowner can tackle. Stain enhances the natural wood grain rather than covering it like paint, creating a rich, warm look that painted cabinets cannot replicate. The process requires patience and proper preparation, but the technique itself is straightforward once you understand the steps.
Part of our Kitchen Remodeling guide — explore the full guide →
Prep Work: The Most Important Step
Preparation determines 80% of your final result. Stain highlights every flaw in the surface — scratches, dents, and old finish residue all show through transparent stain that paint would hide. Invest the time upfront and the staining itself becomes easy.
- Remove all doors, drawers, and hardware. Label each door and its location with numbered painter’s tape. Bag and label hinges and screws for each door
- Clean all surfaces with TSP (trisodium phosphate) solution to remove grease, cooking oil, and grime. Rinse thoroughly and let dry overnight
- Strip existing finish if cabinets are currently stained or varnished. Apply chemical stripper (Citristrip, $12-$18 per quart), wait the recommended time, and scrape with a plastic scraper. Repeat for stubborn areas
- Sand all surfaces with 120-grit followed by 150-grit sandpaper. Sand in the direction of the wood grain. Use a sanding sponge for routed door profiles and molding details. Remove all sanding dust with a tack cloth
- Apply pre-stain wood conditioner to softwoods (pine, birch, maple) 15 minutes before staining. Conditioner evens out stain absorption and prevents blotching. Hardwoods (oak, cherry, hickory) generally do not need conditioner
Choosing the Right Stain
- Oil-based stain (Minwax, Varathane): Deeper penetration, richer color, longer working time (10-15 minutes before wiping). Dries in 6-8 hours between coats. Strong odor — work in a ventilated area
- Water-based stain (General Finishes, Varathane): Quick drying (2-3 hours between coats), low odor, easy cleanup. Slightly raises the wood grain — sand lightly between coats with 220-grit
- Gel stain (General Finishes): Sits on the surface rather than penetrating. Produces the most uniform color, especially on blotch-prone woods like maple and birch. Also works over existing finish without stripping — a major time saver
Test your chosen stain on a hidden area (inside of a door, back of a drawer front) before committing to the entire kitchen. Stain color on the can rarely matches the color on your specific wood. Apply one coat and two coats to the test area to see both intensities before proceeding.
Application Technique
Apply stain with a foam brush or lint-free cloth, working in the direction of the wood grain. Cover one door or section at a time — stain that sits too long before wiping gets darker and tacky. Wipe off excess with a clean lint-free cloth within the manufacturer’s recommended window (typically 5-15 minutes for oil-based, 2-5 minutes for water-based).
For a darker color, apply additional coats rather than leaving a single coat on longer. Each coat adds depth while maintaining even color. Two thin coats produce a more professional result than one heavy coat every time. Let each coat dry completely before applying the next — rushing between coats creates sticky spots and uneven color.
Applying the Topcoat
Stain alone provides no protection — a topcoat is mandatory for kitchen cabinets that face daily moisture, grease, and handling. Apply 2-3 coats of polyurethane or lacquer over the dried stain:
- Water-based polyurethane (Minwax Polycrylic, General Finishes High Performance): Does not yellow over time, dries in 2 hours, low odor. Best for light-colored stains where yellowing would be visible
- Oil-based polyurethane: Slightly amber tone that enriches dark stains. More durable than water-based. Longer dry time (6-8 hours between coats). Best for dark stains on hardwood
- Conversion varnish (professional): The most durable cabinet finish. Applied by spray. Requires professional equipment but provides a factory-quality surface
Sand lightly with 220-grit between topcoat layers for the smoothest final surface. The final coat should be left unsanded for maximum sheen. Satin finish is the most popular for kitchen cabinets — it hides fingerprints better than semi-gloss while maintaining a subtle glow.
Common Cabinet Staining Mistakes
Skipping the stripping step on previously finished cabinets produces the most disappointing results. New stain cannot penetrate through old varnish or polyurethane — it sits on the surface in a blotchy, uneven film. If you want to avoid stripping, use gel stain, which is formulated to adhere to existing finishes after light sanding.
Rushing the dry time between coats causes tacky spots, peeling, and a finish that never fully hardens. Temperature and humidity affect drying — cool, humid conditions can double the listed dry time. Touch a hidden spot before applying the next coat. If it feels cool or tacky, wait another 4-6 hours. Patience during cabinet staining is not optional — it is the difference between a finish that lasts 10 years and one that peels within months.


