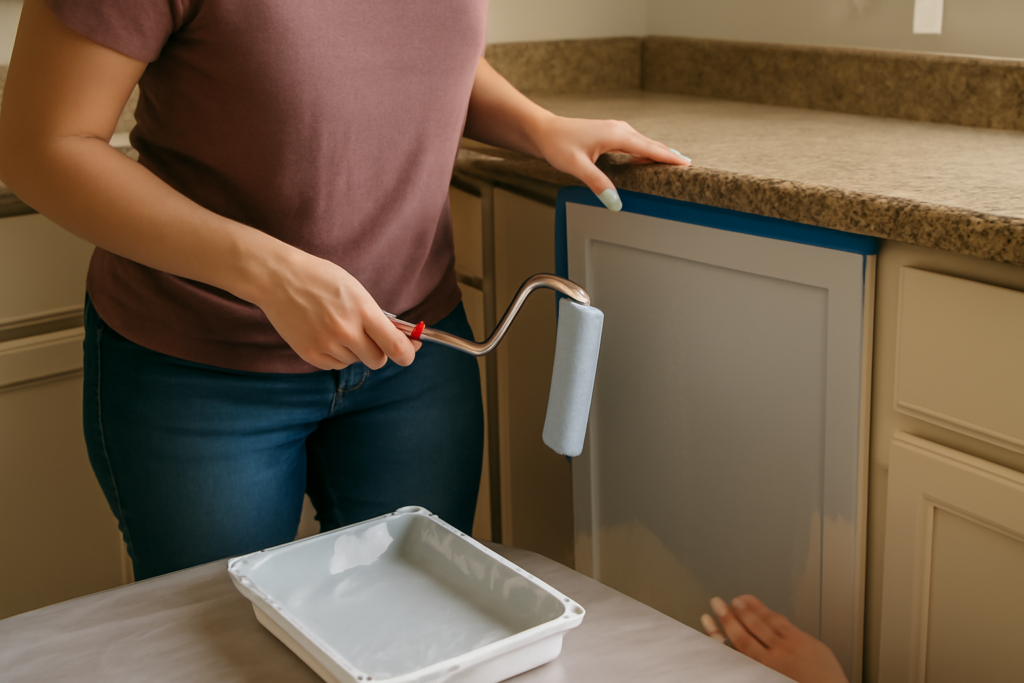
Every contractor has walked into a kitchen where someone slapped wall paint straight onto slick cabinet doors, only to watch it peel off in sheets within a month. So can you paint over laminate cabinets? Yes, absolutely, and the results can look factory-fresh. The catch is that laminate is a non-porous, plastic-faced surface, and paint has nothing to grab unless you prep it correctly. Skip the prep and you are just buying yourself a redo. Nail it, and a $60 gallon of paint saves you the $8,000 to $15,000 a full cabinet replacement would cost.
- Why Laminate Fights Paint in the First Place
- Tools and Materials You Will Need
- Step 1: Remove and Label Every Door
- Step 2: Clean Like Grease Is the Enemy
- Step 3: Scuff-Sand the Surface
- Step 4: Prime With a True Bonding Primer
- Step 5: Apply Two Coats of Enamel
- Step 6: Cure Before Heavy Use
- How Long Will Painted Laminate Cabinets Last?
- Choosing the Right Color and Sheen
- When You Should Not Paint
Why Laminate Fights Paint in the First Place
Laminate cabinets are usually a particleboard or MDF core wrapped in a thermofused melamine or a printed vinyl film. That outer layer is engineered to resist moisture, grease, and scratches, which is exactly why raw paint slides right off it. Wood accepts paint because it has open grain and tooth. A melamine door has neither.
The fix is mechanical and chemical adhesion. You scuff the surface to give the primer microscopic bite, then you use a bonding primer formulated to fuse with slick plastics. Get those two things right and everything downstream becomes easy. One warning before you start: if your laminate is peeling, bubbling, or delaminating at the edges, paint will not save it. Reglue loose edges with contact cement first, or replace that door.
Tools and Materials You Will Need
Buy quality here, because a cabinet job is 90 percent prep and 10 percent paint. A typical 10-by-10 kitchen with 25 to 30 doors and drawer fronts runs about $150 to $250 in materials.
- Bonding primer — Zinsser B-I-N Shellac-Based or STIX Waterborne Bonding Primer ($25 to $45 a gallon). These are built to stick to glossy surfaces.
- Cabinet-grade paint — a self-leveling enamel like Benjamin Moore Advance or Sherwin-Williams Emerald Urethane Trim Enamel ($55 to $90 a gallon).
- 220-grit and 320-grit sandpaper or sanding sponges.
- Liquid deglosser or TSP substitute for degreasing.
- A 4-inch foam roller and a quality 2- to 2.5-inch angled brush, or an HVLP sprayer if you own one.
- Painter’s tape, drop cloths, tack cloths, and a screwdriver or drill.
Step 1: Remove and Label Every Door
Take the doors and drawer fronts off the boxes. Working flat beats working on a hinge every single time because gravity helps the paint level instead of running. Number each door and its cabinet opening with painter’s tape so reassembly is painless. Pull the hinges and pulls, and drop the hardware into labeled bags. If you plan to reuse the old holes, note which pulls go where.
Step 2: Clean Like Grease Is the Enemy
Kitchen cabinets carry a film of cooking grease that you often cannot see. Wipe every surface with a TSP substitute or a strong degreaser, then rinse with clean water and let it dry fully. Any leftover oil will cause fisheyes and adhesion failure no matter how good your primer is. This is the step people rush, and it is the step that decides whether your finish lasts five years or five weeks.
Step 3: Scuff-Sand the Surface
Go over every face with 220-grit paper or a sanding sponge until the sheen is knocked down to a uniform dull haze. You are not trying to sand through the laminate, just kill the gloss so the primer can grip. Hit the profiled edges and any routed detail by hand. Once sanded, vacuum the dust and wipe with a tack cloth. A liquid deglosser can supplement sanding on tricky curved profiles, but do not rely on it alone for horizontal, high-wear surfaces.
Step 4: Prime With a True Bonding Primer
This is the make-or-break coat. Apply a thin, even layer of shellac- or urethane-based bonding primer. Shellac primers like B-I-N dry in about 45 minutes and block stains beautifully, but they smell strong, so ventilate. Roll the flat panels with the foam roller and cut in the details with your brush. Do not glob it on. One thin coat is usually enough, and a second thin coat is better than one heavy one. Let it cure per the label, typically one to two hours, then lightly sand with 320-grit to remove any nibs.
Step 5: Apply Two Coats of Enamel
Now the color. Use a cabinet-grade enamel, not standard wall paint, because these hybrid alkyd-urethane formulas self-level and cure to a hard, washable shell. Apply thin coats. Roll the field, tip it off lightly with the brush to eliminate roller stipple, and keep a wet edge. Let the first coat dry the full recommended time, which for waterborne enamels is often 16 to 24 hours before recoat. Sand lightly with 320-grit between coats, tack off the dust, and apply the second coat. Two coats over a good primer gives you full coverage and durability.
Spray or Brush?
A brush-and-roll combo gives excellent results for most homeowners. If you want a dead-flat, factory look and you have an HVLP sprayer plus a dust-free space, spraying is superior. Either way, patience between coats is what separates a professional finish from a gummy one.
Step 6: Cure Before Heavy Use
Paint is dry to the touch in hours but not fully cured for weeks. Waterborne enamels reach roughly 90 percent hardness in 7 days and full cure at 21 to 30 days. Reinstall the doors after 24 to 48 hours, but avoid slamming them, stacking dishes hard against interiors, or scrubbing them for at least two weeks. Add felt bumpers to the door corners so fresh paint does not stick to the frame and pull.
How Long Will Painted Laminate Cabinets Last?
Done properly, a painted laminate kitchen holds up 8 to 10 years or more before it needs a refresh, and touch-ups are simple because you saved a little paint. The failure stories almost always trace back to two mistakes: skipping the degrease step or using a generic primer instead of a bonding one. Respect those two steps and everything else is forgiving.
Choosing the Right Color and Sheen
Color and sheen do as much work as the paint itself in making cabinets look intentional. For sheen, satin and semi-gloss are the sweet spot on cabinetry. A satin finish hides minor imperfections and reads soft and modern, while semi-gloss is a touch more durable and wipeable, which matters on a busy kitchen island. Skip flat and eggshell, which scuff and stain, and skip high-gloss unless you have a flawless spray finish, because gloss magnifies every brush mark and drip.
On color, warm whites and greiges remain the safest resale-friendly choices, but painted laminate is also your chance to try something with more personality at almost no risk. Deep navy, forest green, and charcoal lower cabinets paired with lighter uppers have become a durable trend, and because you can repaint later, experimenting costs only a gallon. Whatever you choose, buy a sample and test it on a spare door in your actual kitchen light. Cabinet color shifts dramatically between north-facing daylight and warm evening bulbs, and the swatch that looked crisp in the store can turn dingy on the wall.
Don’t Forget the Hardware
New pulls and knobs are the cheapest upgrade that makes painted cabinets read as a full remodel. A $2 to $6 handle in brushed brass, matte black, or satin nickel transforms the look. If your existing holes do not line up with new hardware, fill them with wood filler before priming and drill fresh holes, using a simple template jig so every pull sits at the same height across all the doors.
When You Should Not Paint
Paint is a surface treatment, not a structural repair. If the particleboard core has swollen from water damage, if the laminate is peeling across large areas, or if the boxes are falling apart at the joints, your money is better spent on new doors or a refacing kit. Painting also will not add texture, so if you want a wood-grain look, a peel-and-stick veneer or refacing is the better route.
So the short answer stays the same: yes, you can paint over laminate cabinets, and you can get a result that fools people into thinking you replaced them. The difference between a finish that lasts a decade and one that fails in a month is not the paint, it is the degrease, the scuff, and the bonding primer. Give those the attention they deserve and your kitchen will look like a five-figure remodel for the price of a weekend and a couple of gallons.
Prefer to explore on your own?
See how new flooring looks in your actual room in seconds — free, no signup.
Try the free Floor Studio →