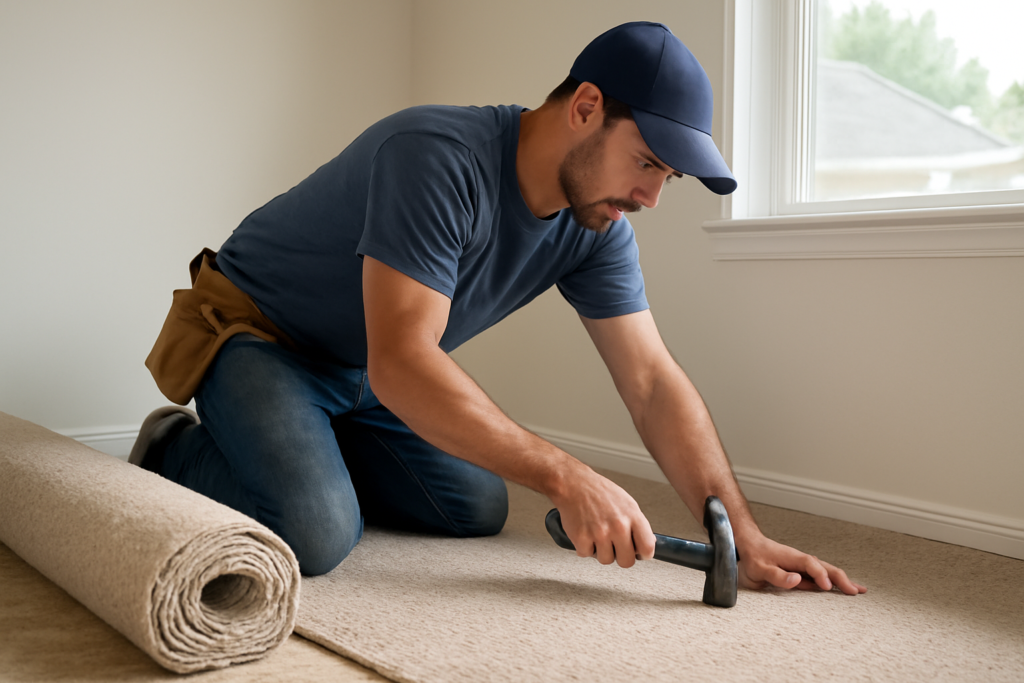
Pulling carpet out of a Lowe’s parking lot and unrolling it across your living room isn’t installation, it’s a temporary fix. A real carpet installation process involves subfloor prep, tackless strip placement, padding alignment, power stretching to specific PSI tension, and seam sealing with thermal tape. Skipping any of these steps shortens the carpet’s life by years, voids most CRI Green Label Plus warranties, and creates the wrinkles and bubbles you’ve seen in poorly installed rooms.
Subfloor Preparation
Every quality carpet job starts with a clean, flat, dry subfloor. Sweep or vacuum thoroughly to remove debris that would telegraph through the carpet over time. Check for high spots or low spots with a 6-foot straightedge; CRI 105 standards allow no more than 3/16 inch of deviation over 10 feet. Sand down high spots and fill low spots with a Henry 555 self-leveling underlayment.
Concrete subfloors need moisture testing per ASTM F1869 (calcium chloride) or ASTM F2170 (relative humidity probe). Most carpet manufacturers cap moisture at 3 pounds per 1,000 square feet per 24 hours or 75% RH. Above those numbers, install a moisture barrier or address the source before any padding goes down.
Tackless Strip Installation
Tackless strips, sometimes called gripper strips, are 4-foot wood strips with angled pin nails that hold the stretched carpet edge in place. Install them around the perimeter of every room, leaving a gap equal to roughly two-thirds of the carpet thickness between the strip and the wall. Pins angle toward the wall.
Use the Roberts 10-606 tackless strip on wood subfloors with 1-inch ring shank nails. For concrete, use concrete-rated tackless strip with pre-set masonry nails or a Ramset powder-actuated tool. Don’t reuse old strips. The pins lose grip and the wood often splits from prior fastening.
Padding (Cushion) Selection and Layout
Padding determines comfort and protects the carpet backing from subfloor abrasion. Most residential installations use 6-pound or 8-pound rebond cushion at 7/16 inch thick. For high-end installations, a 10-pound prime urethane cushion (like Future Foam Spirit Pure) feels firmer underfoot and extends carpet life. Berber and looped carpet need a denser 8-pound minimum or the loops crush.
Roll out the padding with the waffled side up, leave 1/4-inch gaps at seams, and tape seams with 3-inch wide pressure-sensitive padding tape. Trim padding flush to the inside edge of the tackless strip with a sharp utility knife. Stretchy padding wrinkles within months; cut it sharp and lay it flat.
Carpet Acclimation and Layout
Bring the carpet rolls into the installation room at least 24 hours before unrolling. Most nylon, polyester, and triexta fibers expand or contract about 1% with temperature changes, and acclimation prevents the carpet from shifting after install. Aim for 65-75°F and 35-65% relative humidity during install per CRI guidelines.
Plan seams to fall in low-traffic areas, parallel to the dominant light source (windows) so they’re less visible. Always lay the nap (pile direction) the same way across seams. Mixing nap directions creates visible color differences that look like dirty stripes.
Cutting and Seaming
Cut carpet face-down for loop pile and face-up for cut pile, using a row-runner or top-cutter as appropriate. The Crain 545 row finder helps separate loop carpets cleanly without damaging adjacent rows. For seams, apply heat-activated seam tape (Roberts 7240 or similar) under the joint, then run a hot iron at 250-300°F along the tape, pressing the edges together as you go.
Properly executed seams disappear within a few feet. The most common failure: cold seams where the iron didn’t melt the adhesive fully. Hold the iron at each spot for 25-30 seconds and roll the seam with a star wheel as the adhesive cools.
Power Stretching
This step separates pro installs from DIY jobs. A power stretcher applies tension across the entire room to remove every wrinkle and lock the carpet into the tackless strips with even tension. Knee kickers alone don’t generate enough force across rooms over 10 feet. The CRI 105 standard calls for power stretching in every room over 8 feet in any dimension.
Stretch from one wall toward the opposite wall in 1.5% to 2% tension increments. The Crain 510 power stretcher or Roberts 10-254V deliver consistent pressure. Hook the carpet, stretch, walk it onto the tackless pins along the far wall, then trim excess. Repeat in the perpendicular direction.
Finishing Around Edges and Transitions
Trim excess carpet along the perimeter with a wall trimmer, leaving about 1/8 inch tucked between the tackless strip and the baseboard. Use a stair tool to push the edge cleanly into that gap. At doorways, install metal or vinyl Z-bar transitions (Roberts 50-540 series) that protect the cut edge and create a clean transition to adjacent floor surfaces.
On stairs, the carpet installation process changes significantly. Use a knee kicker (not a power stretcher) on each tread, secure with a stair tool, and either upholster or waterfall the carpet depending on style preference. Upholstered stairs (carpet hugging the riser) wear better but cost more in labor.
Inspection and Final Walk-Through
After installation, vacuum the new carpet to lift the pile and remove loose fibers from cutting. Walk every seam looking for gaps, bubbles, or visible joins. Check corners for tucked edges that lift. A quality install passes the “scuff test”: dragging your foot across the surface in any direction should not slide the carpet or reveal padding underneath.
Expect some off-gassing for the first 72 hours from the latex backing and seam adhesive. Open windows and run HVAC fans on circulate. Carpets meeting CRI Green Label Plus standards (Mohawk SmartStrand, Shaw Anso Caress, Stainmaster PetProtect) release minimal VOCs and clear quickly. Document any defects within 30 days; most manufacturer warranties require prompt notification for coverage.