If you have ever pried up a panel from an older basement or porch ceiling and seen a soft, fibrous board, you may have met a Celotex ceiling tile. The Celotex name became so common in mid-century homes that many people use it as shorthand for any fiberboard ceiling tile, much like calling a tissue a “Kleenex.”
This guide explains what the Celotex ceiling tile category actually is, where these panels show up, how they were installed, and what to keep in mind if you are repairing, replacing, or removing them today. Because product lines and ownership have changed over the decades, we will stick to the characteristics that hold true for the category rather than specific current model numbers.
What Is a Celotex Ceiling Tile?
Celotex is a long-established building-products brand historically associated with fiberboard products, including ceiling tiles made from compressed plant fibers such as wood pulp, cane, or other cellulose materials. In ceiling applications, these panels are pressed into square tiles, often with decorative surface patterns and beveled or shiplap edges so they fit together cleanly.
The brand has a layered history. In some markets the Celotex name today is closely tied to rigid foam insulation, while the classic fiberboard ceiling tiles many homeowners remember date from earlier decades. Because of that evolution, the safest approach is to think of “Celotex ceiling tile” as a recognizable type of fiberboard ceiling panel rather than a single product you can buy unchanged off a shelf.
Where You’ll Find These Tiles
Fiberboard ceiling tiles were enormously popular in homes built or remodeled from the 1940s through the 1970s. They show up most often in finished basements, enclosed porches, attics converted to living space, rec rooms, and older commercial spaces. Their light weight and easy installation made them a favorite for do-it-yourself finishing projects.
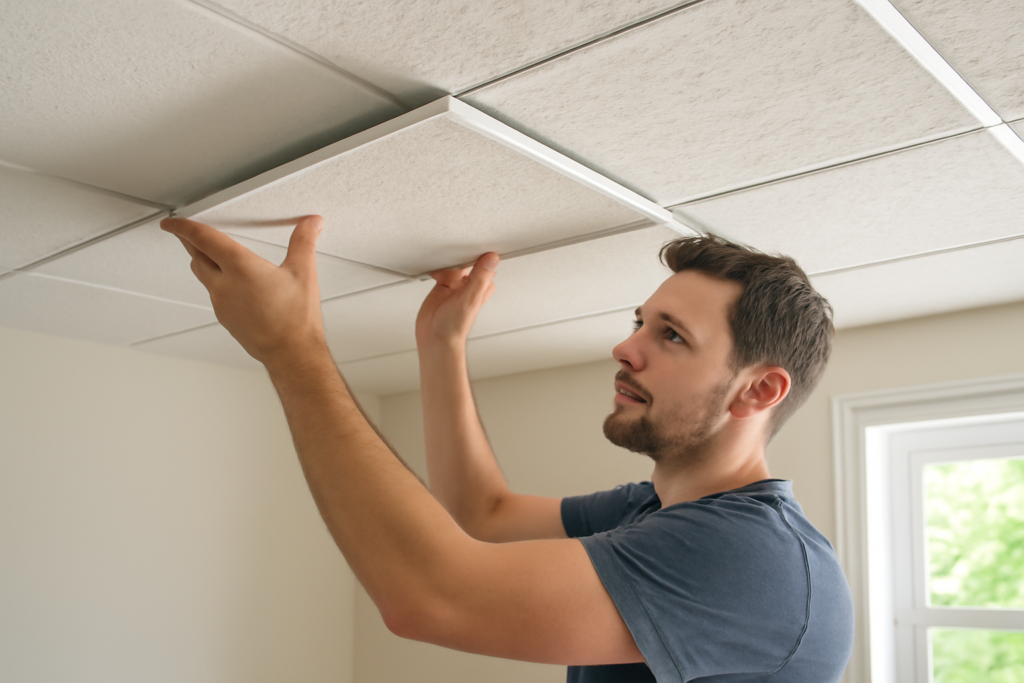
Two installation styles dominate. Some tiles were stapled or glued directly to wood furring strips fastened across the joists, producing a flush ceiling. Others sit in a suspended metal grid as drop-in panels, the same basic system you still see in offices and basements today. Knowing which system you have shapes how you repair or replace tiles.
You can usually tell the two apart with a quick look. A glued or stapled ceiling reads as a continuous surface with thin seams where the tongue-and-groove edges meet, and there is no visible metal between tiles. A suspended ceiling, by contrast, shows a grid of exposed T-shaped channels with each panel resting loosely inside its own opening, which means you can lift a single tile to peek above it. That access matters, because a drop ceiling often hides ductwork, wiring, or plumbing that a glued ceiling conceals permanently. If you are buying an older home, lifting one suspended panel during a walkthrough is a fast way to gauge the condition of the bays above the ceiling.
Pros and Cons of Fiberboard Ceiling Tiles
Understanding the tradeoffs helps you decide whether to keep, restore, or replace what you have.
- Lightweight: easy to handle and install, even overhead by one person.
- Sound dampening: the porous fiber structure absorbs some sound, softening echo in a room.
- Modest insulation: the boards add a small thermal and acoustic buffer.
- Affordable look: a quick way to finish a rough ceiling without drywall and mudding.
- Moisture sensitivity: fiberboard absorbs water, so leaks cause sagging, staining, and mold.
- Durability limits: the soft surface dents, scuffs, and yellows over time.
- Fire considerations: untreated cellulose tiles are combustible; check local code requirements.
Installing or Replacing Tiles
If you are adding or swapping tiles in a furring-strip ceiling, start by confirming the strip spacing matches the tile size, commonly 12 by 12 inches. Tiles attach with staples driven through the tongue or with construction adhesive rated for the material. Work from a chalk line so your rows stay square, and trim border tiles to keep the layout balanced on both sides of the room.
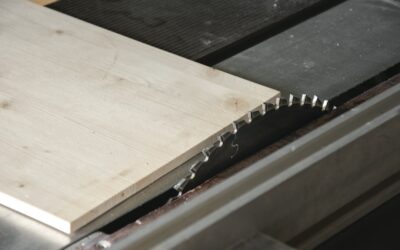
For a suspended grid, replacement is even simpler: tilt the new panel up through the opening, then drop it into place on the grid flanges. Always wear gloves and eye protection when handling and cutting fiberboard, since the cut edges shed dust and fibers. Cut tiles face up with a sharp utility knife and a straightedge for clean lines.
Safe Handling of Older Panels
This is the part to read carefully. Ceiling materials installed in older buildings can sometimes contain substances of concern, and disturbing the wrong material releases dust you do not want to breathe. Before you sand, cut, or demolish any old ceiling tile or the adhesive and backing behind it, take a cautious approach.
If your home dates from an era when asbestos-containing products were in use, do not assume a tile or its mastic is safe to disturb. The responsible step is to have suspect materials tested by a qualified professional before removal. When in doubt, leave intact tiles undisturbed and consult a licensed abatement or remediation specialist rather than dry-sanding or breaking up old panels yourself. This is a safety judgment, not a guarantee, so defer to local professionals and regulations.
Maintenance and Cleaning
Fiberboard tiles need gentle care because they cannot be scrubbed like a hard surface. Dust them with a soft brush attachment or a dry microfiber cloth. For light surface marks, a lightly dampened cloth and the faintest touch can help, but never soak the board, since trapped moisture leads to staining and sagging.
Address the source of any water stain before it spreads. A single roof or plumbing leak can ruin a whole section of fiberboard ceiling, so fix the leak first, then replace the affected tiles. Some homeowners refresh a tired ceiling with a coat of ceiling-rated paint, which can renew the look, though it may slightly reduce the tiles’ sound-absorbing quality.
When you do paint, use a roller with a thick nap to reach into the textured surface and apply thin, even coats rather than one heavy pass that could soak the board. Test a hidden tile first to confirm the paint adheres without bubbling. Between deeper cleanings, simply running a vacuum brush across the ceiling a couple of times a year keeps cobwebs and settled dust from dulling the finish.
Should You Keep or Replace Them?
A Celotex ceiling tile ceiling that is dry, intact, and free of any hazardous-material concern can serve perfectly well, especially in a low-traffic basement or porch where its sound-softening quality is a bonus. Restoring or repainting clean tiles is an inexpensive way to tidy a space.
If your tiles are water-damaged, sagging, badly discolored, or you are renovating the room anyway, replacement with modern ceiling panels, drywall, or a new suspended grid usually makes more sense. Whatever you decide, handle any old fiberboard carefully, test before disturbing questionable materials, and you can update your ceiling safely and affordably.
Prefer to explore on your own?
See how new flooring looks in your actual room in seconds — free, no signup.
Try the free Floor Studio →