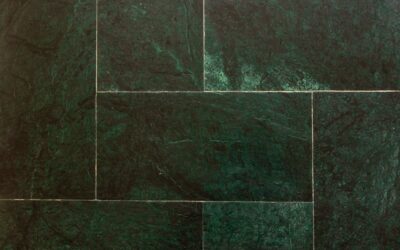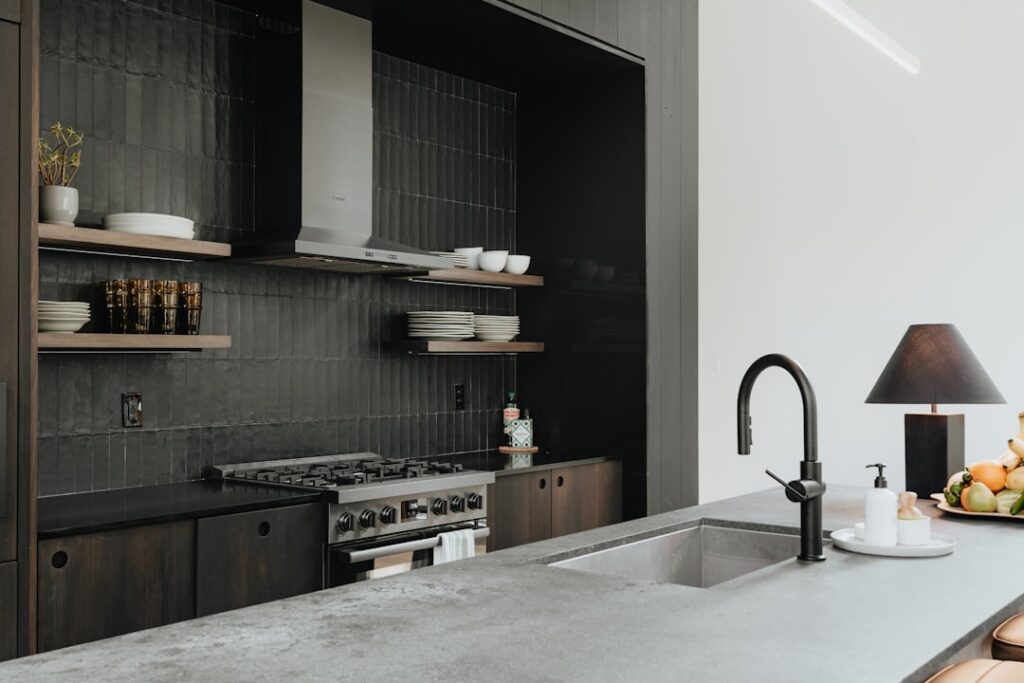
Most homeowners assume every hard tile is the same, then wonder why their kitchen surface chipped within a year. A ceramic floor is one of the most forgiving, budget-friendly surfaces you can install, but only if you match the tile to the room and the traffic it will see. Made from refined clay fired at roughly 2,000°F, ceramic tile balances durability, water resistance, and price better than almost any other material. This guide walks you through what ceramic actually is, what it costs, how it compares to porcelain, and how to keep it looking sharp for decades.
What Makes a Ceramic Floor Different
Ceramic tile starts as a blend of clay, sand, and water pressed into shape and baked in a kiln. A glaze fired onto the top surface gives it color, pattern, and a protective shell. That glaze is what makes ceramic so easy to wipe clean, though it is also the layer that shows wear on cheaper tiles. Standard ceramic absorbs between 3 and 7 percent of its weight in water, which is fine for kitchens and living rooms but a reason to think twice in a soaking-wet shower base.
Compare that to porcelain, a denser cousin fired at higher heat with an absorption rate under 0.5 percent. Porcelain costs more and is harder to cut, but it handles freeze-thaw cycles and heavy commercial traffic better. For most residential rooms, a quality ceramic tile delivers 90 percent of porcelain’s performance at 60 to 70 percent of the cost.
Reading PEI Ratings Before You Buy
The single most useful number on a tile box is the PEI rating, a 1-to-5 scale that measures surface abrasion resistance. Ignore it and you may end up with a beautiful floor that dulls in a hallway within two winters. Here is how the scale breaks down:
- PEI 1: Walls only, no foot traffic.
- PEI 2: Light traffic like bathrooms and bedrooms with soft footwear.
- PEI 3: Moderate traffic, the sweet spot for most residential floors including kitchens.
- PEI 4: Heavy traffic, entryways, and light commercial use.
- PEI 5: Maximum durability for storefronts and industrial spaces.
For a busy household with kids or pets, choose PEI 3 or 4. Do not pay for a PEI 5 tile in a guest bathroom that sees light use twice a week.
What a Ceramic Floor Costs
Material pricing spans a wide range depending on quality and design. Basic field tile runs $0.75 to $3 per square foot, mid-grade glazed ceramic lands around $3 to $7, and designer or hand-glazed pieces climb to $10 or more. For a typical 200-square-foot kitchen, expect $150 to $1,400 in tile alone.
Installation is the bigger line item. Professional labor averages $5 to $12 per square foot depending on your region, subfloor prep, and pattern complexity. Add thinset mortar, grout, backer board, and spacers, and your all-in installed cost usually falls between $10 and $20 per square foot. A DIY approach can cut labor entirely, dropping your out-of-pocket to roughly $2 to $6 per square foot in materials, though you will invest a weekend and the cost of a rented wet saw at about $50 to $90 per day.
Installing a Ceramic Floor Step by Step
A successful tile job lives and dies by the prep work under it. Rushing the subfloor is the number one cause of cracked tile and loose grout lines. Follow this sequence:
- Confirm the subfloor is flat within 1/8 inch over 10 feet and rigid enough that it does not flex underfoot. Over plywood, install cement backer board in a bed of thinset and screw it down every 8 inches.
- Dry-lay a row of tile from your center point to plan cuts and avoid thin slivers at the walls.
- Spread thinset with a 1/4-inch notched trowel, working in sections you can tile before the mortar skins over, usually about 10 minutes.
- Set each tile with a slight twist, using spacers to keep grout lines consistent at 1/8 to 3/16 inch.
- Let the mortar cure 24 hours, then grout, wipe the haze, and seal the grout lines after 72 hours.
Take your time on layout. A crooked first row telegraphs across the entire room and cannot be fixed after the mortar sets.
Cleaning and Maintaining Your Tile
One of the strongest arguments for a ceramic floor is how little it asks of you. The glazed surface resists stains, moisture, and most household chemicals. Sweep or vacuum a few times a week to keep grit from scratching the glaze, then damp-mop with warm water and a pH-neutral cleaner. Skip oil-based soaps and wax, which leave a film that dulls the finish and traps dirt.
Grout is the weak link. Unsealed grout absorbs spills and grows dingy fast, so seal it on install and reseal every one to two years in wet rooms. For stubborn grout stains, a paste of baking soda and water scrubbed with a stiff nylon brush lifts most discoloration without harsh acids that can etch the surrounding tile.
Where a Ceramic Floor Works Best
Kitchens, bathrooms, mudrooms, and laundry rooms are natural fits because ceramic shrugs off spills and mopping. It also pairs beautifully with radiant heat, since the tile conducts warmth efficiently and stays comfortable underfoot on cold mornings. The main drawback is the cold, hard feel in bedrooms and the fatigue of standing on it for hours, which a cushioned mat at the sink easily solves.
Avoid ceramic over a subfloor that flexes, in unheated spaces with hard freezes if you chose a low-fired tile, or anywhere you need a warm, soft surface underfoot without a rug. In those cases, a denser porcelain or a resilient vinyl may serve you better.
Glazed Versus Unglazed and Tile Sizes
Not all ceramic wears its glaze the same way. Glazed tile carries a colored, sealed top layer that resists stains and moisture, making it the default for kitchens and baths. Unglazed ceramic, such as quarry tile, has color running through the body and offers more slip resistance underfoot, a smart pick for entryways and patios where wet shoes are common. The trade-off is that unglazed tile absorbs more and needs sealing to fend off stains.
Tile size shapes both the look and the labor. Large-format tiles of 12 by 24 inches or bigger create fewer grout lines and a more open, seamless feel, but they demand a dead-flat subfloor because any dip telegraphs as lippage at the edges. Small tiles and mosaics conform to uneven surfaces better and add grip, which is why 2-inch hex and penny rounds show up on shower floors. For a first-time DIYer, a 12-by-12 or 12-by-24 tile in a straight grid is the most forgiving place to start.
Common Mistakes to Avoid
Even a quality tile fails when the fundamentals are ignored. The errors that generate the most callbacks are predictable and preventable:
- Skipping backer board over a plywood subfloor, which lets the floor flex and cracks the grout within a season.
- Inadequate thinset coverage, leaving hollow spots under the tile that crack under a dropped pot or a heavy step.
- Grouting too soon, before the mortar has cured 24 hours, which shifts tiles out of plane.
- Forgetting to seal the grout, the single most common reason a floor looks dingy a year later.
Spend an extra hour on prep and you save yourself a full teardown down the road.
Making the Right Choice
A ceramic floor rewards homeowners who plan carefully. Match the PEI rating to your traffic, budget for proper subfloor prep, and never cut corners on grout sealing. Do those three things and you will have a surface that looks as good in year fifteen as it did the day it was laid. Whether you hire a pro or tackle it yourself over a weekend, ceramic remains one of the smartest value plays in flooring, delivering durability and style without the premium price of stone or high-end porcelain. Measure your space, pick a tile rated for the room, and you will spend far less time worrying about your floor and far more time enjoying it.
Prefer to explore on your own?
See how new flooring looks in your actual room in seconds — free, no signup.
Try the free Floor Studio →