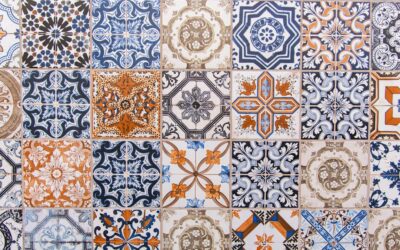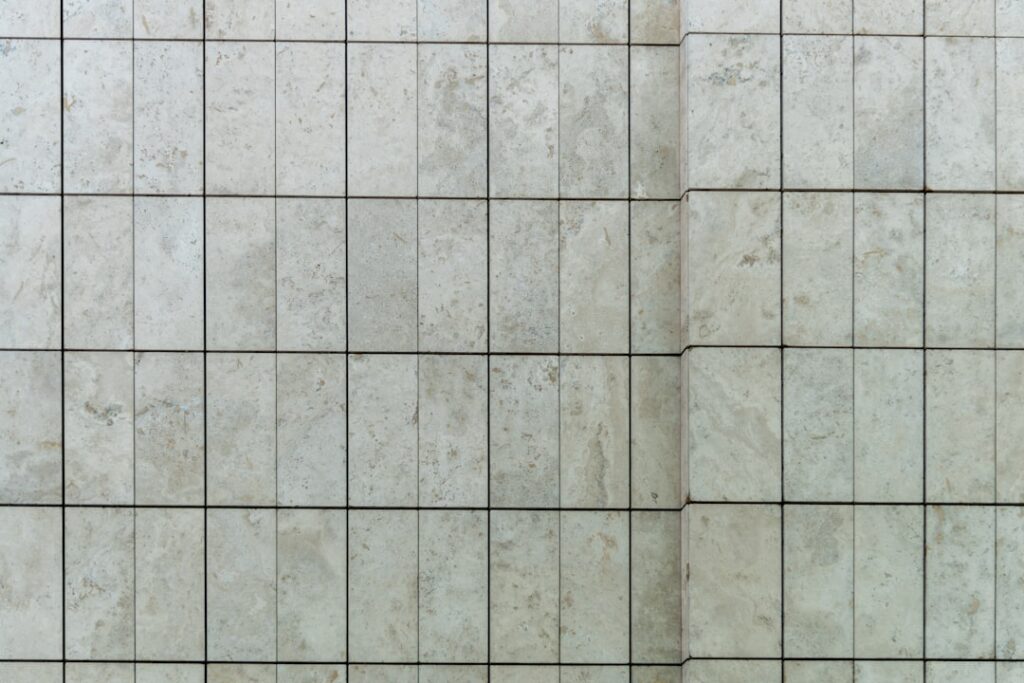
Tile has a reputation for being expensive, but that reputation is outdated. Cheap tile flooring exists in every category, and with the right choices you can floor an entire room for a fraction of what you might expect, without ending up with something that looks or feels budget. The trick is knowing which corners are safe to cut and which ones will cost you more down the road. This guide breaks down the affordable options, what they cost, and how to shop smart.
Part of our Tile & Grout guide — explore the full guide →
What Counts as Cheap Tile?
Affordable tile generally falls under $2 per square foot for the material, with budget options dipping to $0.50 to $1.50 per square foot. At those prices you are usually looking at standard ceramic, basic porcelain, or vinyl tile rather than natural stone or designer porcelain. The good news is that modern manufacturing means even inexpensive tile can mimic wood, marble, and concrete convincingly. The savings come from simpler patterns, smaller selection, standard sizes, and lower-end finishes, not necessarily from poor durability.
The Most Affordable Tile Types
Ceramic Tile
Ceramic is the classic budget choice. Made from clay and fired at lower temperatures than porcelain, it is softer, lighter, and easier to cut, which also lowers installation costs. Basic glazed ceramic often runs $0.50 to $2 per square foot. It works well for walls, backsplashes, and low-to-moderate traffic floors, though it is more prone to chipping and cracking than porcelain.
Porcelain Tile
Porcelain is denser, harder, and more water-resistant than ceramic because it is fired at higher temperatures. Budget porcelain can be found for $1 to $3 per square foot, and it is a better choice for high-traffic areas, bathrooms, and anywhere moisture is a concern. The slightly higher price often pays off in longevity.
Vinyl and Luxury Vinyl Tile
Vinyl tile, including peel-and-stick and luxury vinyl tile, is among the cheapest and easiest to install. Peel-and-stick squares can cost under $1 per square foot, while better luxury vinyl tile runs $1 to $3. It is softer underfoot, warmer than ceramic, fully waterproof in many cases, and forgiving enough for a confident DIYer.
Where the Real Costs Hide
The sticker price of the tile is only part of the equation. Installation and materials often cost more than the tile itself, so factor in the full picture.
- Labor: Professional tile installation typically runs $5 to $15 per square foot, often dwarfing the cost of cheap tile.
- Underlayment and backer board: Required for many installations and add to the material bill.
- Thinset, grout, and sealer: Small per-bag costs that add up across a room.
- Tools: A tile saw, spacers, trowels, and a float, which you can rent or buy.
If you DIY the labor, cheap tile becomes genuinely cheap. If you hire out, the material savings matter far less than the installation cost.
How to Make Cheap Tile Look Expensive
Plenty of budget tile looks high-end once it is installed well. A few smart moves close the gap.
- Choose large-format tiles: Bigger tiles mean fewer grout lines, which reads as cleaner and more luxurious. They also install faster.
- Pick a grout color that blends: Matching grout to the tile minimizes the busy grid and makes the floor look seamless.
- Go for matte or natural finishes: High-gloss cheap tile can look plasticky, while matte and textured finishes read as more authentic.
- Lay a thoughtful pattern: A simple offset or herringbone layout elevates even basic tile.
- Keep grout lines tight and even: Sloppy spacing is what makes budget jobs look cheap, not the tile itself.
Where to Buy Affordable Tile
Big-box home improvement stores carry a reliable range of budget ceramic and porcelain, often with frequent sales. Closeout and overstock sections are gold mines; discontinued lines sell at deep discounts simply because the pattern is being phased out. Local tile outlets and flooring liquidators also move overstock and seconds at low prices. When buying clearance tile, always purchase 10 to 15 percent extra, because you may not be able to find a matching batch later if you run short or crack a few during installation.
When to Spend a Little More
Cheap is smart in many situations, but a few cases justify spending up. In wet areas like bathrooms and laundry rooms, choosing porcelain over the cheapest ceramic improves water resistance and durability. In high-traffic entryways and kitchens, a slightly tougher tile resists chips and wear that would force an early replacement. And for a floor you plan to live with for a decade or more, paying a bit more for a tile you genuinely love prevents the costly regret of tearing it out early.
Pros and Cons of Going Budget
- Pros: Major upfront savings; wide selection of looks including wood and stone imitations; DIY-friendly options; perfectly durable for many rooms when chosen well.
- Cons: Cheapest ceramic chips more easily; limited designer patterns; thinner glazes may show wear sooner in heavy traffic; clearance stock can be hard to match later.
Common Budget Tile Looks
Affordable tile no longer means boring. Manufacturing advances mean budget tile convincingly imitates pricier materials, so you can get a high-end look for less.
- Wood-look plank tile: Porcelain planks printed with realistic wood grain give the warmth of hardwood with full waterproofing, often for $2 to $4 per square foot.
- Marble-look tile: Printed veining mimics Carrara and other marbles at a fraction of the price of real stone, with none of the etching worries.
- Concrete and cement looks: Matte gray tiles deliver a modern, industrial vibe affordably.
- Classic subway and white tile: Plain glossy or matte white tile is endlessly cheap and timeless, especially for walls and backsplashes.
DIY vs. Hiring Out
Since labor often costs more than budget tile itself, doing the work yourself is the single biggest way to save. Installing tile is within reach for a patient DIYer on a small, flat area like a bathroom floor or a backsplash, where mistakes are easier to manage. You will need a tile cutter or wet saw, a notched trowel, spacers, a grout float, and a level, much of which you can rent. The learning curve is real, though; uneven tiles, inconsistent grout lines, and poor layout are what make amateur jobs look cheap. For large floors, complex patterns, or areas requiring waterproofing like shower walls, hiring a skilled installer is usually worth it. A flawless installation makes inexpensive tile look custom, while a sloppy one makes even good tile look bargain-bin.
The Bottom Line
Cheap tile flooring is one of the best values in home improvement when you shop with a plan. Match the tile type to the room, factor in the full cost of installation and materials, and use large formats, blended grout, and matte finishes to make budget tile look far more expensive than it is. Save on the material, invest in a clean installation, and you can transform a room affordably without anyone guessing how little you spent.
Prefer to explore on your own?
See how new flooring looks in your actual room in seconds — free, no signup.
Try the free Floor Studio →