The single fastest way to make a kitchen look custom is to swap a plain grid layout for a directional pattern, and nothing delivers movement like a chevron tile backsplash. Those crisp V-shaped points draw the eye upward and make even a modest galley kitchen feel intentional and designed. I have installed dozens of these, and while the finished look is stunning, the layout demands more planning than a standard straight set. Here is everything you need to know before you commit.
Chevron vs. Herringbone: Know the Difference
People use these terms interchangeably, but they are not the same pattern, and mixing them up leads to buying the wrong tile. In a chevron layout, each tile is cut at an angle so the ends meet in a continuous, unbroken zigzag point. The seams form perfect V shapes with no interruption.
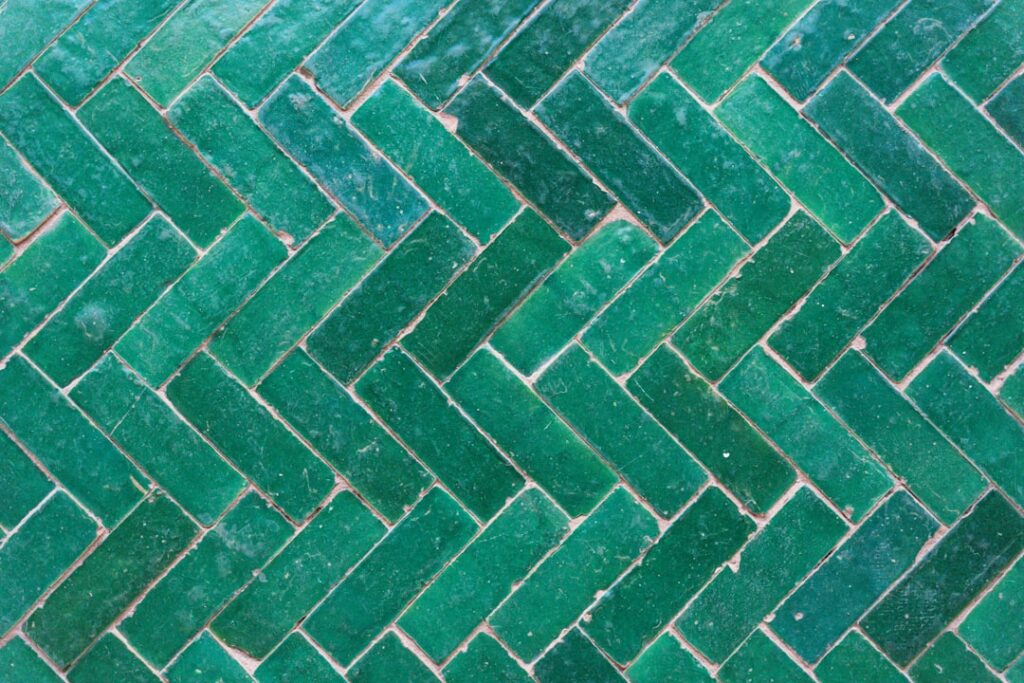
Herringbone, by contrast, uses rectangular tiles laid so the end of one meets the side of the next, creating a broken, staggered zigzag. Chevron looks sharper and more modern; herringbone reads slightly more traditional. If you want the true pointed chevron look, you must buy tiles precut at the correct angle, or plan to make dozens of precise miter cuts yourself.
Choosing the Right Tile
Chevron works in a surprising range of materials, but some choices are far easier to install than others. Precut chevron-shaped tiles, sold as parallelogram pieces, take all the guesswork out of the angles and are worth the small premium. Popular options include:
- Marble chevron — Carrara and Calacatta chevron mosaics deliver a high-end, luxurious backsplash but need sealing.
- Ceramic and porcelain — Affordable, waterproof, and available in matte or glossy glazes.
- Glass chevron — Reflects light beautifully behind a range, though it shows fingerprints.
- Peel-and-stick chevron — A budget, renter-friendly option that mimics the look without mortar.
Mesh-mounted mosaic sheets are the most forgiving path for a DIYer. The chevron pattern is already assembled on a backing sheet, so you simply set the sheets side by side and the points line up automatically.
Cost per Square Foot
A chevron backsplash costs more than a basic subway install, mostly due to layout time and cutting waste. Ceramic chevron mosaics start around $6 to $10 per square foot for materials. Glass runs $12 to $20, and marble chevron climbs to $15 to $30 per square foot depending on the stone.
Labor is where chevron adds up. Because of the angled layout and extra edge cuts, professional installers typically charge $12 to $20 per square foot, compared to $8 to $12 for a straight set. A standard 30-square-foot kitchen backsplash therefore runs roughly $600 to $1,500 installed. Budget 15 percent extra tile for cuts and the occasional cracked piece, since a mid-project reorder from a different dye lot rarely matches.
Orientation: Vertical or Horizontal
This is the design decision most homeowners overlook. A chevron pattern can run with the points aiming up and down, which draws the eye toward the ceiling and makes a room feel taller, ideal for kitchens with lower ceilings. Alternatively, the points can run horizontally, left to right, which stretches a wall and works well behind a long run of counter.
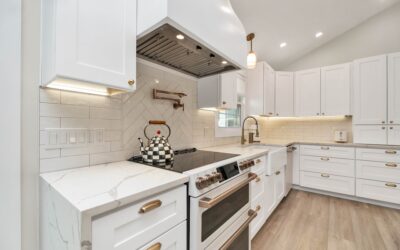
I usually recommend vertical orientation behind a range hood, where the upward points frame the focal point of the kitchen. Tape out both options with painter’s tape on your wall before ordering so you can live with each look for a day or two. It is a free experiment that prevents an expensive regret.
Installation Tips From the Field
Layout is everything with chevron. Find the exact center of your main wall and establish a vertical reference line with a laser level. Build your pattern outward symmetrically from that centerline so the cuts land evenly in the corners rather than leaving a sliver on one side.
- Dry-lay a few rows on the counter first to confirm the points align before any mortar goes down.
- Use a quality thin-set and a 3/16-inch V-notch trowel for mosaic sheets to avoid excess squeezing through the joints.
- Keep grout lines consistent; even 1/16-inch variation throws off the crisp V points.
- For marble, seal the tile before grouting so pigment does not stain the porous stone.
- Wipe glass and polished tile immediately, because dried grout haze is stubborn on shiny surfaces.
Grout color changes the entire personality of the wall. A matching grout makes the chevron subtle and seamless, while a contrasting grout, such as dark gray against white marble, turns the pattern into a graphic statement. Choose deliberately.
Design Styles That Suit Chevron
Chevron leans modern and transitional, so it shines in contemporary kitchens with flat-panel cabinets and quartz counters. A white marble chevron backsplash pairs effortlessly with brass hardware for a warm, upscale look. In a more industrial space, a matte black or charcoal chevron backsplash against concrete-look counters reads bold and current.
Even in a traditional kitchen, a soft neutral chevron can add just enough interest without clashing. The pattern itself carries the visual weight, so keep surrounding elements calm. Busy granite plus a busy chevron pattern fights for attention and makes the space feel cluttered.
Common Mistakes to Avoid
A chevron backsplash is unforgiving of shortcuts, and I have been called in to fix a few that went wrong. The most frequent mistake is starting the layout from a corner or an edge instead of the centerline. When you build outward from the wrong reference point, the pattern drifts and you end up with mismatched slivers where the wall meets the cabinets. Always find the true center of your focal wall and work symmetrically in both directions from there.
Another common error is ignoring the countertop as your baseline. Countertops are rarely perfectly level, so setting your first row directly on the counter transfers every dip into the tile pattern and throws the crisp V-points out of alignment. Instead, establish a level ledger line with a laser and build from that. Inconsistent grout spacing is the third killer; even a slight variation in joint width makes the points look sloppy and destroys the sharp geometry that makes chevron special. Use consistent spacers and check your alignment every few courses. Homeowners also underestimate waste, ordering exactly the square footage they measured and running short mid-project, only to receive replacement tile from a different dye lot that does not match. Order 15 to 20 percent extra from the start. Finally, do not rush the grout cleanup on glass or polished marble, where dried haze clings stubbornly to shiny surfaces. Wipe as you go and buff before it sets.
Is a Chevron Backsplash Worth It?
For most homeowners, yes. A chevron tile backsplash costs a few hundred dollars more than a plain layout but delivers a designer look that photographs beautifully and adds perceived value at resale. The pattern is timeless enough to avoid looking dated quickly, yet distinctive enough to set your kitchen apart from the standard subway everyone else installs.
If you are a confident DIYer, buy precut or mesh-mounted chevron to sidestep the tricky miter cuts. If you want flawless points and clean corners, this is one project where hiring an experienced tile setter pays for itself. Either way, take your time on the layout, and the finished backsplash will be the feature guests notice the moment they walk in.
Prefer to explore on your own?
See how new flooring looks in your actual room in seconds — free, no signup.
Try the free Floor Studio →