Whether you just bought a home, lost a remote, or your keypad suddenly stopped responding, knowing how to perform a clicker garage door opener reset puts you back in control in minutes. Clicker is a widely used universal remote and keypad brand made by the same parent company behind LiftMaster and Chamberlain, and its devices work with most major opener brands. This guide walks through clearing old codes for security, reprogramming your remote and keypad, and fixing the pairing hiccups homeowners run into most.
- When and Why to Reset Your Opener
- Understanding the Learn Button
- How to Clear All Existing Codes (Full Reset)
- Reprogramming Your Clicker Remote
- Resetting and Reprogramming the Keypad
- Common Problems and Fixes
- Confirming Compatibility Before You Buy
- Security Best Practices After a Reset
- Understanding Rolling-Code Security
- Pairing In-Car HomeLink Buttons
- Getting Back to a Working Door
When and Why to Reset Your Opener
A reset serves two purposes: security and troubleshooting. If you move into a new house, you have no idea how many remotes the previous owners handed out, and clearing the opener’s memory ensures no old device can open your door. That alone is reason enough to reset the day you get the keys.
On the troubleshooting side, resetting resolves a remote that stopped working, a keypad that won’t accept your code, or intermittent operation after a power surge. Wiping the memory and starting fresh clears corrupted pairings and gives you a clean slate.
Understanding the Learn Button
Almost every reset and pairing task revolves around one component: the Learn button on the opener’s powerhead (the motor unit on the ceiling). Find it before you start anything else. It’s usually a colored button, green, red/orange, purple, or yellow depending on the model, often near where the antenna wire hangs down, sometimes hidden under a light cover.
The button’s color hints at the security technology inside, which matters for compatibility when you pair a Clicker remote. Note the color; you may need it if the remote asks you to match a specific programming procedure.
How to Clear All Existing Codes (Full Reset)
Erasing every stored remote and keypad is the true “reset” and the first step when securing a new home. The process is nearly universal across modern openers:
- Locate the Learn button on the powerhead.
- Press and hold it until the indicator LED next to it turns off, typically about 6 to 10 seconds.
- Release the button. The light going out confirms the memory is wiped.
Once you do this, every previously paired remote, keypad, and in-car button stops working, exactly what you want for security. You’ll now reprogram only the devices you actually control.
Reprogramming Your Clicker Remote
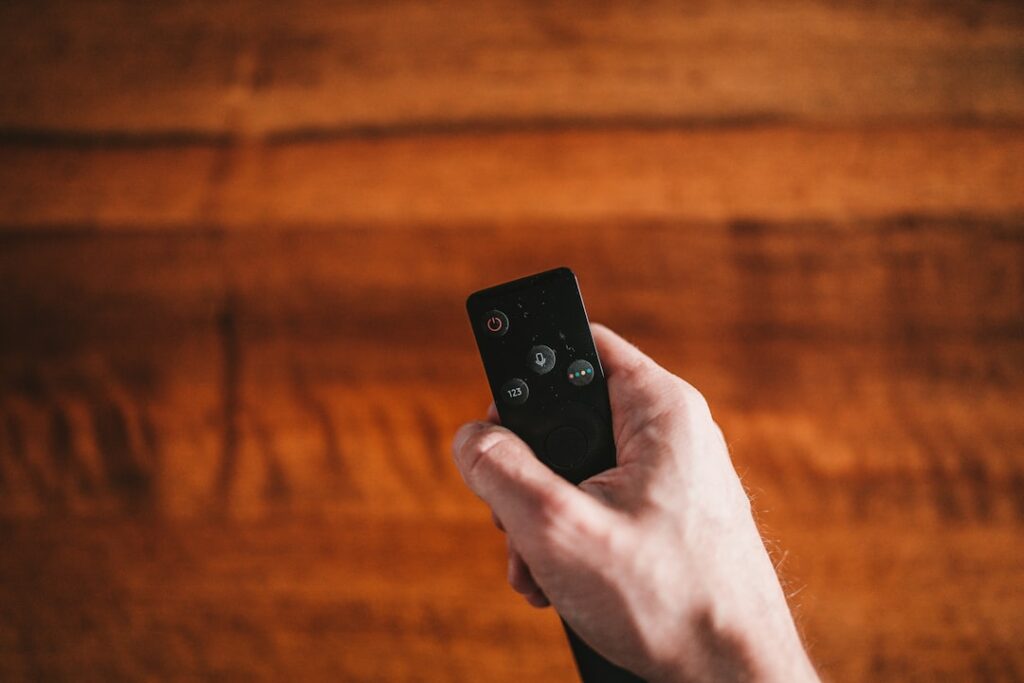
With the memory cleared (or to simply add a remote), pairing a Clicker remote takes seconds. The general steps:
- Press and release the Learn button on the opener. The learn LED lights up, you usually have about 30 seconds.
- Within that window, press the button on your Clicker remote you want to use.
- The opener light will flash or you’ll hear a click, confirming the remote is paired.
- Test the remote from inside the garage before trusting it.
If nothing happens on the first try, you may have run past the 30-second window, just press Learn again and repeat. Some older, non-rolling-code openers use a different DIP-switch or dual-button procedure, so check the instructions that came with your Clicker if the standard method fails.
Resetting and Reprogramming the Keypad
A wireless keypad mounted outside the garage needs its own programming, and it also lets you set a new PIN, which is smart when moving in. First, decide on a new numeric code. Then, on many Clicker keypads:
- Enter your desired PIN on the keypad and press the designated program or enter key to store it.
- Press the Learn button on the opener to enter pairing mode.
- Return to the keypad, re-enter your PIN, and press the button to send the signal.
- The opener confirms with a light flash or click; test the code.
If you’ve forgotten the existing keypad code, you generally can’t recover it, but you can overwrite it by reprogramming from scratch, which is why the reset process doubles as a code-recovery method.
Common Problems and Fixes
Most reset failures trace to a few predictable issues. Run through these before assuming the hardware is broken:
- Dead remote battery: The single most common culprit. Swap in a fresh coin-cell battery before anything else.
- Wrong Learn window: You have ~30 seconds after pressing Learn; work quickly or restart.
- Compatibility mismatch: Very old openers (pre-1993, fixed-code) may not pair with newer Clicker models. Check the Clicker compatibility chart.
- Blocked signal or distance: Test standing near the opener; range issues can masquerade as pairing failures.
- Lock mode engaged: A wall-console “lock” or vacation switch can disable remotes entirely; make sure it’s off.
That last one trips up a lot of people. If a wall button has been holding down a lock feature, no remote will work no matter how many times you reprogram it.
Confirming Compatibility Before You Buy
Clicker markets its remotes and keypads as universal, and they do work with the large majority of major opener brands, LiftMaster, Chamberlain, Genie, Craftsman, Linear, and more, but “most” isn’t “all.” Before buying a replacement Clicker device, identify your opener’s brand and, ideally, the color of its Learn button, then check the compatibility chart on the product packaging or the manufacturer’s site.
The dividing line is usually age and code type. Openers made after the mid-1990s that use rolling code pair readily with modern Clicker models, while very old fixed-code or dip-switch units may not be supported and could need a different universal remote or an opener upgrade. If you’re unsure, the safest move is to note your opener’s model number from the label on the powerhead and match it against the compatibility list. A five-minute check prevents the frustration of buying a remote that simply won’t sync no matter how carefully you follow the reset steps.
Security Best Practices After a Reset
Once your devices are paired, take a moment to lock things down. Change any default keypad code to a PIN only you know, and avoid obvious numbers like a house address or 1234. If your opener supports it, enable the temporary-code feature for guests or service visits instead of sharing your permanent PIN. And if you ever sell the car with an in-vehicle HomeLink button paired, clear it before handing over the keys.
Periodically clearing and re-pairing every couple of years is also a reasonable habit if remotes have come and gone in your household.
Understanding Rolling-Code Security
Part of why resetting matters is the security technology built into modern openers. Most units made since the mid-1990s use rolling code (sometimes branded Security+ or Intellicode), which changes the access code every single time you press the remote. This prevents a thief from recording your signal and replaying it later, a real vulnerability on the old fixed-code systems.
When you pair a Clicker remote to a rolling-code opener, the two devices sync their code sequences during programming. That’s why simply having a remote isn’t enough, it has to be learned by the specific opener. It’s also why clearing the memory is so effective for security: once you wipe and re-pair, any previously synced remote is locked out for good. If your opener is very old and uses fixed DIP-switch codes, consider upgrading, since fixed-code systems are far easier to breach.
Pairing In-Car HomeLink Buttons
Many homeowners also want to open the garage from the buttons built into a car’s visor or mirror, a system called HomeLink. Programming these to a Clicker-equipped opener follows a similar logic to a remote but with an extra step. First you train the car’s HomeLink button to your handheld remote by holding them close together, then you press the Learn button on the opener to sync the newly trained signal.
Some newer rolling-code openers require you to press the Learn button as the final step so the car and opener sync their code sequences. If the in-car button trains but won’t operate the door, that missing Learn-button step is almost always the reason. And when you sell or trade in a vehicle, clear the HomeLink memory, usually by holding the two outer buttons until the indicator flashes, so the next owner can’t access your garage. Treat the car’s built-in opener with the same security discipline as a physical remote.
Getting Back to a Working Door
A reset sounds intimidating until you realize it’s mostly one button and a 30-second window. Clear the memory to secure a new home, then reprogram only the remote and keypad you use, testing each before you rely on it. Keep fresh batteries on hand and check the wall-console lock switch first when something won’t pair. With these steps, a clicker garage door opener reset is a five-minute job that restores reliable, secure access to your garage, no service call and no locksmith required.