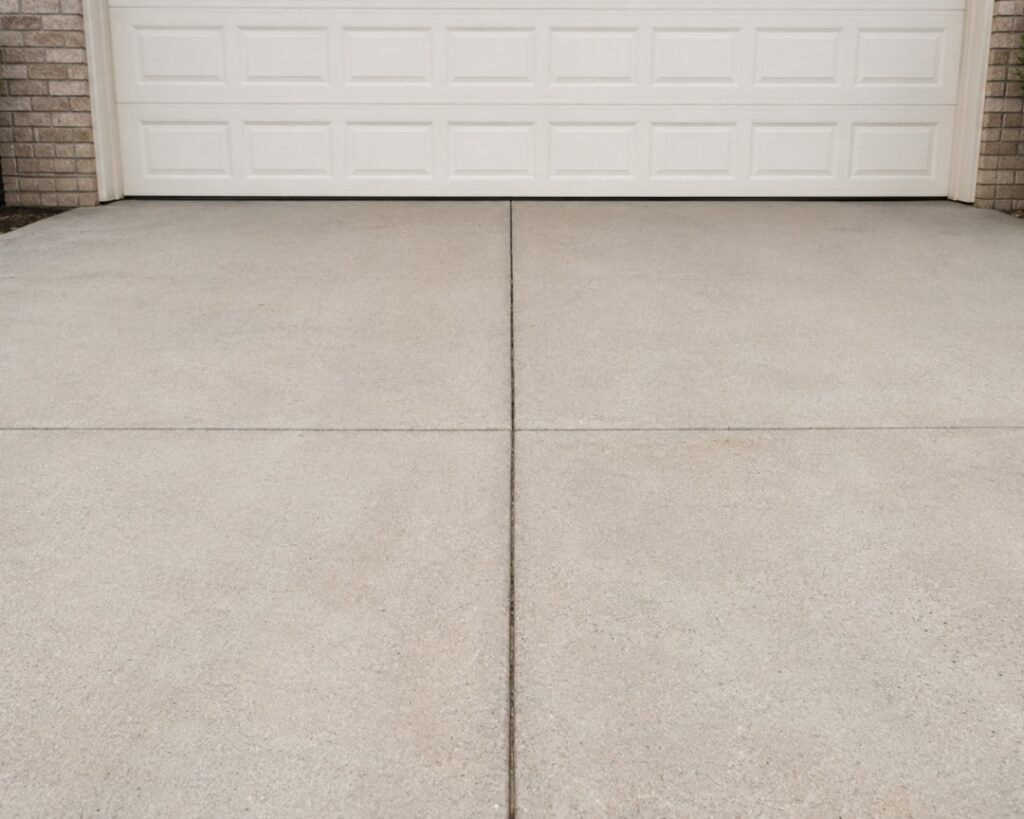
A freshly painted garage floor transforms a dusty, stained slab into a clean, bright, easy-to-sweep surface, and it’s one of the most satisfying weekend projects a homeowner can tackle. But concrete and garage floor paint is also one of the most commonly botched jobs I get called to fix, almost always because someone rolled paint straight onto a slab that wasn’t prepped. The paint peels within months, and they’re left worse off than bare concrete. The good news is that a durable, long-lasting finish is entirely achievable if you respect the prep, test for moisture, and follow the coating’s cure schedule.
This guide walks through the entire process the way I’d do it on a job: choosing the right product, etching or grinding the surface, testing for moisture, and applying the coating with realistic coverage rates and cure times. Follow these steps and your painted floor will look sharp and stay bonded for years instead of flaking off by next winter.
Understanding Your Paint Options
Not all concrete floor coatings are created equal, and knowing the difference saves disappointment. True latex acrylic concrete paint is the least expensive and easiest to apply, but it’s really only suited to low-traffic areas and won’t survive hot tires or heavy use in a working garage. It’s fine for a basement floor or patio but a poor choice where cars park.
Epoxy paint is the workhorse of garage floors. One-part epoxy-fortified paints are a step up from latex, while two-part (100% solids or water-based) epoxy systems that you mix from resin and hardener deliver genuine durability, chemical resistance, and the ability to shrug off hot-tire pickup. For a garage that sees daily driving, a two-part epoxy is the minimum I recommend. Polyurethane and polyaspartic coatings sit at the top tier, offering superior abrasion and UV resistance, and they make excellent clear topcoats over epoxy for maximum longevity.
Whatever you choose, buy a system rather than a single can when possible, meaning a matched primer, base coat, optional decorative flakes, and clear topcoat. The layered systems vastly outperform a single coat of paint, and the difference in lifespan is measured in years.
If you’re running out of room even with a clean garage floor, a backyard shed takes the overflow — seasonal gear, tools, lawn equipment. And if you’re parking outside while the garage doubles as a workshop, a carport keeps your car covered without needing a second garage.
We may earn a commission when you purchase through our links.
Surface Prep: Where Most Failures Begin
I cannot overstate this: surface preparation determines whether your paint lasts a decade or peels in a season. Concrete is porous and often coated with a smooth, dense surface layer called laitance, plus invisible sealers, curing compounds, oil, and dust that all prevent paint from bonding. You must open up and clean that surface before any coating touches it.
Start by clearing the garage and cleaning the slab thoroughly. Degrease every oil and grease stain with a dedicated concrete degreaser, scrubbing until water no longer beads on the spot; any oil left behind will bloom through as a bond failure. Sweep and vacuum all dust and debris. Fill significant cracks and spalls with a concrete patch or epoxy filler and let those repairs cure fully before moving on.
Then comes profiling, the single most important prep step. You need to give the slab a slightly rough, sandpaper-like texture (the industry target is roughly a CSP 1 to CSP 3 profile) so the coating can grip. There are two ways to get there: acid etching or mechanical grinding.
Etching Versus Grinding
Acid etching is the DIY-friendly method. You apply a diluted muriatic or citric-acid etching solution, which reacts with the surface to open the pores and remove laitance. Work in sections, keep the floor wet, scrub with a stiff brush, and then rinse thoroughly (multiple times) until the surface is neutral, because leftover acid residue will ruin adhesion. A properly etched floor should feel like medium-grit sandpaper when dry. Etching won’t work on sealed concrete, though, since the acid can’t penetrate a sealer, and it does little for heavy oil contamination.
Mechanical grinding with a diamond floor grinder is the professional standard and gives a more consistent, reliable profile. It removes coatings, sealers, and the weak surface layer in one pass and creates an ideal texture for the coating to bite into. Grinders rent for around $75 to $150 a day, and for a serious epoxy job the results are well worth it. Whichever method you use, the slab must be completely clean, profiled, and dust-free before you prime.
Safety matters at this stage. Acid etching demands acid-resistant gloves, safety goggles, rubber boots, and good ventilation, and you should always add acid to water, never the reverse. Grinding throws silica dust, which is a genuine respiratory hazard, so use a vacuum-shrouded grinder and an N95 or better respirator. Don’t cut corners on personal protection during prep.
Moisture Testing Before You Paint
Moisture is the silent killer of painted concrete floors. Concrete slabs, especially those on grade or below grade, constantly wick water vapor up from the ground, and that vapor pressure will push a coating right off the surface if the slab is too wet. This is why a floor can be perfectly prepped and still fail: the problem came from below.
Always run a moisture test before painting. The simple version is the ASTM D4263 plastic-sheet test: tape a two-foot square of plastic sheeting tightly to the clean slab and leave it for 24 to 48 hours. If you see condensation under the plastic or a darkened patch on the concrete when you pull it up, the slab is passing too much moisture to paint safely. For a more precise reading, use calcium chloride test kits or an in-situ relative humidity probe, and follow your coating manufacturer’s moisture limits.
If the slab reads wet, address it before coating. That may mean improving exterior drainage, waiting for a drier season, or using a moisture-mitigating epoxy primer designed to hold back vapor pressure. Painting over a moisture problem guarantees failure, so this test is not a step to skip.
Applying the Coating Step by Step
With prep done and the slab confirmed dry, application is straightforward but time-sensitive. Choose a day with temperatures between about 60°F and 85°F and moderate humidity, since cold or damp conditions slow curing and can cloud the finish. If you’re using two-part epoxy, mix the resin and hardener precisely per the label and respect the pot life: once mixed, most epoxies give you only 30 to 40 minutes of working time before they thicken in the bucket, so mix only what you can apply in that window.
Cut in the edges and corners with a brush, then roll the main field with a 3/8-inch nap roller on an extension pole, working in manageable sections and maintaining a wet edge so the coating blends seamlessly. Coverage rates run about 250 to 400 square feet per gallon for the first coat on porous concrete, dropping to around 300 to 500 square feet per gallon on the smoother second coat; a two-car garage of roughly 400 to 500 square feet typically needs two to three gallons for full two-coat coverage. If you’re broadcasting decorative flakes, cast them into the wet base coat immediately, since they won’t stick once it starts to set.
Apply the number of coats the system calls for, usually a primer plus one or two color coats, and finish with a clear topcoat if the product includes one. Keep the space ventilated throughout, wear a respirator rated for solvent vapors with high-solids epoxies, and don’t overthin the material chasing coverage, because that just weakens the film.
Cure Times and Return to Service
Patience at the end protects all your hard work. Cure times vary by product and temperature, but a typical epoxy garage floor is dry to the touch in a few hours, ready for light foot traffic in 12 to 24 hours, and cured enough to walk on comfortably at 24 to 48 hours. The critical number for a garage is when you can park on it: most epoxy systems need a full 5 to 7 days at 70°F before they’ll handle vehicle weight and hot-tire pickup without marring.
Temperature has a big effect. Cooler conditions dramatically extend cure time, so a coating that parks-ready in five days at 70°F may need considerably longer at 55°F. Resist the urge to rush; driving onto a coating that hasn’t fully cured is the fastest way to peel a fresh floor. Between coats, respect the recoat window on the label too, since coating too soon or too late can compromise the bond between layers.
Keeping Your Painted Floor Looking Great
A well-applied concrete and garage floor paint job asks very little in return. Sweep or dust-mop regularly to keep abrasive grit from wearing the finish, and clean spills of oil, gas, or chemicals promptly so they don’t sit on the coating. For general cleaning, a damp mop with a mild cleaner is plenty; avoid harsh solvents and never use anything that could strip the film.
Place a mat under vehicles that come in hot or wet from snow and road salt, and use furniture pads under heavy toolboxes and jack stands to prevent scratches. When the topcoat eventually shows wear in the drive lanes after several years, a light scuff-sand and a fresh clear coat restores it without redoing the whole floor. Treated this way, a properly prepped and painted garage floor stays bright, sealed, and easy to maintain for well over a decade, which is a remarkable return on a weekend’s work.
Prefer to explore on your own?
See how new flooring looks in your actual room in seconds — free, no signup.
Try the free Floor Studio →