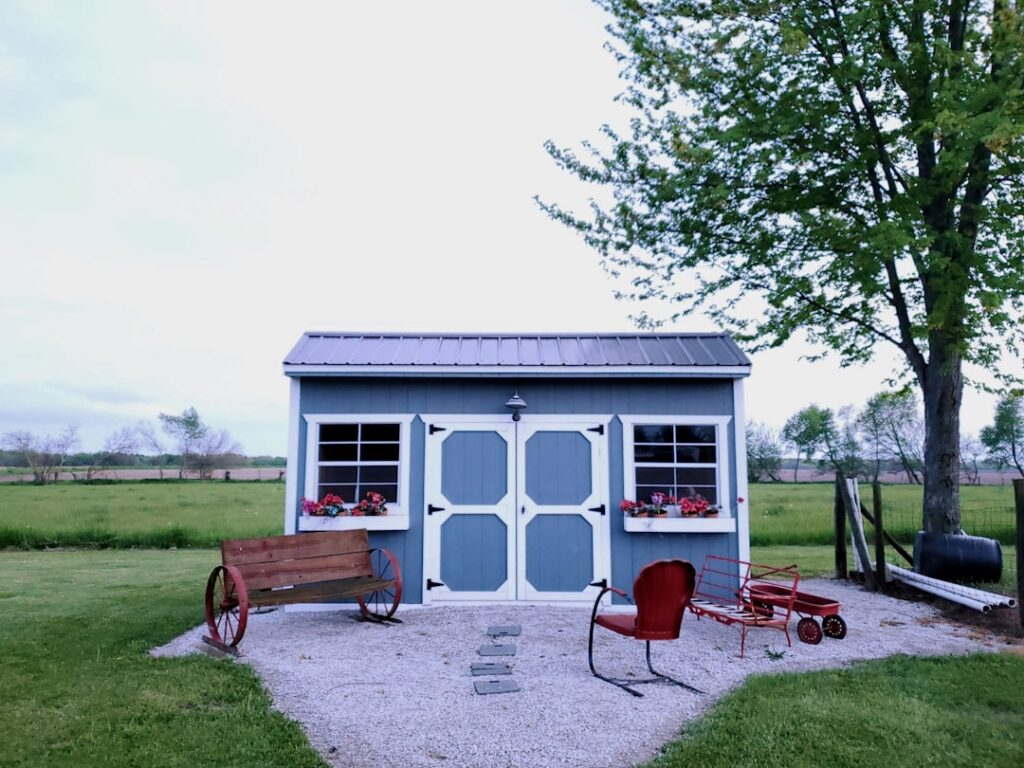
A shed is only as good as what it sits on, and rotting skids on bare dirt have killed more sheds than windstorms ever will. A concrete pad for shed support is the permanent answer: dead flat, rot-proof, rodent-resistant, and strong enough for a riding mower, a workshop full of cast-iron tools, or that future upgrade to a bigger building. The pour itself is a manageable DIY weekend for anything up to about 10×12 feet. The decisions that make or break it — pad size relative to the shed, edge design, and anchoring — all happen before the truck or the first bag arrives. Here is the full playbook, sized for a typical backyard build.
Sizing: Pad Same Size as Shed, or Bigger?
This is the genuine debate, and shed manufacturers and concrete contractors land on opposite sides:
- Exact-size pad (pad = shed footprint, or 1-2 inches smaller): the shed industry’s strong recommendation, and the right default. When siding overhangs the pad edge slightly, rain running down the walls drips past the concrete to the ground. A pad that sticks out beyond the walls becomes a shelf that catches that water and channels it under the sill plate — the number-one cause of rotted floor framing on slab-set sheds. Tuff Shed, and most prefab builders, specify the pad flush or slightly proud by no more than an inch.
- Oversized pad (6-12 inches beyond each wall): the case for it is a mowing strip, a dry apron for door thresholds, and forgiveness if the shed placement shifts. If you want those benefits, take them deliberately: slope the exposed apron away at 1/4 inch per foot and set the shed on a sill sealed with foam gasket and elevated on treated plates, so the catch-water problem is engineered away rather than ignored.
The clean compromise most pros pour: pad matched to the shed footprint, plus a separate small landing slab in front of the door. A 10×12 shed thus gets a 10×12 pad and a 4×3 stoop, isolated by an expansion joint.
Thickness and Mix Spec
Four inches of concrete is the standard for shed pads, and it is genuinely enough: a 4-inch slab on decent base handles garden tractors, motorcycles, and tool-loaded shelving without complaint. Go to 5 or 6 inches only if a heavy vehicle will park on it or a lift or machine tool is in the plan. Order or mix to 3,000 to 3,500 PSI (4,000 in harsh freeze-thaw regions, with air entrainment if delivered). Reinforce with 6×6 welded wire mesh or, better for DIY, fiber-reinforced mix from the plant plus #3 rebar at 24 inches on center if you are borderline on base quality. Reinforcement placement matters more than quantity — mesh lying on the ground does nothing; pull it up into the middle of the slab thickness on chairs as you pour.
Base and Edge Design: Gravel Bed vs Monolithic Thickened Edge
Two legitimate ways to build the bottom of the system:
- Floating slab on gravel (most sheds): excavate 6 to 8 inches, compact the subgrade, then place and compact 4 inches of 3/4-inch minus crushed gravel in two lifts with a plate compactor ($90/day rental). The gravel drains water away from the slab bottom and spreads loads evenly. This is the standard detail for detached sheds in most climates.
- Monolithic thickened edge: the same pour, but the perimeter of the excavation is dug deeper — typically 8 to 12 inches deep and 12 inches wide, with a rebar run — so the slab and a stubby footing pour as one piece. Choose this when the shed is large (12×16+), when codes in your area require frost consideration for accessory buildings, on soft or sloped ground, or when a garage-grade building might replace the shed later. It adds roughly 30 to 50% more concrete but dramatically stiffens the edges where walls actually bear.
On expansive clay or in deep-frost states, note that small detached sheds are almost always allowed to float (heaving a garden shed an inch harms nothing), which is why full frost footings are rarely demanded — but verify locally before assuming.
Vapor Barrier: Cheap Now, Impossible Later
Lay 6-mil polyethylene sheeting over the gravel before pouring, seams overlapped 12 inches and taped. It costs about $25 for a shed-size sheet and blocks ground moisture from migrating up through the slab forever. Skip it and a “dry” shed slowly rusts every tool hung near the floor and mildews every cardboard box; no product applied later equals what the sheet does from below. The only case for skipping: a pad for firewood or pure garden storage where slab breathing is harmless.
Anchoring the Shed
Concrete’s quiet bonus is real anchorage — wind does not steal sheds bolted to two tons of slab. Options in order of preference:
- Cast-in J-bolts or Simpson anchor bolts set into the wet concrete at layout marks (12 inches from corners, 4 to 6 feet on center) — plan the shed’s wall layout before the pour and this is the strongest, cheapest route.
- Post-installed wedge anchors (1/2-inch, $2-$4 each) drilled through the sill plate after the shed is up — the practical choice for prefab and kit sheds, and nearly as strong.
- Concrete screws (Tapcon class) for light-duty resin or small sheds.
Set walls on pressure-treated bottom plates with sill-seal foam between wood and concrete — untreated lumber in ground-level slab contact rots and violates code. Manufactured sheds in high-wind counties may specify their own anchor pattern; Florida-style installs use engineered brackets.
Permits: When a Pad Triggers Paperwork
Rules vary by municipality, but the common pattern: sheds under 120 sq ft (some areas 200 sq ft) need no building permit, and the pad rides along free — which is exactly why 10×12 (120 sq ft) is the most popular shed size in America. Cross the threshold and both building and zoning review apply: setbacks from property lines (commonly 3 to 5 feet for accessory structures), easement clearance, and impervious-surface limits in some stormwater jurisdictions — the concrete itself counts toward lot coverage in those. Electrical to the shed always needs a permit regardless of size. A 10-minute call to the county beats a tear-out order; bring your lot’s plat and the pad dimensions.
DIY Pour Walkthrough: 10×12 Pad
A 10x12x4-inch pad needs 1.5 cubic yards of concrete. That is either a short-load ready-mix delivery ($300 to $500 with short-load fees — worth every dollar) or roughly 84 bags of 80-lb concrete ($550 to $700), which is at the outer edge of sane mixer-and-crew DIY. The sequence:
- Layout and square: stake the corners, check diagonals equal (12 ft 7-3/4 in for 10×12), and set string lines.
- Excavate and base: strip sod, dig 7 to 8 inches, compact subgrade, add 4 inches of gravel in two compacted lifts, screed the gravel level.
- Form: 2×6 lumber on edge, staked every 3 feet with the top edges at finished slab height, checked with a 4-foot level; slope 1/8 inch per foot toward the door side if you want wash-out drainage. Coat form faces with form oil or cheap vegetable oil.
- Barrier and steel: poly sheet down, mesh or rebar on 2-inch chairs, anchor-bolt positions marked on the forms.
- Pour and strike: place concrete starting at the far corner, rake roughly level, then screed with a straight 2×4 riding the forms in sawing strokes. Bull-float immediately to close the surface.
- Set anchors in the wet zone at your marks; jiggle each to consolidate around it.
- Finish: when bleed water sheen disappears and a thumbprint leaves a 1/4-inch dent, edge the perimeter and broom-finish (a slick trowel finish is a skating rink in a shed). A 10×12 needs no control joints if poured well, but one center joint is cheap insurance.
- Cure: spray curing compound or keep wet 7 days; keep the shed build off it for 7 days minimum and full loads off for 28.
Cost vs Gravel Pad vs Deck Blocks
Reality-check the alternatives before committing. For a 10×12: a concrete pad runs $550 to $900 DIY or $1,200 to $2,400 contractor-poured ($8 to $16 per sq ft installed in most markets). A compacted gravel pad with a timber perimeter costs $250 to $500 DIY, drains beautifully, suits wood-floor sheds — but shifts over years and offers no anchorage. Deck blocks or pier foundations run $150 to $400, elevate the shed on the cheap, and suit sloped sites, but leave a critter condo underneath and bounce underfoot with heavy tools. Concrete costs two to four times the gravel option and repays it in permanence: no re-leveling, no rot path, real anchors, and a floor you can roll an engine hoist across. For any shed you expect to still be using in fifteen years, pour the pad — your future self, sweeping a flat dry floor, will consider it the best money the shed ever cost.