Store-bought paver steppers cost $8 to $25 apiece, yet the concrete inside them is worth about a dollar. A concrete stepping stone kit flips that math: buy a mold once, mix bagged concrete, and cast unlimited stones for $1.50 to $3 each — with shapes, textures, and personalized touches no garden center sells. Kits split into two very different camps: path-maker molds that produce structural walkway stones, and craft kits built around handprints and mosaic glass. This guide covers the best of both, the right mix to use, and the pour-to-cure process that keeps stones from cracking the first winter.
Path-Maker Molds: The Workhorse Kits
Quikrete WalkMaker
The reference product. This $20-$28 plastic form casts a 2 x 2 ft section of “cobblestone” or “brick” path directly in place: set the form on prepared ground, fill with one 80 lb bag of concrete mix, screed, lift the form after a few minutes, reposition, and repeat. Four patterns exist — Country Stone, Running Bond Brick, Basket Weave, and European Block. A 20-foot path 2 feet wide takes 10 bags (about $70 of mix) and a weekend. Rotate the form 90 degrees on alternating placements to hide the repeat.
Individual stepper molds
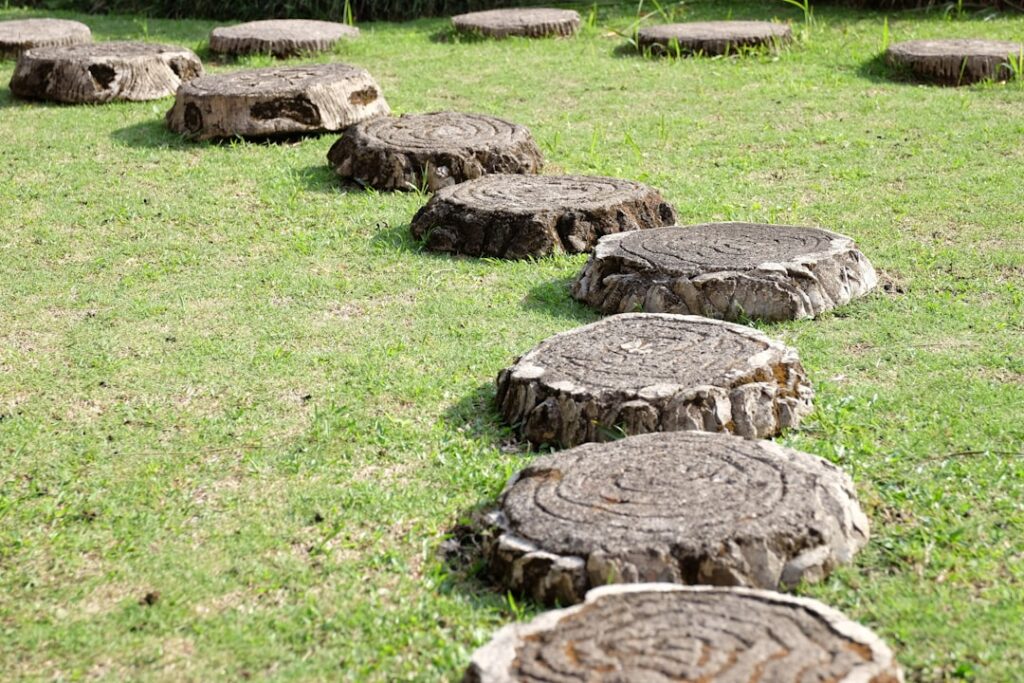
Reusable ABS or polypropylene molds in rounds, squares, hexagons, and irregular “flagstone” shapes, typically 12-18 in. across and $10-$25 each. Brands like CJGQ and Plastic Forms flood Amazon; the practical difference is wall thickness — flimsy molds bow and cast domed stones. Buying three or four molds lets you pour a whole batch from each bag of mix instead of waiting on one mold to cure.
Craft and Memory Stone Kits
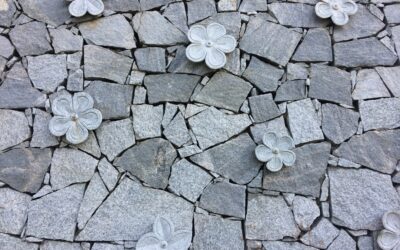
Kits from Mosaic Mercantile, Milestones, and craft chains ($15-$40) bundle a 8-12 in. mold, a small bag of stepping stone cement, and decorations — stained glass chips, letter stamps, or space for a child’s handprint. The included mix is a fine sand-cement blend that captures detail far better than gravel-filled concrete. These stones are keepsakes, not structural pavers: display them along a bed edge rather than in a real traffic path, and bring them in or seal them in freeze climates. For repeat casting, skip the refill kits and buy a 10 lb tub of sand-topping mix plus your own glass — the per-stone cost drops from $15 to about $2.
Which Concrete Mix to Use
The mix determines whether stones survive. Match it to the job:
- Standard gravel concrete mix (Quikrete/Sakrete 4,000 PSI, ~$7 per 80 lb): Correct for WalkMaker paths and any stone 2 inches thick or more. An 80 lb bag yields one WalkMaker section or roughly three 16-in. steppers.
- Sand topping mix (~$8 per 60 lb): No coarse gravel, so it fills detailed molds crisply. The right choice for decorative molds under 2 inches thick, and strong enough at proper thickness.
- High-early or crack-resistant mix (Quikrete 5000, fiber-reinforced, ~$8-$10): Worth it in freeze-thaw states; fibers noticeably cut corner chipping on thin stones.
- Fast-setting mix: Convenient for in-place forms — WalkMaker sections firm enough to lift the form in 20-30 minutes — but the working window is short for decorating.
Whatever the bag, mix stiff. Concrete the consistency of thick oatmeal casts stronger stones than a soupy mix, which bleeds water, dusts at the surface, and cracks. Target roughly 3 quarts of water per 80 lb bag, adding the last cup slowly.
Step-by-Step: Casting Stones That Last
- Prep the mold. Wipe the inside with a thin film of cooking spray, mineral oil, or mold-release. Set molds on a dead-flat surface covered with plastic sheeting.
- Mix. Combine mix and water in a wheelbarrow or 5-gallon bucket with a paddle mixer on a drill. Two minutes of thorough mixing, scraping the corners.
- Fill in two lifts. Press the first inch into all details and corners, then fill to the top. For 18-in. or larger stones, lay a square of 1/2-in. hardware cloth or a few fiberglass rods mid-thickness for insurance.
- Consolidate. Tap and vibrate the mold edges for 30-60 seconds — set it on a running orbital sander base for a poor man’s vibrating table — until air bubbles stop rising.
- Screed and finish. Strike off flush with a board. Decorate craft stones once the surface loses its water sheen, usually 30-60 minutes in.
- Cure slow and damp. Cover with plastic and leave 24-48 hours before demolding, then keep stones shaded and misted, or sealed under plastic, for a full week. Slow curing is the single biggest strength factor. Wait 7 days before foot traffic and a month before vehicle or heavy load exposure.
Laying the Finished Stones
Stones tossed on grass rock, heave, and become mower obstacles. Do it properly in an afternoon: cut the sod to the stone’s outline plus an inch, excavate 3 inches, tamp the soil, add 2 inches of compacted paver base or coarse sand, and set the stone flush with — or a half inch above — grade. Space centers 24-26 inches apart to match a natural stride. On slopes, bed each stone with a slight back-tilt so rain sheets across rather than down the path. A 15-stone garden path lays out to roughly 30 feet and costs under $50 in cast stones plus $20 of base material.
Cost Breakdown: Kit vs Store-Bought
- DIY with WalkMaker: Form $25 + 10 bags mix $70 = about $95 for 40 sq ft — roughly $2.40 per sq ft
- DIY individual steppers: Molds $30 + mix ~$2 per stone = 20 stones for about $70
- Store-bought 16-in. steppers: $8-$14 each, so 20 stones runs $160-$280 before hauling
- Flagstone path, professionally installed: $15-$30 per sq ft — ten times the DIY figure
Color is the cheap upgrade that makes DIY stones look bought: a 10 oz bottle of Quikrete liquid cement color ($8, buff or charcoal) tints two bags of mix, and a $12 sponge stamp or a hand trowel adds slate texture. Cast a few extra stones with every batch — future you, patching a heaved stone or extending the path, will be glad the color batch matches. Start with one mold and one bag; by the third pour you will be casting better steppers than the garden center sells.
Troubleshooting: Why Stones Crack, Dust, or Stick
Three failures account for nearly every ruined stone, and all are preventable. Cracking within days usually means the stone was cast too thin (under 1.5 inches for a 16-inch span), demolded too early, or dried too fast in sun and wind — recast thicker and cure under plastic. A surface that powders and sheds sand means too much mixing water or rain hitting fresh concrete; the cement paste floated, weakened, and now dusts. You can rescue mildly dusting stones with a $15 quart of concrete densifier/sealer, but the real fix is the stiff-mix rule. Stones that will not release from the mold were cast without release agent or demolded impatiently — flex the mold walls, flip it onto foam, and press the center rather than prying edges, which is how mold corners snap. If a stone chips at the edges every time, ease off the demolding schedule by a day and check that your mix is not gravel-starved at the perimeter; tapping the mold edges during consolidation drives coarse aggregate away from walls and leaves a stronger, cleaner face.
Winter Care and Long-Term Durability
Freeze-thaw is the long game. Fully cured, properly mixed stones survive northern winters fine, but two habits extend their life meaningfully. First, seal path stones every 2-3 years with a penetrating siloxane sealer (about $30 a gallon, covering 200+ sq ft) — it blocks the water absorption that powers freeze spalling, without the plastic sheen of film-forming sealers. Second, keep de-icing salt off cast stones entirely; rock salt is the fastest destroyer of home-cast concrete, and sand grits just as well underfoot. Decorative mosaic stones deserve gentler treatment: glass and concrete expand at different rates, so in zones 3-5 either bring memory stones into the garage for winter or accept gradual chip-loosening as patina. Handled this way, a weekend’s casting session produces stones that outlast the shrubs planted beside them — twenty years is a normal service life, which brings the true cost per stone down to pennies per year.