
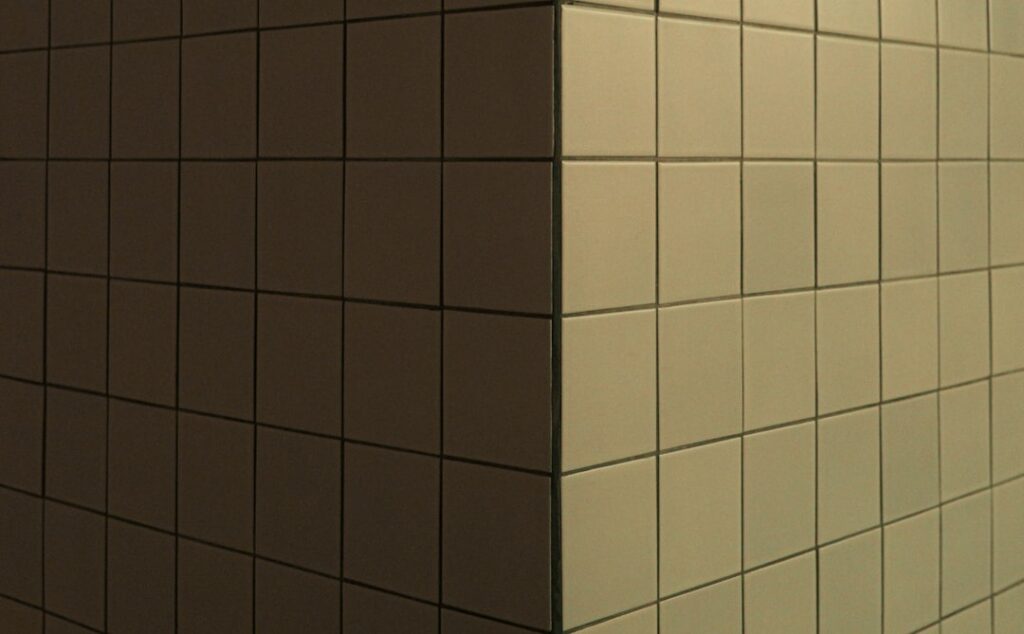
One of the trickiest parts of any tiling project is handling the spots where surfaces meet, and that is exactly where corner tile and corner finishing techniques come into play. Whether you are wrapping tile around an outside wall corner, finishing the edge of a backsplash, or turning a clean line inside a shower, the way you treat corners determines whether the finished job looks professional or amateur. Done right, corners are seamless; done poorly, they expose raw edges and uneven cuts.
Part of our Tile & Grout guide — explore the full guide →
This guide explains the types of corners you will encounter, the trim and finishing options available, installation methods, and the tips that produce crisp, durable results.
Understanding Inside and Outside Corners
Before choosing a solution, it helps to know the two basic corner types, because each is handled differently. An inside corner is the concave angle where two walls meet going inward, like the back corner of a shower. An outside corner is the convex angle that projects outward, like the edge of a half wall or a tiled column.
Inside corners are generally more forgiving, since the tiles simply meet and are sealed with caulk or grout. Outside corners are more visible and more vulnerable, because they expose the raw cut edges of the tile, which must be finished cleanly to look good and resist chipping. Most corner finishing products and techniques are aimed at solving the outside corner challenge.
Types of Corner Tile and Trim
Several products exist specifically to finish corners cleanly. The right one depends on your tile, your style, and your budget.
- Bullnose tile: Tiles with one or two rounded, glazed edges that finish an edge or corner with a soft, smooth transition.
- Metal edge trim (Schluter-style): Metal or PVC profiles installed at the corner to cover and protect raw edges with a clean, modern line.
- Corner trim pieces: Pre-formed L-shaped or rounded pieces designed to wrap an outside corner.
- Pencil and quarter-round trim: Slim decorative moldings that finish edges and add a refined detail.
- Mitered tile edges: Field tiles cut at a 45-degree angle so two pieces meet in a sharp, frameless corner.
Bullnose and metal trim are the most common and beginner-friendly, while mitered corners deliver a seamless high-end look but require precise cutting.
The Mitered Corner Method
For a clean, trimless modern look, many installers miter the tile edges at outside corners. The technique involves cutting the back edge of each tile at a 45-degree angle so the two pieces fit together to form a sharp corner with no visible trim. The result is striking, with the tile appearing to wrap continuously around the corner.
The challenge is precision. Mitering requires an accurate cut, usually with a wet saw, and a steady hand to avoid chipping the delicate glazed edge. The thin meeting edges can also be fragile and prone to damage if bumped. For those reasons, mitered corners are best for experienced DIYers or professionals, while metal trim or bullnose offers a more forgiving path to a clean finish.
Installation Basics
Finishing corners well comes down to planning your layout and working carefully. Plan your tile layout so cuts at corners are balanced and you avoid awkward slivers. For outside corners, decide on your finishing method before you start tiling, since metal trim is installed in the adhesive as you go.
- Dry-lay your tiles to plan the layout and minimize small, hard-to-cut corner pieces.
- If using metal trim, embed it in the thinset along the corner before setting the adjacent tile against it.
- For bullnose, set the rounded-edge tiles so the finished edge faces outward.
- For mitered corners, cut the back angles precisely and ease the sharp edge slightly to reduce chipping.
- Maintain consistent grout joints right up to the corner using spacers.
Take your time with corner cuts, since they are the most visible and least forgiving part of the installation.
Grouting and Sealing Corners
How you treat the joint at a corner affects both appearance and durability. Inside corners, where two planes meet, should generally be filled with a flexible silicone caulk rather than rigid grout. Grout cracks at these change-of-plane joints because the surfaces move slightly, while color-matched caulk flexes and stays intact.
Outside corners and the field joints are grouted normally. Choose a grout color that complements your tile and finishing trim for a cohesive look. After everything cures, seal cement grout and any natural stone tile to protect against moisture and staining, paying attention to corners in wet areas like showers where water exposure is constant.
Tips for Crisp, Lasting Corners
A few habits separate clean corners from messy ones. Measure and cut carefully, and always test-fit corner pieces before applying adhesive. Use a quality wet saw for smooth, chip-free cuts, and keep a fresh blade for the visible edges. Match your trim finish to your fixtures and hardware for a pulled-together result.
In wet areas, prioritize proper waterproofing behind the tile, since corners are common failure points for leaks. And remember that flexible caulk, not grout, belongs at inside corners and changes of plane. Patience with these details pays off in corners that look professional and hold up for years.
Choosing the Right Finishing Method
With several ways to finish a corner, the best choice depends on your tile, your skill level, and the look you are after. Metal edge trim is the most forgiving and beginner-friendly, hiding imperfect cuts behind a clean profile and adding durability, which makes it ideal for first-time tilers and high-traffic edges. It also comes in finishes that can match your fixtures for a coordinated result.
Bullnose tile suits a softer, more traditional look and works well when your tile line offers matching bullnose pieces, though not all modern tiles do. Mitered corners deliver the most seamless, high-end appearance but demand precise cutting and careful handling, so they are best left to confident DIYers or pros. Consider the tile thickness too, since thick tiles miter and trim differently than thin ones. Matching the method to your comfort level and the demands of the space leads to corners you will be happy with for years.
Final Thoughts
Corner tile and corner finishing techniques are where a tiling project either looks polished or falls short. Understanding the difference between inside and outside corners, choosing the right trim or finishing method, and treating corner joints with flexible caulk where needed all add up to crisp, durable results. Whether you opt for easy metal trim, classic bullnose, or a sleek mitered edge, careful planning and precise cuts will give your tile the clean, professional corners that make the whole installation shine.
Prefer to explore on your own?
See how new flooring looks in your actual room in seconds — free, no signup.
Try the free Floor Studio →

