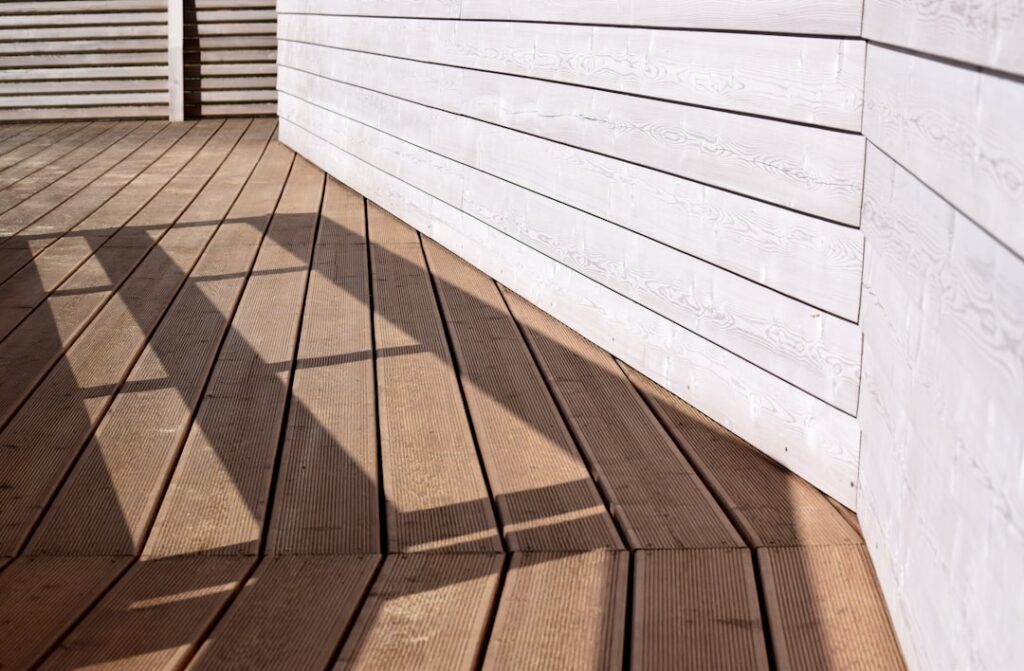
On any deck wider than 20 feet, the boards are not long enough to span it — and where boards meet, seams happen. How you arrange those seams separates a professional surface from one that screams “lumber came in 16-foot lengths.” Mastering deck board layout staggered decking patterns means planning where every butt joint lands before the first screw goes in, so joints scatter randomly across the field instead of lining up in a zipper down the middle. The stagger is not just cosmetic: joints concentrated on one joist overload it with fastener holes, and code-legal joints need proper bearing. Here is how pros plan the layout, the stagger rules that make it look intentional, and the framing details that make it last.
Why Stagger at All
Three reasons, in order of importance. Structurally, every butt joint is a weak point: two board ends sharing one 1-1/2-inch-wide joist top get roughly 5/8 inch of bearing each, plus four fasteners driven into a strip of joist that is now mostly holes. Stack those joints on the same joist row after row and you have split joist tops and popped fasteners within five years. Visually, aligned seams draw a line across the deck that the eye cannot un-see, while randomized joints disappear into the field. Practically, staggering lets you use mixed board lengths — 12s, 16s, and 20s — which cuts waste dramatically compared with forcing one length to work everywhere. A well-planned stagger typically brings waste down from 15 percent to under 10.
The Core Stagger Rules
- Never place butt joints on adjacent board rows closer than two joist bays apart. With 16-inch joist spacing, that keeps neighboring seams at least 32 inches from each other.
- Do not repeat a joint on the same joist more than every third row. Some builders hold to every fourth row on high-end work.
- Avoid short offcuts: no deck board segment shorter than 2 feet, and nothing shorter than spanning two joist bays. Small pieces cup, split, and pop loose.
- Kill the pattern: if your stagger repeats every three rows like brickwork (a “stair-step” of joints marching diagonally), it reads as a pattern too. Vary the sequence — 4 feet, 10 feet, 7 feet — so no rhythm emerges.
- Keep joints out of high-traffic sight lines where possible: not centered on the door, not at the top of the stairs.
The professional shortcut is a simple layout sketch: draw the deck to scale, mark joist locations, and pencil in board lengths row by row before ordering. Fifteen minutes on paper prevents both the zipper seam and the panic cut at 4 p.m.
Framing for Butt Joints: Do It Right or Regret It
A butt joint centered on a single joist is legal but marginal — and with composite decking, many manufacturers void warranties on it. The better details: sister a 2×4 or 2×6 alongside the joist at each planned joint so each board end gets full 1-1/2-inch bearing and its own fastener field, or double the joist with a spacer block for drainage. The best-practice modern detail is a gapped double joist: two joists separated by 1/2-inch spacer blocks, which gives each board end solid bearing plus a drainage slot so the joint is not sitting in trapped water — the number one cause of rot at seams. Whatever the detail, board ends get pre-drilled before screwing (end grain splits easily), two fasteners per board per bearing point, and on composites, the manufacturer’s specified gap between butt ends — typically 1/8 to 3/16 inch depending on temperature at install, since composite expands lengthwise more than wood.
Planning the Math: Board Lengths and Waste
Work backward from your deck width. Say the deck is 24 feet wide with joists at 16 inches on center. Standard decking comes in 12, 16, and 20-foot lengths. Good combinations for 24 feet: a 16 plus an 8 (cut from a 16, leaving an 8 for a later row), a 12 plus a 12, or a 20 plus a 4 — though that 4-footer must span at least two bays and should be pushed toward the deck edge, not the middle. Cycle these combinations so the joints wander: row one breaks at 16 feet, row two at 12, row three at 20, row four at 8 (the offcut), and repeat with variations. Order 10 percent overage for a staggered single-direction layout, 15 percent if you are picture-framing the perimeter or running diagonals. Pro tip: sort your delivered bundle by actual length and crown before starting — lumber is rarely exactly nominal, and the straightest boards belong in the most visible field rows.
Beyond the Basic Stagger: Patterns That Eliminate Joints
Sometimes the best stagger is none. Division boards — a perpendicular board (or double board) splitting the deck into two or three fields — let every field use full-length boards with zero butt joints; a 28-foot deck becomes two 14-foot fields, each spanned by 16-footers with clean cuts. This is why you see center “breaker boards” on nearly every large composite deck: it is a design feature that is secretly a joint-elimination strategy, and it lets the two fields run different directions or a herringbone if you like. Diagonal layouts (45 degrees) shorten effective spans near corners so more boards run full length, at the cost of more end cuts and that 15 percent waste factor — and diagonals also stiffen the deck frame laterally, a real structural bonus. Picture framing — a border board around the perimeter — hides all the ragged end grain and gives cut ends a finished stop. Framing and division boards need their own blocking beneath, so these decisions belong at the framing stage, not decking day.
Fastening and Gapping at the Seams
Joints are where fastener quality shows. Use coated deck screws or hidden-fastener systems rated for your material — stainless steel near pools and coasts — and never nails at butt joints, which work loose with seasonal movement first at the seams. Side-gapping matters too: wood decking installed wet (most pressure-treated stock) gets butted tight side-to-side and shrinks to a gap; kiln-dried wood and all composites get gapped per spec, usually 1/8 to 1/4 inch side gaps. End gaps on wood: 1/8 inch minimum, sealed with end-grain sealer (Anchorseal, about $20 a quart) on every cut — end grain drinks water at up to 250 times the rate of face grain, and sealed ends are the difference between joints that stay flat and joints that swell and check within two seasons.
Composite-Specific Stagger Notes
Composite and PVC decking follow the same visual rules with stricter fine print. Most major brands — Trex, TimberTech, Fiberon — publish butt-joint details in their installation guides, and warranty coverage depends on following them: gapped double joists or sister blocking at every joint, brand-specified end gaps that vary with installation temperature (wider gaps on cold days because the boards will expand), and often a requirement for two hidden-fastener clips or face screws per board end. Color-matched fastener plugs make face-screwed composite joints nearly invisible, which is worth the extra $30 a box at the seams even on a clip-fastened deck. One composite advantage for stagger planning: consistent lengths and no crowning mean your paper layout survives contact with the material — order 12s, 16s, and 20s in the exact mix the sketch calls for and the waste pile at the end fits in one trash can.
The Layout Day Routine
Deck day goes smoothly in this order. Snap a control line for the first row — off the house, but checked for parallel against the outer rim, splitting any out-of-parallel error across the width so the last board is not a taper. Dry-lay the first four rows using your sketch, walking the planned joints to confirm none stack. Start fastening from the house (or from the picture frame border), checking your run every four rows with a tape at both ends — boards drift, and a 1/4-inch correction spread over ten rows is invisible while a 1-inch correction in the last row is not. Cut ends as you go with a track saw or circular saw and a speed square, seal every cut, and save the offcuts in a sorted pile; the stagger plan will call for most of them. Do this, and from the yard the seams simply vanish — which is the entire point.