Standing in the flooring aisle for the first time is genuinely overwhelming, because every product promises to be durable, beautiful, and easy to install. The reality is that there is no single best floor, only the right floor for a specific room, budget, and lifestyle. Understanding the different flooring options and how they actually perform in a real house is what separates a smart purchase from an expensive regret. A material that is perfect for a formal dining room can be a disaster in a mudroom. This guide breaks down the major flooring types with honest pros, cons, costs, and the rooms where each one shines.
Solid and Engineered Hardwood
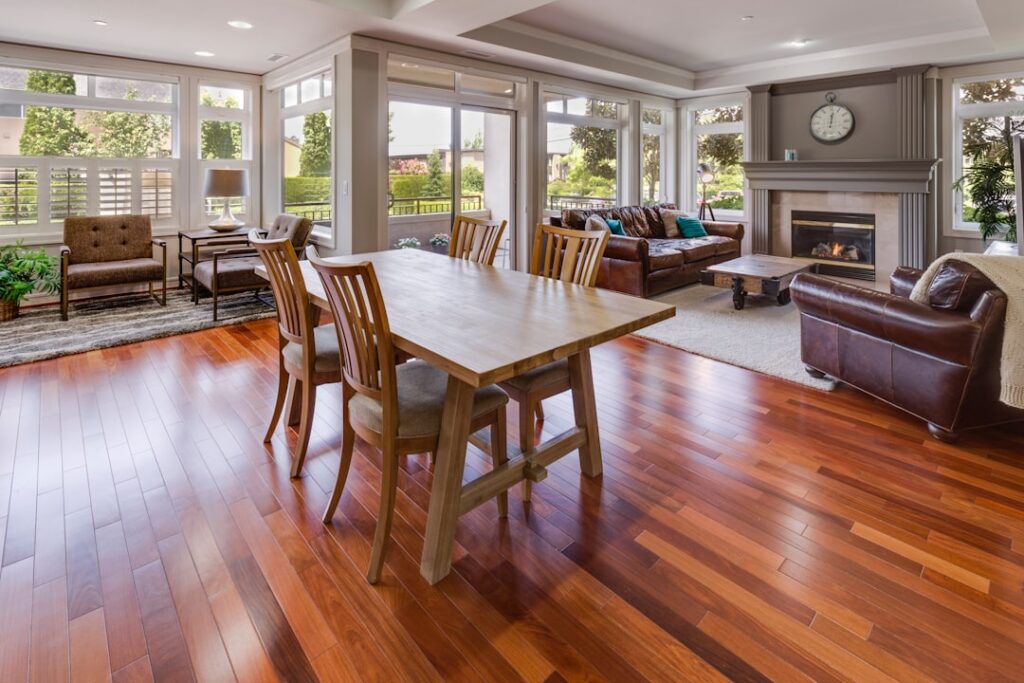
Nothing beats real wood for warmth, resale value, and timeless looks. Solid hardwood runs about $6 to $12 per square foot installed and can be refinished multiple times, so it lasts generations. Engineered hardwood, with a real wood veneer over a plywood core, costs $4 to $10 installed and handles humidity and basements better than solid planks. The downside for both is water sensitivity and scratching, so they are best kept out of bathrooms and away from constant moisture. Ideal rooms are living rooms, bedrooms, dining rooms, and hallways.
Luxury Vinyl Plank (LVP)
LVP has taken over the market for good reason: it is fully waterproof, convincingly mimics wood and stone, and stands up to kids, pets, and spills. Material runs $2 to $6 per square foot, with installation adding $1.50 to $4. The rigid-core SPC versions resist dents and can go over most existing floors. The trade-offs are that it is a synthetic petroleum product, it can dent under very heavy point loads, and it will not add the resale cachet of real wood. It works nearly everywhere, including kitchens, basements, bathrooms, and high-traffic living areas.
Laminate
Laminate is a photographic wood-look layer over a dense fiberboard core, sealed with a tough wear layer. It is affordable at $1 to $4 per square foot for materials, scratch-resistant, and easy to install as a floating floor. Modern water-resistant laminates have narrowed the gap with vinyl, but the fiberboard core still swells if water sits in the seams, so it is not truly waterproof. Choose laminate for bedrooms, living rooms, and offices, and lean toward LVP in genuinely wet areas.
Tile: Ceramic, Porcelain, and Stone
Tile is the most durable and water-resistant common flooring, which is why it dominates bathrooms and entryways. Porcelain is denser and tougher than ceramic and handles freeze-thaw, while natural stone like slate and travertine brings unique character. Expect $3 to $10 per square foot for material plus $5 to $10 for professional installation, since tile setting is labor-intensive. The cons are that tile is hard and cold underfoot, grout needs maintenance, and installation is demanding for DIYers. It is the top pick for bathrooms, kitchens, laundry rooms, and mudrooms.
Carpet
Carpet remains the go-to for softness, warmth, and sound absorption. It is budget-friendly at $2 to $7 per square foot installed with pad, and it makes bedrooms and family rooms cozy. The obvious downsides are staining, trapping allergens, and wearing out faster than hard surfaces, typically needing replacement in 5 to 15 years. Solution-dyed nylon and polyester resist stains best. Carpet belongs in bedrooms, stairs, and basements, and is generally a poor choice for kitchens and bathrooms.
Quick Comparison
- Most waterproof: tile and LVP.
- Best resale value: solid and engineered hardwood.
- Best budget value: laminate and sheet vinyl.
- Softest and warmest: carpet and cork.
- Most durable underfoot: porcelain tile.
- Easiest DIY install: click-lock LVP and laminate.
Matching Flooring to Rooms
Room function should drive the decision more than looks alone. Kitchens need water resistance and easy cleaning, so LVP, tile, or porcelain lead. Bathrooms and laundry rooms demand waterproof surfaces, making tile and LVP the safe bets. Bedrooms favor comfort, so carpet, hardwood, or cork all work. Basements need moisture tolerance, pointing to LVP, tile, or engineered wood over the right subfloor prep. Living and dining rooms are flexible, so choose based on style and traffic. High-traffic entryways call for the toughest options like porcelain tile or rigid-core LVP.
Budgeting Beyond the Material
The sticker price per square foot is only part of the cost. Factor in underlayment, transition strips, trim, subfloor prep, old-floor removal, and installation labor, which can equal or exceed the material cost. A cheaper floor that needs frequent replacement can cost more over 20 years than a pricier one that lasts. Always buy 5 to 10 percent extra material for cuts, waste, and future repairs, and keep a few spare planks or tiles from every install.
Installation and DIY Difficulty
How a floor goes down should factor into your decision as much as how it looks, because installation labor often rivals the cost of the material itself. Click-lock LVP and laminate are the friendliest for DIYers; they float over the subfloor with no glue or nails, cut with a utility knife or simple saw, and a determined homeowner can finish a room in a weekend. That alone can save $1.50 to $4 per square foot in labor, which changes the math on a whole-house project.
Other materials demand more skill. Tile is the most labor-intensive common floor, requiring subfloor prep, a level mortar bed, precise spacing, cutting with a wet saw, and grouting, which is why professional tile setting runs $5 to $10 per square foot on top of materials. Solid hardwood nail-down installation calls for a pneumatic flooring nailer and careful acclimation, and refinishing later is its own specialized job. Carpet needs stretching tools and know-how to avoid ripples and loose seams, so it is usually left to installers. Sheet vinyl requires precise template cutting to fit a room in one piece.
Subfloor condition drives a lot of the effort regardless of material. Floors must be clean, dry, and flat, and correcting dips, squeaks, or moisture problems adds time and cost that first-time buyers rarely budget for. Concrete slabs need moisture testing, and old adhesive or existing flooring may have to come up first. Be honest about your skills and tools before committing: if you enjoy hands-on work and pick a floating floor, DIY installation is a genuine money-saver, but if the project involves tile, large areas, tricky layouts, or subfloor repair, hiring a professional usually delivers a better, longer-lasting result.
Making the Final Call
Start with the room’s demands, set a realistic all-in budget, and then let style break the tie among the options that fit. If you want resale value and can protect it from water, go hardwood. If you need worry-free waterproofing with a wood look, LVP is hard to beat. For wet, high-abuse rooms, tile wins. For softness and quiet, carpet still has its place. There is no wrong answer among the different flooring options as long as the material matches the room, so buy for how you actually live, not just how the showroom sample looks under perfect lighting.
Prefer to explore on your own?
See how new flooring looks in your actual room in seconds — free, no signup.
Try the free Floor Studio →