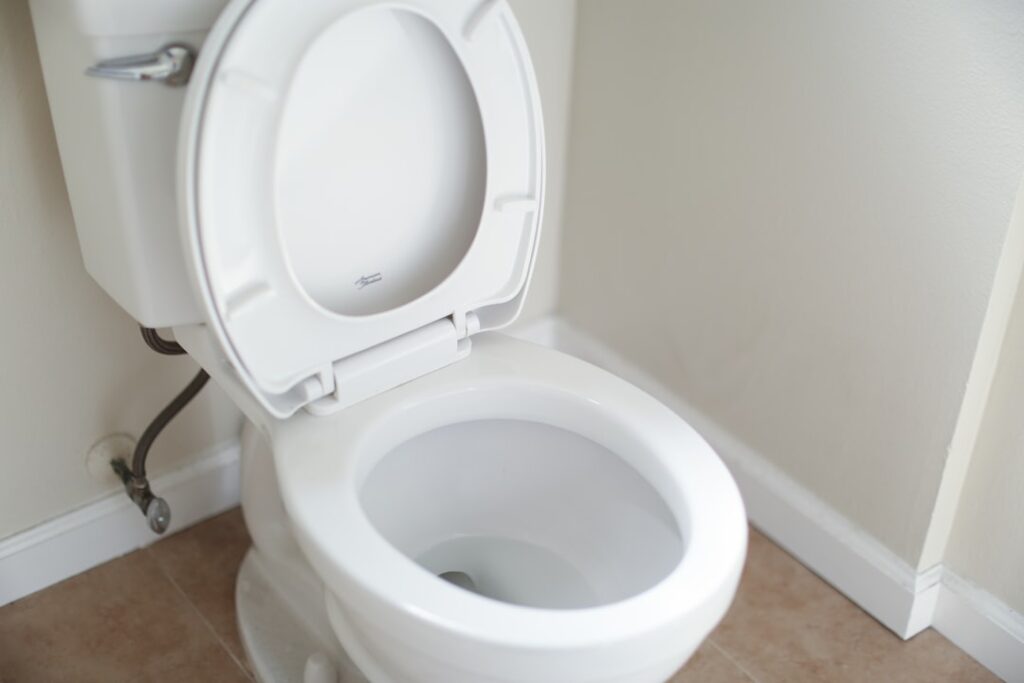
A running toilet wastes up to 200 gallons a day, and nine times out of ten the culprit is a worn or mismatched flapper. Knowing the different types of toilet flappers before you stand in the plumbing aisle saves you a second trip, because grabbing whatever hangs on the peg is exactly how people end up with a part that seals for a week and leaks again. This guide breaks down the styles, sizes, and tank-specific quirks so you match your toilet the first time.
- What the Flapper Actually Does
- Rubber Flappers vs. Seal-Disc Flappers
- 2-Inch vs. 3-Inch Flappers
- Adjustable and Universal Flappers
- Tank-Specific and Proprietary Flappers
- Materials: Rubber, Silicone, and Chlorine-Resistant Options
- How to Pick the Right Replacement
- Signs Your Flapper Needs Replacing
- Chain Length and Adjustment
- Bottom Line
What the Flapper Actually Does
The flapper is the rubber or silicone valve at the bottom of the tank. When you flush, the chain lifts it, water rushes down through the flush valve into the bowl, and then the flapper drops back to reseal so the tank refills. If it does not seat perfectly, water trickles past the seal all day, which is that phantom refill you hear at 2 a.m. Because it is the one part in constant contact with tank water and chemicals, it is also the part that hardens, warps, and fails first.
Rubber Flappers vs. Seal-Disc Flappers
The classic style is the hinged rubber flapper, a flat rubber flap on two ears that snap onto the overflow tube. It is cheap, widely available, and fits the majority of older tanks. Over time, though, chlorine tablets and mineral water degrade rubber, leaving it soft, sticky, or curled.
Newer toilets increasingly use a seal-disc or tower-style seal instead. Rather than a hinged flap, a rubber gasket or float disc lifts straight up off the valve seat. These resist chemical degradation better and give a cleaner shutoff, but they are model-specific, so you generally replace them with the manufacturer’s exact part rather than a universal.
2-Inch vs. 3-Inch Flappers
This is the single most important measurement, and the one people miss. Flush valves come in two common sizes, and the flapper must match:
- 2-inch flappers: the traditional size on most toilets built before roughly 2005. The opening at the bottom of the tank is about the diameter of an orange.
- 3-inch flappers: common on newer high-efficiency toilets that need faster water delivery. The opening is noticeably wider, closer to a grapefruit.
The quick test: look at the drain opening in the tank bottom, or measure the flush valve seat. If you buy a 2-inch flapper for a 3-inch valve, it will never seal. When unsure, take the old flapper to the store and hold it against the packaging.
Adjustable and Universal Flappers
Adjustable flappers have a movable dial or float that lets you tune how long the flapper stays open, which controls how much water leaves the tank per flush. Turn the dial one way for a longer flush on a stubborn bowl, the other way to save water. These are handy when you want to dial in performance or when you are not sure exactly how your toilet was engineered.
So-called universal flappers claim to fit most 2-inch valves and often work fine as a stopgap. That said, universals are a compromise. For a toilet that must seal reliably, matching the brand and model beats a one-size-fits-most part almost every time.
Tank-Specific and Proprietary Flappers
Some brands, notably certain American Standard, Kohler, Toto, and Gerber models, use proprietary flappers that will not accept a generic. These may have oddly shaped ears, a captured float, or a canister-style seal that only the OEM part replaces. If your tank has a manufacturer stamp or model number under the lid, write it down. Ordering the exact part number is cheaper than three rounds of trial and error with universals that almost fit.
Canister flush systems, found on many modern one-piece toilets, do not use a hinged flapper at all. Instead a cylindrical canister seal lifts off a 360-degree valve seat. If you lift your tank lid and see a tall tube in the center rather than a flap on the side, you need a canister seal kit, not a flapper.
Materials: Rubber, Silicone, and Chlorine-Resistant Options
Standard rubber is the budget default but the first to degrade, especially if you drop bleach tablets in the tank. Chlorine-resistant flappers use a treated rubber or a plastic-backed design that shrugs off sanitizing chemicals. Silicone and vinyl seals last longer and stay pliable in hard-water areas where minerals stiffen ordinary rubber. If you use in-tank cleaners, pay the extra couple of dollars for a chlorine-resistant model or your new flapper will fail as fast as the old one.
How to Pick the Right Replacement
Run through this quick checklist before you buy:
- Measure the flush valve opening: 2-inch or 3-inch.
- Check for a brand and model number under the lid.
- Note whether you have a hinged flap, a seal disc, or a center canister.
- Decide if you want adjustable water control.
- Choose a chlorine-resistant material if you use tank tablets.
Match those five points and installation is a two-minute job: shut the supply valve, flush to empty the tank, unhook the chain, slip the ears off the overflow tube, and reverse the steps with the new part.
Signs Your Flapper Needs Replacing
Before you shop, confirm the flapper is actually the problem, because a running toilet has a few possible culprits. The classic flapper failure shows up as a phantom refill, where the tank tops itself off every few minutes with no one touching it. That means water is slowly escaping past the seal. Other telltale signs point to the flapper too:
- The flapper feels soft, slimy, or warped when you touch it (rubber degradation).
- You see mineral buildup or a visible gap where the flapper meets the valve seat.
- Adding a few drops of food coloring to the tank and finding color in the bowl 15 minutes later without flushing confirms a leaking flapper.
- The chain is tangled or too long, holding the flapper slightly open.
If the dye test comes back clean and the toilet still runs, the problem is more likely the fill valve or float, not the flapper.
Chain Length and Adjustment
Even a perfect flapper leaks if the chain is wrong. Too much slack and the flapper cannot seat fully; too tight and it never closes all the way. Set the chain so there is just a little slack, about a half-inch, when the flapper is down. Many flappers include an adjustable clip or a float you can slide up or down the chain to fine-tune flush volume and closing speed. Spending two minutes dialing in the chain often fixes a run that people mistake for a bad flapper entirely.
Bottom Line
Once you understand the different types of toilet flappers, replacement stops being guesswork. The size and the seal style are what matter most, followed by material if chemicals are in play. Take the old part with you, match it honestly rather than reaching for a universal, and your toilet will hold water the way it was designed to.