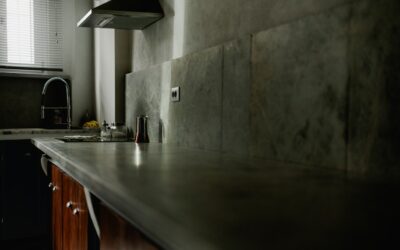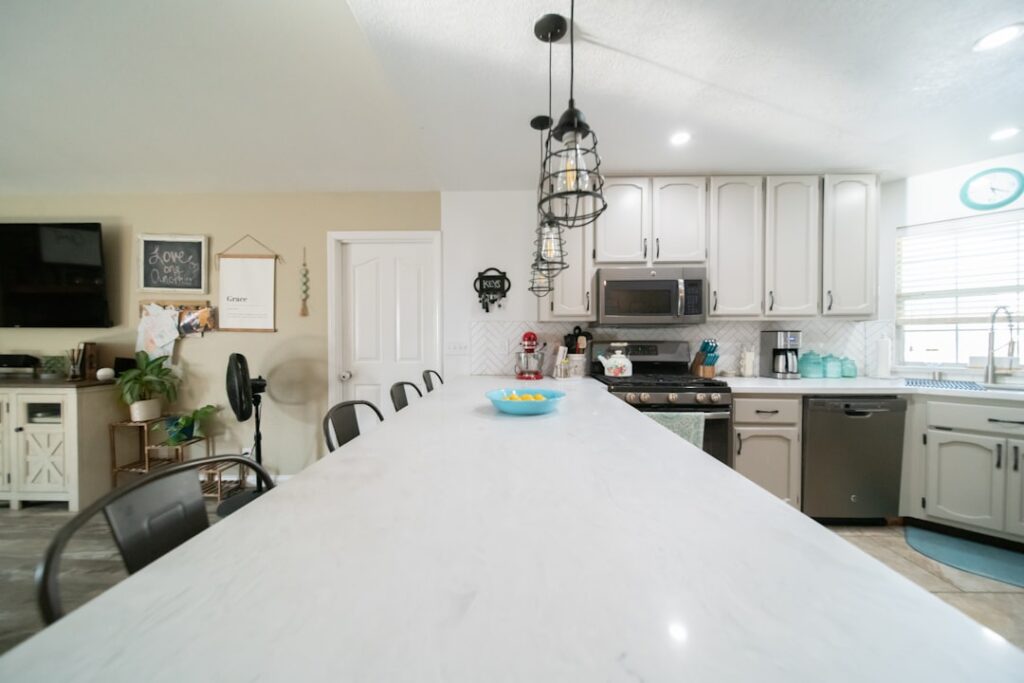
Installing DIY countertops is one of the most impactful kitchen upgrades you can tackle without hiring a contractor. Whether you are renovating a dated kitchen on a budget or simply enjoy hands-on projects, there are several countertop options that deliver professional-looking results at a fraction of the cost. With over 30 years in the home improvement business, we have seen homeowners transform their kitchens for under $500 using the methods in this guide.
Part of our Countertops guide — explore the full guide →
Why DIY Your Countertops
Professional countertop installation typically costs $2,000 to $5,000 for an average kitchen. Labor accounts for 40-60% of that total. By doing the work yourself, you can install new countertops for $200 to $1,200 depending on the material and method you choose.
Beyond cost savings, DIY countertops give you complete creative control. You choose the exact color, texture, and finish. You work on your own schedule without coordinating with contractors. And you gain the satisfaction of building something functional and beautiful with your own hands.
That said, not every countertop material is DIY-friendly. Natural stone slabs like granite and quartz require professional templating, cutting with specialized saws, and installation by multiple people due to extreme weight. The five options below are genuinely achievable for homeowners with basic to intermediate skills.
Poured Concrete Countertops
Poured concrete creates a custom, industrial-chic countertop that rivals professional installations costing three times as much. This is the most involved DIY countertop project on our list, but the results are stunning.
Materials cost: $15 to $40 per square foot
Skill level: Intermediate to advanced
Time required: 3 to 5 days (including curing time)
Step-by-step process:
- Build a melamine form (mold) to the exact dimensions of your countertop. Include cutouts for sinks and cooktops. The form is built upside-down, so the bottom of the form becomes the top surface of your countertop.
- Seal all seams in the form with silicone caulk to prevent leaks. Any imperfection in the form transfers to the finished surface.
- Mix concrete countertop mix (not standard concrete) with water according to package directions. Add pigment if you want a custom color. Use a paddle mixer on a drill for consistent mixing.
- Pour the concrete into the form, filling halfway first. Lay steel reinforcement mesh or rebar, then fill the form completely. Vibrate the form by tapping the sides with a rubber mallet to release air bubbles.
- Screed the back (which will face down against cabinets) smooth and flat with a straight board.
- Allow the concrete to cure for at least 48 hours. Keep the surface covered with plastic to slow curing and reduce cracking.
- Remove the form carefully. Sand the surface with progressively finer grits from 100 to 400. Fill any small air holes with concrete slurry.
- Apply a food-safe concrete sealant in two to three coats, allowing each coat to dry fully.
Concrete DIY countertops work best for homeowners comfortable with precision measuring and working with heavy materials. A standard 8-foot countertop section weighs approximately 150 pounds.
Epoxy Over Existing Laminate
Applying epoxy over existing laminate countertops is the fastest way to dramatically transform your kitchen without removing anything. The epoxy creates a glossy, stone-like surface that is surprisingly durable.
Materials cost: $5 to $15 per square foot
Skill level: Beginner to intermediate
Time required: 2 to 3 days (including cure time)
Step-by-step process:
- Clean the existing laminate thoroughly with a degreaser. Sand the entire surface with 120-grit sandpaper to create tooth for the epoxy to grip.
- Wipe away all sanding dust with a tack cloth. Apply painter’s tape to protect cabinets, walls, and sinks.
- Apply a bonding primer designed for laminate surfaces. Allow it to dry completely per the manufacturer’s instructions.
- Mix the two-part epoxy resin according to package directions. Work quickly because most epoxies begin setting within 30-45 minutes.
- Pour the mixed epoxy onto the countertop and spread it evenly with a foam roller or plastic spreader. For a marble effect, pour multiple epoxy colors and swirl them with a heat gun or torch.
- Use a propane torch held 6 inches above the surface to pop air bubbles. Move the torch continuously to avoid scorching.
- Allow the epoxy to cure for 24-72 hours before using the countertop. Full hardness develops over 7 days.
Epoxy DIY countertops look incredible when done correctly. The key is working in a dust-free environment with adequate ventilation, as epoxy fumes are strong during application.
Tile Countertops
Tile countertops offer unlimited design possibilities and are one of the most forgiving DIY projects for beginners. Subway tile, mosaic sheets, and large-format porcelain all work for countertop applications.
Materials cost: $10 to $30 per square foot
Skill level: Beginner to intermediate
Time required: 2 to 3 days
Step-by-step process:
- Prepare the substrate. If your existing countertop is laminate in good condition, you can tile directly over it after sanding and priming. For a new installation, use 3/4-inch plywood topped with cement backer board.
- Dry-lay your tiles to plan the layout, minimize cuts, and ensure even spacing. Start from the front edge and work back toward the wall.
- Apply thin-set mortar with a notched trowel and press tiles firmly into place. Use tile spacers for consistent grout lines.
- Install edge tiles or bullnose pieces along the front edge for a finished look. V-cap edge tiles create a professional countertop profile.
- Allow thin-set to cure for 24 hours, then apply grout with a rubber float. Wipe away excess grout with a damp sponge.
- After the grout dries for 48 hours, apply a penetrating grout sealer to prevent staining.
The main drawback of tile countertops is the grout lines. Grout is porous and can harbor bacteria and stains if not properly sealed and maintained. Using large-format tiles reduces the number of grout lines and creates a cleaner look. Epoxy grout is more stain-resistant than standard cement grout and is worth the extra cost.
Butcher Block Countertops
Butcher block is one of the easiest DIY countertop materials to install because it comes in ready-made slabs that you simply cut to size and drop into place. The warm, natural wood look transforms kitchens instantly.
Materials cost: $20 to $60 per square foot
Skill level: Beginner
Time required: 1 to 2 days
Step-by-step process:
- Purchase pre-made butcher block slabs from a home improvement store. Common species include maple, walnut, oak, and acacia. Measure your countertop area and add 1 inch for overhang on the front edge.
- Let the butcher block acclimate in your kitchen for 48-72 hours before installation. Wood expands and contracts with humidity changes.
- Cut the slabs to size with a circular saw equipped with a fine-tooth blade. Cut face-down to prevent tear-out on the visible surface. Use a jigsaw for sink cutouts.
- Sand the surface with 220-grit sandpaper and apply your chosen finish: mineral oil for a natural look, polyurethane for water resistance, or tung oil for a compromise between the two.
- Set the butcher block on top of the cabinets and secure it with L-brackets screwed into the underside. Use elongated screw holes to allow for wood movement.
- Seal around the sink cutout with silicone caulk to prevent water intrusion into the wood.
Butcher block DIY countertops require ongoing maintenance. Oil-finished surfaces need re-oiling every 4-6 weeks. Always wipe up standing water immediately. With proper care, butcher block develops a beautiful patina and lasts 20 years or more.
Contact Paper Countertop Covers
Contact paper is the ultimate budget solution for renters or homeowners who want an instant update without permanent changes. Modern contact paper products feature realistic marble, granite, and wood patterns that photograph surprisingly well.
Materials cost: $1 to $5 per square foot
Skill level: Beginner
Time required: 2 to 4 hours
Step-by-step process:
- Clean the existing countertop surface thoroughly with rubbing alcohol to remove all grease and residue.
- Measure and cut the contact paper with an extra 2 inches on all sides for trimming.
- Peel back a few inches of the backing and align the contact paper with the front edge of the countertop. Use a squeegee or credit card to smooth the paper down, working from center to edges to push out air bubbles.
- Slowly peel and stick the remaining paper, smoothing as you go. If bubbles form, poke them with a pin and smooth flat.
- Trim excess paper along the edges with a sharp utility knife.
- For added durability, apply a clear polyurethane top coat over the contact paper.
Contact paper is not a long-term solution. It typically lasts 1-2 years before edges peel or the surface wears through. However, at under $30 for most kitchens, it is a risk-free way to refresh your space.
DIY Countertop Cost Comparison
Here is a side-by-side cost comparison for a typical 40-square-foot kitchen countertop:
Contact paper: $40 to $200 total
Epoxy over laminate: $200 to $600 total
Tile: $400 to $1,200 total
Poured concrete: $600 to $1,600 total
Butcher block: $800 to $2,400 total
Compare these to professional stone installation at $2,000 to $5,000 for the same area. Every DIY option delivers significant savings, and several produce results that rival professional work.
Essential Tools and Supplies
Most DIY countertop projects require a similar set of basic tools. Here is what you will need regardless of which method you choose:
- Tape measure and level
- Circular saw or jigsaw for cutting
- Sandpaper in multiple grits (100, 150, 220)
- Safety glasses and dust mask
- Painter’s tape and drop cloths
- Caulk gun and silicone caulk
Project-specific tools like trowels (for tile), mixing paddles (for concrete), and foam rollers (for epoxy) add another $20 to $50 to your budget. Most homeowners already own the basic tools listed above.
Common DIY Countertop Mistakes to Avoid
After seeing thousands of kitchen projects, here are the most common mistakes that derail DIY countertop installations:
Skipping surface preparation: Every DIY countertop method requires a clean, properly prepared surface. Skipping sanding, priming, or cleaning causes adhesion failure that ruins the entire project.
Inaccurate measurements: Measure twice, cut once applies here more than anywhere. A countertop that is even 1/4 inch too short leaves an ugly gap against the wall.
Rushing cure times: Concrete, epoxy, and grout all need adequate curing time to reach full strength. Using the countertop too early causes dents, scratches, and permanent damage.
Ignoring ventilation: Epoxy resin and concrete sealers produce strong fumes. Open windows, run exhaust fans, and wear a respirator during application.
Forgetting the sink cutout: Plan your sink and faucet placement before starting any countertop project. Cutting a sink hole after installation is messy and risky.
Frequently Asked Questions
What is the easiest DIY countertop material?
Butcher block is the easiest material to install because it comes in ready-made slabs that only need cutting to size. Contact paper is even simpler but is a temporary solution. For a permanent upgrade, butcher block offers the lowest skill barrier.
How much money can I save with DIY countertops?
Most homeowners save 50-75% compared to professional installation. A kitchen that would cost $3,000 to $5,000 for professional stone countertops can be transformed for $300 to $1,500 using DIY methods like epoxy, concrete, or butcher block.
Are DIY countertops durable enough for daily use?
Yes, when installed correctly. Poured concrete and butcher block countertops last 15-25 years with proper maintenance. Epoxy countertops last 5-10 years. Contact paper is the least durable at 1-2 years. All options hold up to normal kitchen activity.
Can I pour concrete over existing laminate countertops?
We do not recommend pouring concrete directly over laminate. The weight can cause cabinets to fail, and adhesion to laminate is unreliable. Instead, build a proper form and pour a freestanding concrete slab, or use an epoxy-based concrete overlay product designed for resurfacing.
Do I need a permit for DIY countertop installation?
Countertop replacement does not require a building permit in most jurisdictions since it is considered a cosmetic update. However, if your project involves plumbing changes like moving a sink or adding a dishwasher, you may need a plumbing permit. Check with your local building department.