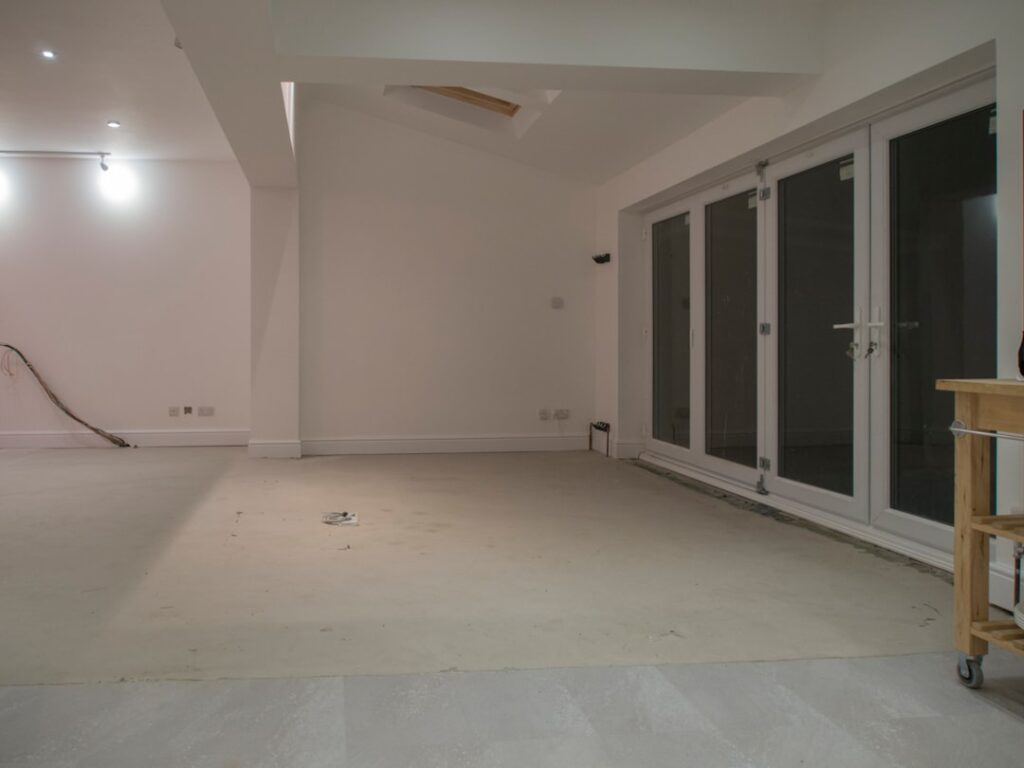
DIY flooring installation can save homeowners 50% or more compared to hiring a professional, but not all flooring types are equally beginner-friendly. Some require nothing more than peeling a backing and pressing down, while others demand specialized tools, precise substrate preparation, and years of experience to get right.
- DIY Flooring Difficulty Ranking
- #1 Easiest: Peel-and-Stick Vinyl
- #2: Click-Lock Luxury Vinyl Plank (LVP)
- #3: Laminate Flooring
- #4: Carpet Tiles
- #5: Sheet Vinyl
- #6: Engineered Hardwood (Floating)
- #7 Hardest: Tile Flooring
- Tools Needed Per Flooring Type
- When to Hire a Professional
- Frequently Asked Questions
- What is the cheapest DIY flooring option?
- What is the best DIY flooring for beginners?
- Can you install flooring over existing flooring?
- How long does DIY flooring installation take?
- Do I need underlayment for DIY flooring?
- What is the most durable DIY flooring?
- Can I install hardwood flooring myself?
- What flooring can I install without removing baseboards?
This guide ranks seven popular flooring types from easiest to hardest for DIY installation, covering the tools needed, time estimates, skill level required, and when you should put down the tools and call a professional instead.
DIY Flooring Difficulty Ranking
| Rank | Flooring Type | Difficulty | Time (200 sq ft) | Material Cost | Tools Needed |
|---|---|---|---|---|---|
| #1 Easiest | Peel-and-stick vinyl | Beginner | 2 – 4 hours | $0.50 – $3.00/sq ft | Utility knife, ruler |
| #2 | Click-lock LVP | Beginner | 3 – 5 hours | $2.00 – $5.00/sq ft | Utility knife, tapping block, pull bar |
| #3 | Laminate | Beginner-Intermediate | 4 – 6 hours | $1.00 – $4.00/sq ft | Miter saw, tapping block, pull bar |
| #4 | Carpet tiles | Intermediate | 3 – 5 hours | $1.50 – $5.00/sq ft | Utility knife, chalk line, adhesive |
| #5 | Sheet vinyl | Intermediate | 4 – 8 hours | $0.75 – $3.00/sq ft | Vinyl knife, seam roller, adhesive |
| #6 | Engineered hardwood (floating) | Intermediate-Advanced | 6 – 10 hours | $3.00 – $10.00/sq ft | Miter saw, tapping block, pull bar, spacers |
| #7 Hardest | Tile | Advanced | 12 – 20 hours | $1.50 – $15.00/sq ft | Tile saw, trowel, spacers, grout float |
#1 Easiest: Peel-and-Stick Vinyl
Peel-and-stick vinyl tiles or planks are the absolute easiest DIY flooring to install. As the name suggests, you simply peel off the adhesive backing and press the tile onto a clean, smooth subfloor. No mortar, no click mechanisms, no specialized tools.
Why It’s the Easiest
- Self-adhesive backing — no separate glue or underlayment needed
- Cut with a standard utility knife — no power tools required
- Lightweight tiles that are easy to position and reposition (within a few minutes)
- No acclimation period required for most brands
- Mistakes are inexpensive to fix — peel up and replace individual tiles
Key Considerations
Peel-and-stick flooring requires a perfectly smooth, clean, and dry subfloor. Any texture, dust, or moisture on the subfloor will prevent proper adhesion. On concrete subfloors, a skim coat or self-leveling compound may be necessary. The adhesive bond weakens in high-moisture areas, making this option less suitable for bathrooms or below-grade installations.
Best Rooms
Bedrooms, home offices, closets, rental apartments (temporary installation), and laundry rooms.
#2: Click-Lock Luxury Vinyl Plank (LVP)
Click-lock luxury vinyl plank flooring is nearly as easy as peel-and-stick but produces a significantly more durable and professional-looking result. Planks connect with an interlocking tongue-and-groove mechanism that clicks together without glue.
Why It’s Easy
- Floating installation — no adhesive, nails, or subfloor attachment
- Planks cut easily with a utility knife (score and snap)
- Built-in underlayment on many products
- 100% waterproof (SPC and WPC cores)
- Forgiving of minor subfloor imperfections (especially WPC)
Key Considerations
The click-lock mechanism requires some finesse to engage properly. Angling the plank at 20 to 30 degrees and pressing down until it clicks takes a few tries to learn. End joints must be staggered at least 6 inches between rows. Subfloor flatness tolerance is typically 3/16 inch per 10 feet.
#3: Laminate Flooring
Laminate flooring installation follows the same floating click-lock principle as LVP, but the HDF core is harder to cut and less forgiving of subfloor moisture.
Why It’s Beginner-Intermediate
- Same click-lock mechanism as LVP — familiar if you’ve done LVP
- Requires a power saw for clean cuts (miter saw or circular saw)
- Separate underlayment usually needed
- Not waterproof — requires moisture barrier on concrete subfloors
- More sensitive to expansion and contraction (expansion gaps are critical)
Key Considerations
Laminate must acclimate in the installation room for 48 to 72 hours before installation. Expansion gaps (typically 1/4 inch) must be maintained around all walls, columns, and fixed objects. The HDF core will swell and buckle if it absorbs moisture, making proper moisture testing and barrier installation essential on concrete subfloors.
#4: Carpet Tiles
Carpet tiles (carpet squares) are individually-sized carpet pieces — typically 18 to 24 inches square — that install with adhesive dots or tabs rather than the full-spread glue and stretching required for broadloom carpet.
Why It’s Intermediate
- Layout planning is important — you need to find center and work outward
- Adhesive application requires even coverage for a flat result
- Pattern matching (if applicable) adds complexity
- Cutting with a utility knife works but requires a steady hand for straight edges
- Subfloor must be very flat — any bump shows through the thin carpet tile
Best Rooms
Basements, home offices, playrooms, and commercial spaces. The modular nature means you can replace individual tiles if one gets stained or damaged.
#5: Sheet Vinyl
Sheet vinyl comes in large rolls (6 or 12 feet wide) that must be cut to fit the room precisely. This is where DIY flooring starts to require real skill and careful planning.
Why It’s Intermediate
- Measuring and cutting a single large sheet to fit an entire room is unforgiving
- Seaming two pieces together (rooms wider than 12 feet) requires practice
- Full-spread adhesive application demands even coverage and working time awareness
- Heavy and awkward to handle — a 12-foot roll for a 200 sq ft room weighs 80+ pounds
- No second chances — cuts are permanent and visible
Key Considerations
Make a paper template of the room first, especially around cabinets, doorways, and irregular walls. Transfer the template to the sheet vinyl and cut in a large, flat area (garage or driveway). Allow the material to relax and flatten for at least 24 hours before final installation.
#6: Engineered Hardwood (Floating)
Engineered hardwood with a click-lock floating installation is mechanically similar to laminate, but the higher material cost and the need for a flawless finish raise the stakes considerably.
Why It’s Intermediate-Advanced
- Material costs $3 to $10+ per square foot — mistakes are expensive
- Real wood veneer is less forgiving of mishandled cuts
- Wider planks amplify any subfloor imperfections
- Transitions and trim work require woodworking precision
- Some species show tool marks more easily than laminate or LVP
Key Considerations
Acclimation is critical — 5 to 7 days minimum in the installation room. Humidity control matters for the life of the floor, not just during installation. While the floating click-lock method is DIY-friendly, glue-down and nail-down installations of engineered hardwood are firmly in professional territory.
#7 Hardest: Tile Flooring
Tile installation is the most challenging DIY flooring project. It requires specialized tools, proper substrate preparation, multiple material systems (adhesive, tile, grout, sealer), and a significant time investment.
Why It’s Advanced
- Substrate must be perfectly level — uneven thinset causes lippage and cracked tiles
- Wet saw required for clean cuts — manual tile cutters work for straight cuts only
- Thinset mortar has a limited working time (20 to 30 minutes per batch)
- Layout planning and dry-fitting are essential to avoid small slivers at walls
- Grouting requires technique to achieve clean, consistent joints
- Waterproofing membranes needed in wet areas (showers, bathroom floors)
- Total project spans multiple days (set tile Day 1, grout Day 2, seal Day 3)
Key Considerations
Tile installation on concrete is more forgiving than on wood subfloors, which require cement backer board installation first. Large-format tiles (12×24 inches and larger) demand exceptionally flat substrates and specialty thinset. Mosaic tiles are easier to cut but exponentially more time-consuming to lay.
Tools Needed Per Flooring Type
| Tool | Peel & Stick | LVP | Laminate | Carpet Tile | Sheet Vinyl | Eng. Hardwood | Tile |
|---|---|---|---|---|---|---|---|
| Utility knife | Yes | Yes | No | Yes | Yes | No | No |
| Miter saw | No | No | Yes | No | No | Yes | No |
| Wet tile saw | No | No | No | No | No | No | Yes |
| Tapping block | No | Yes | Yes | No | No | Yes | No |
| Pull bar | No | Yes | Yes | No | No | Yes | No |
| Notched trowel | No | No | No | No | Yes | No | Yes |
| Grout float | No | No | No | No | No | No | Yes |
| Spacers | No | Yes | Yes | No | No | Yes | Yes |
| Tape measure | Yes | Yes | Yes | Yes | Yes | Yes | Yes |
When to Hire a Professional
Even experienced DIYers should consider hiring a professional flooring installer in these situations:
- Significant subfloor damage: Rot, structural issues, or severe unevenness require professional assessment and repair before any flooring can be installed.
- Asbestos-containing flooring removal: Vinyl flooring installed before 1986 may contain asbestos. Never disturb, sand, or remove it yourself — hire a licensed abatement company.
- Radiant heat systems: Installing flooring over in-floor heating requires specific products and techniques that vary by system type.
- Stairs: Staircase flooring installation is significantly more complex than flat-floor installation for every flooring type.
- Glue-down or nail-down hardwood: These methods require professional tools (pneumatic nailers, trowels) and significant experience to execute properly.
- Rooms larger than 1,000 square feet: Larger rooms amplify small errors into visible problems. Expansion management becomes more complex.
- Shower tile: Waterproofing a shower pan and walls correctly is critical to prevent catastrophic water damage inside walls.
Frequently Asked Questions
What is the cheapest DIY flooring option?
Peel-and-stick vinyl tiles are the cheapest DIY flooring option, starting at $0.50 per square foot for basic designs. Including tools and preparation materials, you can floor a 200 square foot room for under $150.
What is the best DIY flooring for beginners?
Click-lock luxury vinyl plank (LVP) offers the best combination of ease, durability, and appearance for beginners. It requires minimal tools, is waterproof, and produces professional-looking results on the first attempt.
Can you install flooring over existing flooring?
Yes, in many cases. Floating floors (LVP, laminate, engineered hardwood) can go over existing hard-surface flooring as long as it is flat, stable, and in good condition. You generally cannot install over carpet (except carpet tiles over low-pile commercial carpet in some cases).
How long does DIY flooring installation take?
For a 200 square foot room, peel-and-stick takes 2 to 4 hours, click-lock LVP takes 3 to 5 hours, laminate takes 4 to 6 hours, and tile takes 12 to 20 hours spread across multiple days. These estimates include basic preparation but not demolition of existing flooring.
Do I need underlayment for DIY flooring?
It depends on the type. LVP often has attached underlayment. Laminate requires a separate underlayment pad. Tile requires cement backer board on wood subfloors. Peel-and-stick and sheet vinyl do not use underlayment. Always check the manufacturer’s requirements.
What is the most durable DIY flooring?
SPC (stone polymer composite) luxury vinyl plank is the most durable floor that is still easy to install yourself. It is waterproof, scratch-resistant, dent-resistant, and rated for commercial traffic with a 20+ year residential warranty.
Can I install hardwood flooring myself?
Floating engineered hardwood is DIY-feasible for experienced homeowners. Solid hardwood nail-down installation is professional-level work that requires a pneumatic floor nailer and significant skill. Glue-down installation of either type is also best left to professionals.
What flooring can I install without removing baseboards?
Technically any floating floor, since the expansion gap at walls is covered by baseboards. However, if your existing baseboards sit directly on the old floor, you will likely need to remove them, install the new floor, and reinstall the baseboards at the new, slightly higher level. Quarter round molding is a shortcut to cover the gap without removing baseboards.
Prefer to explore on your own?
See how new flooring looks in your actual room in seconds — free, no signup.
Try the free Floor Studio →