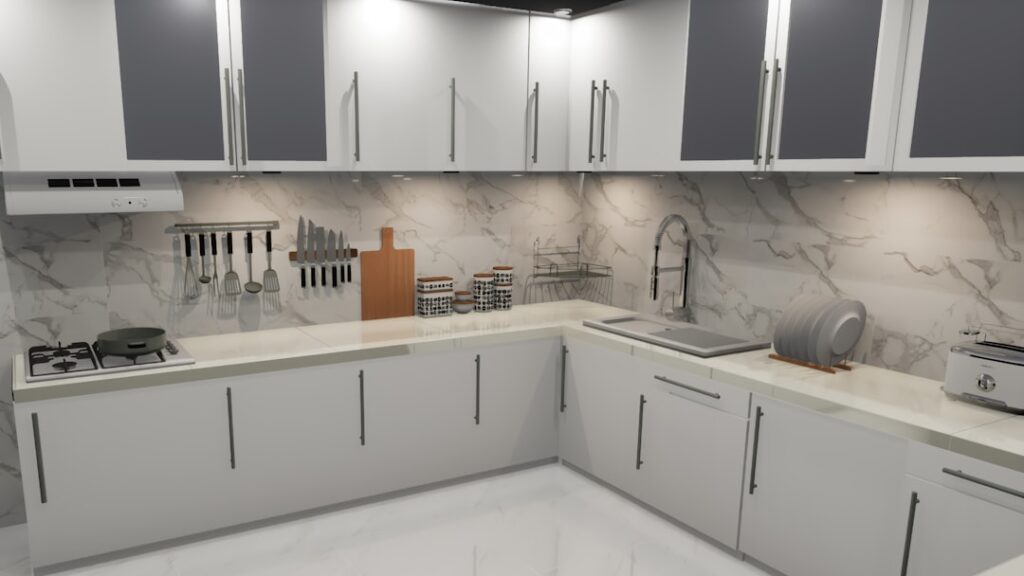
A rolling island gives you extra counter space, storage, and prep area that you can push out of the way when you don’t need it. Building a DIY kitchen island on wheels is one of the most rewarding weekend projects because it’s genuinely useful, surprisingly affordable, and adaptable to almost any kitchen size. The trick is choosing a solid base, mounting the right casters, and topping it with a surface that holds up to daily use. Here’s how to build one that rolls smoothly and locks securely.
Why a Mobile Island Makes Sense
Not every kitchen has the floor space for a permanent island, and not every cook wants one fixed in place. A mobile island solves both problems. You can roll it next to the stove while cooking, push it against a wall when entertaining, or move it entirely to clean the floor. For renters, it adds island functionality without any permanent changes. The flexibility is the whole point, so prioritize smooth-rolling, lockable wheels and a base that’s stable when you’re chopping on it.
Step 1: Choose Your Base
You don’t have to build from scratch. There are three practical starting points, ranked from easiest to most ambitious:
- A stock base cabinet: an off-the-shelf kitchen base cabinet gives you instant drawers or doors and a finished look. This is the easiest route and offers the most storage.
- A sturdy utility cart or console table: repurpose an existing piece, reinforce it, and add a top. Fast and cheap.
- A custom plywood box: build a simple cabinet carcass from 3/4-inch plywood if you want exact dimensions and have basic woodworking skills.
Whatever you pick, make sure the structure is rigid and square. A wobbly base only gets wobblier once it’s up on wheels.
Step 2: Pick the Right Casters
Casters are the most important hardware decision, because cheap or undersized wheels make the whole island feel flimsy. Choose locking casters, and ideally lock at least two of the four so the island stays put while you work. Look for these features:
- Load rating: add up the weight of your base and top, then choose casters whose combined rating comfortably exceeds it, with margin for items stored inside.
- Wheel size: larger wheels (3 inches or more) roll more easily over thresholds and grout lines than tiny ones.
- Brakes: total-lock casters that stop both the wheel and the swivel keep the island rock-steady when locked.
Mount casters to a solid part of the base, ideally into a plywood bottom or a reinforced rail, not into thin particleboard, which can strip out. Use bolts with washers rather than short screws for a connection that won’t loosen over time.
Step 3: Account for Total Height
Adding wheels raises the whole island, so plan your height before you build. Standard counter height is 36 inches. Casters can add anywhere from 2 to 5 inches, so if you want the finished top at 36 inches, your base plus top needs to come up shorter to compensate. Measure your casters first, then size the base accordingly. Get this wrong and you’ll have an island that’s uncomfortably tall for prep work.
Step 4: Add and Secure the Top
The top is where you can splurge or save. Butcher block is the classic choice for a rolling island, since it’s durable, attractive, and doubles as a cutting surface; a thick laminate, reclaimed wood slab, or even a stone remnant also works. Make the top slightly larger than the base, with a small overhang of about an inch on the sides and a bit more on one end if you want room to tuck a stool.
Secure the top from underneath using corner brackets, pocket screws, or figure-eight fasteners that allow a wood top to expand and contract. Screw up through the base into the top so no fasteners show on the surface. Finish a wood top with food-safe mineral oil or a butcher-block conditioner if you’ll be cutting on it.
Step 5: Finish and Add Functionality
With the structure done, add the touches that make it earn its keep. A towel bar on one end, hooks for utensils, a shelf for cookbooks or baskets, or a built-in spice rack all increase usefulness. Paint or stain the base to match or contrast your cabinets. If you want a quick honest tip: keep heavy items low and centered, because a top-heavy island on wheels can feel tippy when you push it.
Sizing the Island for Your Kitchen
An island only helps if it fits the room and leaves you walkways. As a rule of thumb, keep at least 36 to 42 inches of clearance on all sides so people can pass and cabinet doors and appliances can open fully. In a galley or small kitchen, a slim island around 18 to 24 inches deep still adds useful surface without choking the space, while a larger kitchen can handle a 24-by-48-inch piece or bigger.
Because it’s mobile, you have flexibility: build it to fit the tightest spot you’ll park it in, knowing you can roll it into the open when you need more room to work. Sketch the footprint on the floor with painter’s tape before you build, then walk around it for a few days to confirm the size feels right in daily use.
Budget and Time Expectations
Setting realistic expectations keeps the project enjoyable. A simple build using a stock base cabinet, four locking casters, and a laminate or butcher-block top can often be completed in a weekend. The casters typically run $20 to $60 for a set of four quality locking wheels, and a butcher-block top is usually the biggest single cost depending on size and wood.
If you reuse an existing cart or cabinet and a remnant top, the whole project can come together for very little. Building a custom plywood carcass adds time and tools but gives you exact dimensions. Either way, a DIY rolling island almost always costs a fraction of a comparable store-bought kitchen cart and lets you tailor the size, storage, and finish to your space.
Putting It to Work
Once it’s built, test the locks on your actual floor and make sure the island doesn’t drift while you lean on it. A well-built rolling island typically costs a fraction of a custom built-in and delivers most of the function. Choose a sturdy base, bolt on quality locking casters rated for the load, plan your height around the wheels, and secure a durable top, and you’ll have a flexible workstation that adapts to whatever your kitchen throws at it.