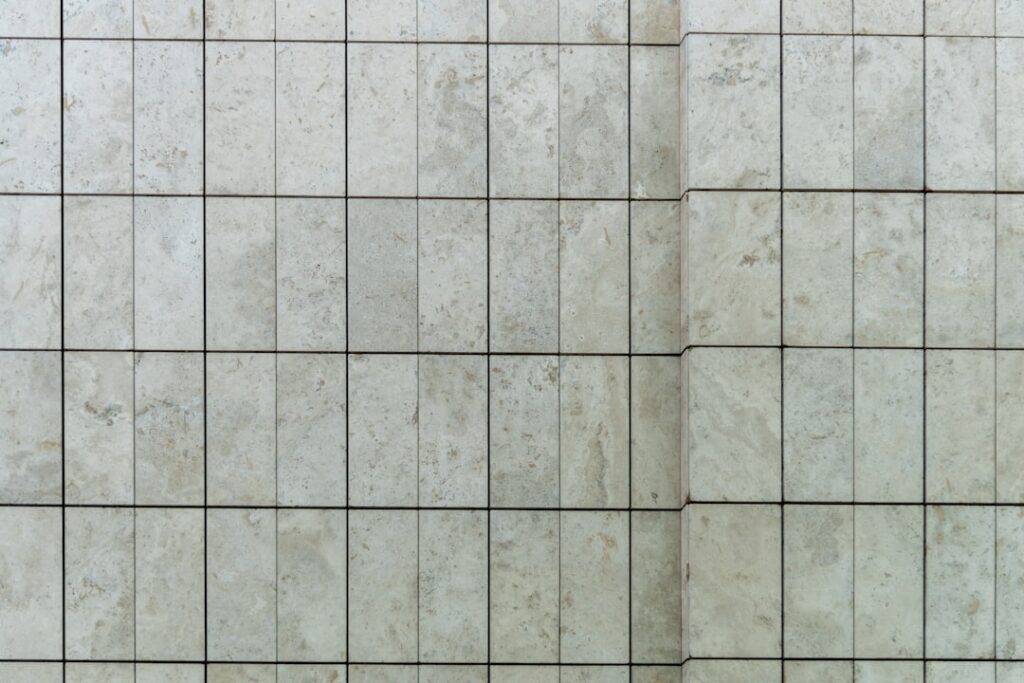
Homeowners love the look of stone and ceramic but hate the cold, hard, slow-to-install reality of traditional tile, and that tension is exactly why engineered tile flooring has exploded in popularity. This category blends a realistic tile or stone visual with a multi-layer rigid core that clicks together like a plank, giving you a waterproof, warmer, easier-to-install floor without thinset, grout, or a tile saw. It is not the right answer for every room, but for the right project it solves several headaches at once. Here is how it works and whether it belongs in your home.
What Engineered Tile Flooring Actually Is
Engineered tile is a layered, dimensionally stable product designed to look like ceramic, porcelain, or natural stone while installing like luxury vinyl. Most versions are built on a rigid stone-plastic composite (SPC) or wood-plastic composite (WPC) core, topped with a high-resolution printed image layer and a clear, scratch-resistant wear layer. Some premium lines use a thin layer of real porcelain or stone bonded to a composite backer, which is sometimes called engineered stone or porcelain plank.
The shared idea across these products is engineering for stability and ease. The rigid core resists expansion and contraction, the click-lock edges float over the subfloor, and many tiles ship with grout-look beveled edges so the finished floor reads as authentic tile. You get the aesthetic of a tiled room without the wet, messy, skill-intensive install.
Pros of Engineered Tile Flooring
- Waterproof core: SPC-based engineered tile is fully waterproof, making it ideal for bathrooms, kitchens, and basements.
- Warmer and softer underfoot: Far less cold and unforgiving than porcelain or stone, with better comfort for standing.
- Fast, dry installation: Click-lock floating install means no thinset, grout, or mortar cure time, so a room can be done in a day.
- DIY-friendly: Cuts with a utility knife or simple saw instead of a wet tile saw.
- Quieter: The composite core dampens footsteps and echo compared to hard ceramic.
- Realistic visuals: High-definition printing plus beveled, grout-look edges convincingly mimic stone and ceramic.
Cons and Trade-Offs
Engineered tile is not the same as real porcelain, and the differences matter to some buyers. Most products use a printed wear layer rather than a fired ceramic surface, so a deep gouge can expose the layer beneath, and there is no way to refinish it the way you would refinish hardwood. Resale-focused buyers and luxury renovators sometimes still prefer genuine porcelain or natural stone for that reason.
Heat sensitivity is another consideration. Some composite cores can soften or expand under sustained high temperatures, so direct, intense sun through large windows or certain radiant-heat setups requires confirming the manufacturer’s temperature limits. The floating click-lock system also needs a flat subfloor, generally within 1/8 inch over 10 feet, or you risk hollow spots and joint stress. And while mid-grade engineered tile is competitively priced, top-tier products can cost as much as real porcelain.
Engineered Tile vs. Porcelain vs. Luxury Vinyl Plank
Versus porcelain tile
Porcelain is harder, more heat-tolerant, and refinish-proof in the sense that it does not wear through, but it is cold, brittle if dropped on, and demands skilled, time-consuming installation. Engineered tile trades ultimate durability for comfort, speed, and DIY accessibility.
Versus standard LVP
Engineered tile is essentially a tile-styled cousin of luxury vinyl plank. The construction is similar, but engineered tile leans into stone and ceramic visuals with grout-look edges, while LVP focuses on wood looks. Performance and price overlap heavily.
What Engineered Tile Flooring Costs
As a general market estimate, engineered tile material runs roughly $2.50 to $6.00 per square foot for SPC and WPC products, with premium real-porcelain-veneer systems reaching $7.00 to $10.00 per square foot. That positions it below the fully installed cost of traditional porcelain in most cases, largely because the labor is so much lighter.
Professional installation typically adds $1.50 to $4.00 per square foot, but the dry, click-lock format makes this one of the more DIY-friendly tile-look options, which can erase the labor line entirely for a handy homeowner. For a 200-square-foot bathroom or kitchen, plan a rough material budget of $500 to $1,200 and order 10% extra for cuts and future repairs. These figures vary by region and brand, so confirm current pricing.
Installation Tips and Pro Advice
- Flatten the subfloor: Verify it is level within 1/8 inch over 10 feet and patch any dips before laying the first tile.
- Acclimate the product: Let it sit in the room for 48 hours at 65°F to 85°F so the core stabilizes.
- Leave expansion gaps: Maintain roughly 1/4 inch around the perimeter and at fixed objects, hidden under baseboard or trim.
- Stagger the joints: Offset end seams by at least 6 to 8 inches row to row for strength and a natural look.
- Use a tapping block: Click planks together with a tapping block and pull bar rather than hammering tile edges directly.
Pro tip: dry-lay a full row before committing and plan your layout so border cuts are at least half a tile wide. Thin slivers along a wall look amateurish and crack more easily, so adjust your starting line to balance the cuts on both sides of the room.
Care, Maintenance, and Buying Guide
Day-to-day care is simple. Sweep or vacuum to remove grit, then damp-mop with a pH-neutral cleaner; the waterproof core means you do not have to baby it around spills. Use felt pads under furniture and walk-off mats at entries to limit scratching, and check the warranty for any cleaner restrictions.
When you shop, prioritize wear-layer thickness (12 mil for light traffic, 20 mil for busy households and pets), core type (SPC for the most rigid, waterproof performance), and a realistic embossed surface that matches the visual. Confirm the heat-tolerance spec if the room gets strong sun or radiant heat. Choose well, prep the subfloor properly, and engineered tile flooring delivers the upscale look of stone with the comfort, speed, and forgiveness that traditional tile simply cannot match.
Best Rooms for Engineered Tile
Bathrooms and kitchens are where engineered tile earns its reputation. The waterproof core shrugs off splashes, mop water, and the occasional overflow that would damage laminate or solid wood, and the warmer, quieter surface is far more pleasant underfoot first thing in the morning than cold porcelain. Basements are another natural fit, since the floating install tolerates the minor moisture and temperature swings common below grade.
Entryways, mudrooms, and laundry rooms also benefit from the stone look paired with easy cleanup. The one place to think twice is a sunroom or any space behind large south-facing glass, where sustained heat can stress some composite cores; in those rooms, confirm the manufacturer’s temperature rating or consider genuine porcelain instead. Matching the product to the room is the difference between a floor that performs for 20 years and one that disappoints in two.
Prefer to explore on your own?
See how new flooring looks in your actual room in seconds — free, no signup.
Try the free Floor Studio →