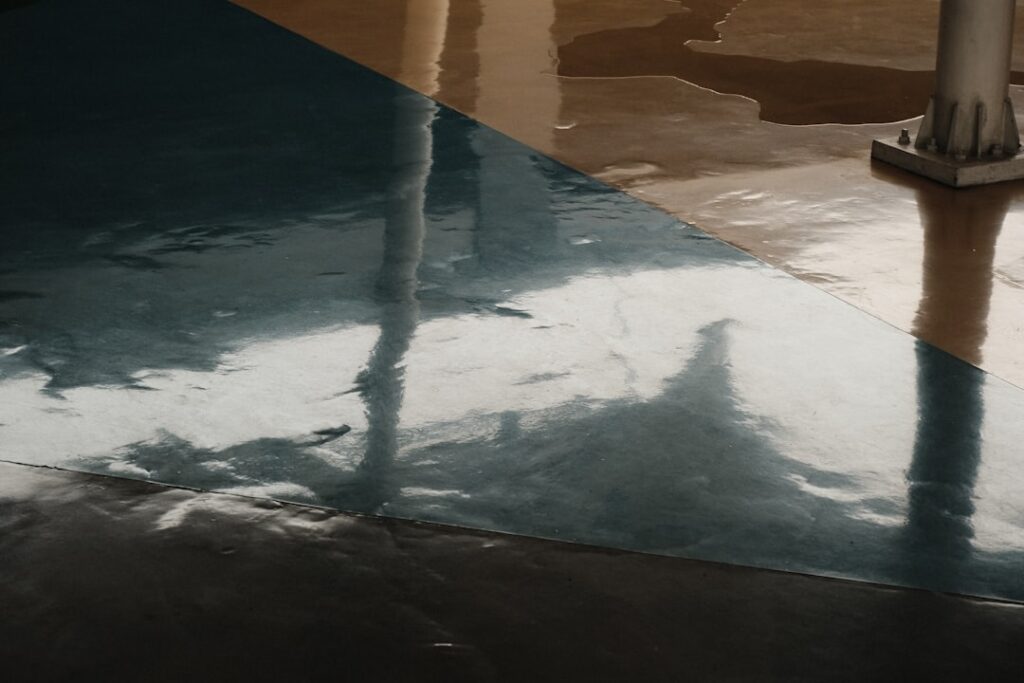
Seamless, waterproof, and grout-free, an epoxy shower floor is one of the few surfaces that can turn a leak-prone shower pan into a single continuous membrane with no joints for water to sneak through. Epoxy is a two-part resin that cures into a hard, dense plastic, and when it is applied correctly over a properly sloped, waterproofed base, it delivers a shower floor that is easy to clean and genuinely watertight.
That “applied correctly” part is the whole ballgame, though. I have seen gorgeous epoxy shower floors that lasted a decade and I have seen peeling messes that failed in a year because someone skipped the waterproofing or poured over a floor that still held moisture. Let me lay out honestly where epoxy shines in a shower, where it struggles, what it costs, and how a proper installation actually goes.
What an Epoxy Shower Floor Actually Is
There are two main approaches. The first is a decorative flake or metallic epoxy coating troweled and rolled over a mortar shower pan, sealed with a UV-stable polyurethane or polyaspartic topcoat. The second is a solid epoxy pour, sometimes called a resin pan, built up in layers. In both cases the epoxy itself is not the waterproofing; the sloped mortar bed and a waterproof membrane underneath do that job, and the epoxy is the finished, cleanable surface bonded on top.
This is the critical difference from a garage floor. A shower sees standing water and constant thermal cycling from hot showers, so the substrate must be fully waterproofed with a system like a liquid-applied membrane or a sheet membrane before the epoxy ever goes down. Epoxy on top adds a second line of defense and a seamless, groutless finish.
The Pros
- Seamless and grout-free: No grout lines means nowhere for mildew and soap scum to hide. Cleaning is a wipe-down.
- Waterproof surface: Fully cured epoxy is non-porous, so it does not absorb water or harbor bacteria.
- Durable: A quality epoxy topcoat resists abrasion and shrugs off dropped shampoo bottles far better than tile edges.
- Design flexibility: Metallic pours, color flake blends, and custom pigments let you get looks tile cannot, from marbled swirls to solid stone tones.
- Fast return to service: Modern polyaspartic topcoats let you use the shower in 24 to 48 hours instead of waiting on grout and sealer cure times.
The Cons
- Slip risk when wet: Smooth epoxy is slick. A shower floor must have a broadcast anti-slip aggregate (fine silica or aluminum oxide) worked into the topcoat, or it becomes dangerous.
- Installation is unforgiving: Substrate moisture, poor slope, or a missed primer coat cause delamination. This is not a beginner DIY unless you are experienced with resins.
- UV yellowing: Standard epoxy ambers over time. A UV-stable polyaspartic or aliphatic urethane topcoat is a must, especially near a window.
- Repair visibility: A damaged spot can be recoated, but blending a repair invisibly into a metallic pour is difficult.
- Not a magic waterproofer: Skip the underlying membrane and you will get failures no matter how good the epoxy looks.
Cost Per Square Foot
A shower floor is small, usually 9 to 15 square feet, so total dollars are modest but the per-foot rate is higher than a big garage because of the detail work and mandatory slip texture. Expect these ranges:
- DIY materials: $8 to $18 per square foot for primer, epoxy, flake or metallic pigment, anti-slip aggregate, and a UV-stable topcoat.
- Professional installation: $20 to $45 per square foot for the finish coating, more if the pan and waterproof membrane are being rebuilt from scratch.
- Full pan rebuild plus epoxy: $900 to $2,500 for a typical shower once you include the sloped mortar bed, membrane, and drain work.
Compared to a tiled shower floor at $15 to $30 per square foot installed, epoxy is competitive and eliminates ongoing grout maintenance.
How a Proper Installation Goes
- Build and slope the pan: A mortar bed is packed to a consistent 1/4 inch per foot slope toward the drain. This is the single most important step; water must flow, not pool.
- Waterproof: Apply a liquid membrane or bond a sheet membrane over the entire pan and up the curb, flood-test for 24 hours to confirm zero leaks.
- Prep and prime: The surface must be clean, dry (under 4 percent moisture), and primed with an epoxy primer for adhesion.
- Base coat: Roll or trowel the pigmented epoxy base. For flake systems, broadcast vinyl flakes into the wet coat to refusal.
- Anti-slip broadcast: Work fine silica or aluminum oxide grit into the topcoat while wet. This is non-negotiable on a shower floor.
- UV-stable topcoat: Apply a polyaspartic or aliphatic urethane clear coat for chemical, UV, and abrasion resistance.
- Cure: Let it cure per the product spec, typically 24 to 72 hours before water exposure.
Slip Resistance Done Right
The number one safety issue with epoxy in a shower is slipperiness, so aim for a coefficient of friction that stays safe wet. The fix is texture: a fine, evenly broadcast aggregate gives grip without feeling like sandpaper on bare feet. Ask for a medium grit specifically rated for wet-area foot traffic. If you are doing it yourself, do a test panel and stand on it wet before committing to the whole floor.
Maintenance and Lifespan
A well-installed epoxy shower floor with a quality topcoat lasts 10 to 15 years before it needs a refresh coat. Maintenance is simple: pH-neutral cleaner and a soft brush, no harsh acids that can dull the finish. Squeegee or wipe after showers to keep mineral spotting down in hard-water areas. When the topcoat eventually shows wear, a light sand and a fresh clear coat renews it for a fraction of a full replacement.
Decorative Options and Finishes
One of the reasons people choose epoxy over tile is the range of looks you simply cannot get with grouted tile. A metallic epoxy pour uses reflective pigments that you manipulate while the resin is wet, dragging and swirling them to create marbled, three-dimensional patterns that mimic natural stone or flowing water. No two metallic floors are identical, which makes each one custom. These pours pair beautifully with a matching or contrasting shower wall for a high-end, seamless look.
Color flake systems are the other popular route. You broadcast vinyl chips into the wet base coat, then seal them under clear topcoats. Flakes hide minor imperfections, add subtle texture underfoot, and let you blend custom color combinations to match your bathroom palette. They also provide a bit of natural slip resistance from the slightly raised chip profile, though you still want a dedicated anti-slip aggregate in a shower.
For a more understated result, a solid pigmented epoxy in a soft gray, greige, or charcoal gives you a clean, modern, concrete-look floor with none of the grout lines a tiled version would have. Whatever look you choose, insist on a UV-stable clear topcoat over it; standard epoxy will amber and dull, but a polyaspartic or aliphatic urethane clear coat keeps the color true and adds the abrasion and chemical resistance that a daily shower demands. Ask your installer to show you a cured sample of the exact system before you commit.
Is It the Right Choice for Your Shower?
Epoxy makes the most sense if you want a seamless, low-maintenance, grout-free floor and you are hiring an experienced installer or you have real resin skills. The finish is striking, cleaning is effortless, and the waterproof surface is a genuine advantage. But it lives and dies by the prep: proper slope, a tested waterproof membrane, a dry substrate, and mandatory anti-slip texture. Get those fundamentals right and an epoxy shower floor will outperform tile on cleaning and waterproofing for a decade or more. Cut corners on the base, and no amount of pretty resin will save it.
Prefer to explore on your own?
See how new flooring looks in your actual room in seconds — free, no signup.
Try the free Floor Studio →