
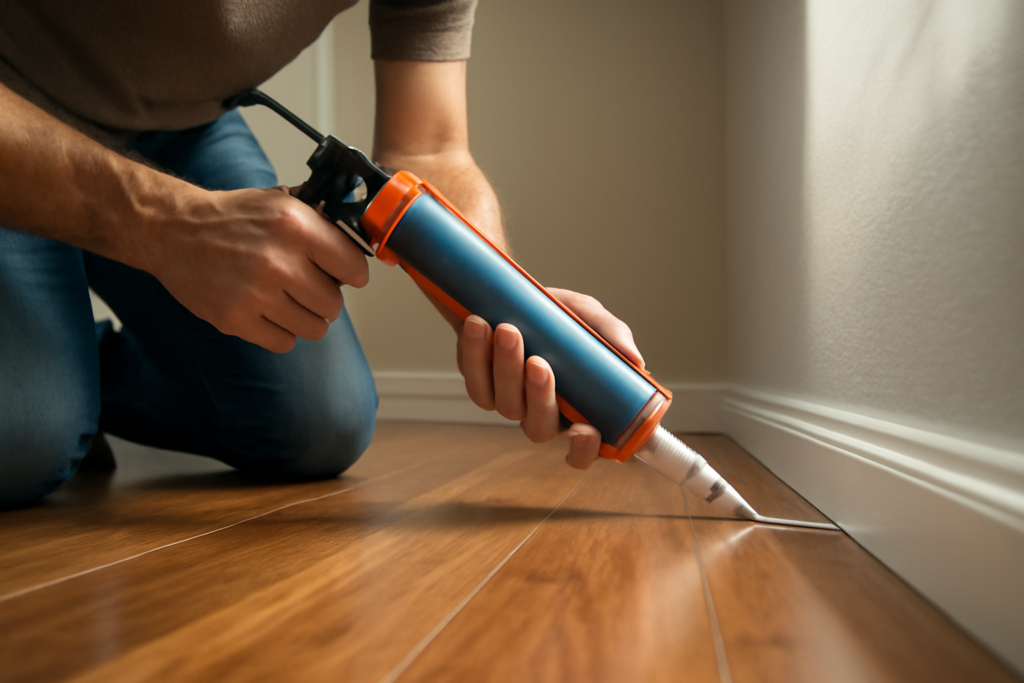
The gap where your floor meets the wall, the tub, or the next room seems like a minor detail until water sneaks into it or dust collects along the edge. Proper floor caulking seals those perimeters and transitions cleanly, keeps moisture out of the subfloor, and gives an installation a finished, professional look. The trick is knowing when caulk is the right filler and when the job actually calls for grout, backer rod, or a dedicated expansion joint instead.
When to Use Caulk vs. Grout
This is the question that trips up most homeowners tiling a floor. The simple rule the pros follow: grout goes between tiles on the same plane, and caulk goes wherever two different planes or two different materials meet. That difference is not about looks; it is about movement.
- Use grout for the joints between tiles across a flat floor, where nothing flexes
- Use caulk at every change of plane and material, because those spots move and rigid grout would crack
Practical caulk locations include where the floor meets the wall, around a tub or shower base, where tile meets a bathtub, at inside corners, and where tile transitions to wood, carpet, or a threshold. Grout in those flexing joints will crack within a season; flexible caulk absorbs the movement.
Sealing the Perimeter
Nearly every floor needs a small gap left around the perimeter, and how you handle it depends on the flooring type. Floating floors like laminate and luxury vinyl require an expansion gap at the walls, which is normally hidden by baseboard or quarter-round rather than caulked, so the floor can move freely.
Tile floors and wet areas are different. Here you caulk the perimeter where tile meets the wall or the tub to block water intrusion. In a bathroom especially, a continuous bead of flexible caulk along the base of the tub and the wall-to-floor joint is the front line against water reaching the subfloor.
Where Backer Rod Comes In
For wide or deep gaps, you should not simply pump them full of caulk. Caulk performs best in a thin, shallow bead, and a deep joint packed solid with caulk will sag, cure poorly, and fail. That is where backer rod earns its place.
Backer rod is a flexible foam cord you push into the gap before caulking. It fills most of the void, controls the depth of the caulk, and gives the bead the correct hourglass shape so it can stretch without tearing. Use it in expansion joints, wide perimeter gaps, and any joint deeper than about a quarter inch. The rule of thumb is a caulk depth roughly half the joint width, and backer rod is how you set that depth.
Expansion Joints in Large Floors
Big tile installations and floors over concrete need expansion joints, sometimes called movement joints, to handle the natural swelling and shrinking of the substrate. These are intentional soft joints filled with flexible sealant rather than rigid grout. Industry guidance calls for movement joints around the perimeter of every tiled area, where tile meets restraining surfaces, and in large fields at regular intervals, more often over concrete and in sun-exposed or exterior areas. Filling these with a flexible caulk or specialized sealant, backed by backer rod, prevents the buckling and tenting that destroy rigid tile floors.
Choosing and Color-Matching the Caulk
The right product and color make the difference between an invisible seal and an eyesore. For wet areas, use a 100 percent silicone or a high-quality siliconized product rated for kitchens and baths, since it stays flexible and resists mildew. For dry transitions, a paintable acrylic-latex caulk works and can be tinted or painted to match trim.
- Color-matched caulk is sold to match popular grout colors, so the perimeter blends with your grout lines seamlessly
- Match to grout, not tile, when caulking a tile-to-wall joint so the caulk reads as a continuation of the grout
- Mildew-resistant silicone is essential around tubs, showers, and sinks
Application Tips for a Clean Bead
Preparation and technique separate a crisp line from a smeared mess. Clean and dry the joint first, removing any old caulk completely. Apply painter’s tape on both sides of the joint for a razor-straight edge. Cut the tube tip small, hold the gun at a consistent angle, and lay a steady bead in one pass. Tool it smooth with a wet finger or a caulk tool, then pull the tape immediately while the caulk is wet. Let it cure fully, typically 24 hours for silicone, before exposing it to water.
Caulking Around Bathrooms and Wet Areas
Bathrooms deserve special attention because they combine constant moisture with lots of plane changes, exactly the conditions caulk is made for. The joints around a tub, shower, and toilet are your first line of defense against water reaching the subfloor and framing below.
- Tub-to-floor and tub-to-tile joints: always caulk, never grout, since the tub flexes when filled with water and a person
- Around the toilet base: caulk the perimeter to block splashes, but leave a small gap at the back so a hidden leak can be detected
- Shower corners and curb edges: flexible caulk absorbs the movement that would crack rigid grout in these high-stress spots
- Where flooring meets the vanity: a thin caulk bead keeps mop water and spills out of the cabinet base
Use 100 percent silicone in these areas, and refresh it when you see it discoloring, peeling, or growing mildew. Caulk is a consumable in wet rooms; expect to redo bathroom beads every few years to keep the seal watertight.
Maintaining and Replacing Old Caulk
Caulk does not last forever, and knowing when and how to replace it protects your floor long-term. Cracked, shrinking, moldy, or peeling caulk has failed and is letting water past, so it needs to come out rather than getting a new bead laid over the top.
Remove old caulk completely with a caulk-removal tool or a utility knife, scraping the joint clean down to bare surfaces. Wipe the area with rubbing alcohol to remove residue and any soap film, then let it dry fully before applying fresh caulk. Skipping this prep is the most common reason a new bead fails prematurely, because caulk will not bond well over old caulk, grime, or moisture. A clean, dry joint and a quality flexible sealant is the recipe for a bead that stays sealed for years.
The Bottom Line
Smart floor caulking is really about matching the filler to the joint: grout on flat tile fields, flexible caulk anywhere two planes or materials meet, and backer rod behind any deep or wide gap. Respect expansion joints on large and concrete floors, color-match the caulk to your grout, and take the time to tape and tool a clean bead. Done right, it locks water out and gives your floor a finished edge that lasts.
Prefer to explore on your own?
See how new flooring looks in your actual room in seconds — free, no signup.
Try the free Floor Studio →

