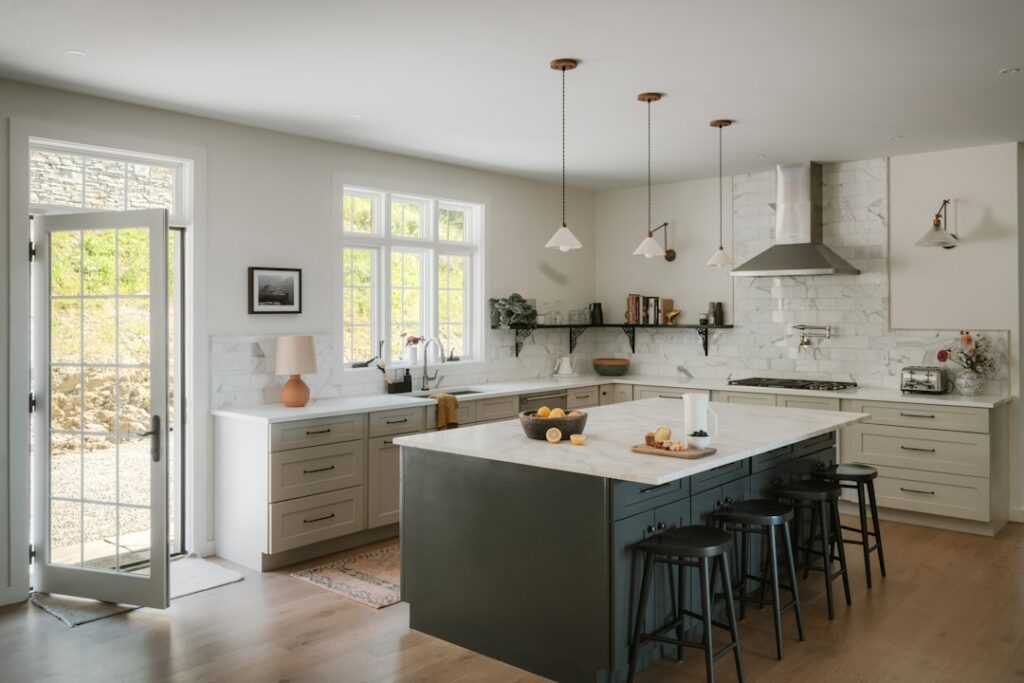
A 144-square-foot room is one of the most common kitchen footprints in American homes, and it’s also the size where people most often ask whether they can squeeze in an island. Designing a 12×12 kitchen layout floor plan with island is absolutely possible, but it’s tight, and success depends entirely on respecting clearance rules rather than wishful thinking. I’ve watched homeowners drop a big-box island into a room this size only to discover they can no longer open the dishwasher and stand at the counter at the same time.
The core tension in a 12×12 is that an island eats floor space you also need for walkways. Get the math right and you gain a genuinely useful prep, storage, and seating surface. Get it wrong and you build an obstacle course. This guide walks through the clearances that make or break the plan, the base layouts that work best, how to size the island itself, and the flooring that holds up to kitchen abuse.
Do the Clearance Math First
Before you fall in love with an island, measure the aisles it will leave behind. The kitchen design standard is a minimum of 36 inches of clear walkway around an island in a one-cook kitchen, and 42 to 48 inches where two people work or where the aisle runs between the island and a run of cabinets with appliances. Forty-two inches is the comfortable target; 36 is the absolute floor and feels snug the moment someone opens an oven door into it.
Here’s why this dominates a 12×12 plan. Your perimeter cabinets are typically 25 inches deep with the countertop overhang, so two opposing cabinet runs already consume about 50 inches of your 144-inch width. That leaves roughly 94 inches in the middle. Carve out two 42-inch walkways on either side of the island and you have about 10 inches of island width left, which is useless. That’s the fundamental squeeze, and it’s why a straight galley-plus-island rarely works in this size.
Will an Island Actually Fit?
The honest answer is: only a small one, and only with the right base layout. An island needs to be at least 40 inches by 40 inches to be worth building — anything smaller reads as a cart, not an island. The sweet spot in a 12×12 kitchen layout floor plan with island is a compact unit around 2 feet by 4 feet (roughly 24 by 48 inches). That gives you a genuine work surface while preserving the 36 to 42 inches of walkway you need on the sides you actually use.
The trick is not centering the island in a way that demands full clearance on all four sides. If you back the island’s traffic requirement against a layout where cabinets occupy only two or three walls, you free up room. A 12×12 with cabinets on just two adjacent walls (an L-shape) leaves the open corner and center for a modest island with breathing room. Push the ambitions too high — a big island with seating on multiple sides — and the room simply won’t give it to you.
The Work Triangle Still Rules
The classic work triangle connects your three primary stations: the sink, the refrigerator, and the range. Each leg should ideally measure between 4 and 9 feet, and the three legs added together should total no more than about 26 feet. In a 12×12, keeping the triangle tight is easy on paper but easy to sabotage with a poorly placed island that blocks a leg.
The best practice is to keep the island out of the triangle’s direct paths, or to intentionally place one point — often the sink or a prep zone — on the island itself. If you put the sink in the island, you shorten the walk between prep and cleanup, but you also commit to running plumbing to the center of the room, which raises cost. For most 12×12 kitchens I’d keep the sink and range on the perimeter and let the island serve as pure prep and landing space that the cook can pivot to without crossing a triangle leg.
L-Shape vs. U-Shape vs. Galley Base Layouts
Your base cabinet arrangement determines whether an island fits at all. An L-shape — cabinets along two adjacent walls — is the friendliest for a 12×12 island. It leaves two open walls, so the center of the room has room for a compact island with proper clearance, and traffic flows through the open corner. This is the layout I recommend most often for this footprint.
A U-shape wraps cabinets around three walls, which maximizes storage and counter space but leaves a smaller central pocket. You can still fit a very small island in a 12×12 U-shape, but only if the interior clear space measures at least about 8 feet in each direction, which is right at the edge. A galley — two parallel cabinet runs — is the hardest case: as the math above showed, two facing runs eat too much width to leave room for a real island. If you’re set on an island, favor the L-shape and keep the U-shape modest.
Island Functions and Appliance Placement
A small island earns its footprint by doing one or two jobs well, not five jobs poorly. In a 12×12, pick a primary function: prep surface, seating, or storage. A 2-by-4-foot island can host a single overhang seat at one end, or a butcher-block prep top with a couple of drawers and open shelving below. Trying to combine seating, a cooktop, and a sink on a compact island is how you end up with none of them working.
For appliance placement on the perimeter, keep the refrigerator near the entry so groceries don’t travel far, and give it 15 to 18 inches of landing counter beside it. Position the range with counter on both sides for pans coming off the heat, and never tuck it into a corner where a pot handle sticks into a walkway. The dishwasher belongs immediately beside the sink, and crucially, confirm its open door plus a person crouching in front of it still clears the island — that’s the collision people forget until move-in day.
Flooring That Survives a Kitchen
Flooring is where a good plan gets protected or undone. Kitchens see dropped cans, spills, standing water at the sink, and constant foot traffic in tight lanes around the island, so durability and water resistance top the list. Luxury vinyl plank (LVP) is my default recommendation for a working kitchen: it’s fully water-resistant, comfortable underfoot for long prep sessions, forgiving of dropped dishware, and it wears well in the high-traffic pinch points beside an island.
Porcelain tile is the most durable and waterproof option and looks premium, but it’s hard and cold underfoot and unforgiving to anything you drop. Engineered hardwood brings warmth and resale appeal but wants prompt spill cleanup and isn’t ideal right at the sink. Whatever you choose, run the flooring continuously under the island’s location before the island is set, and consider an anti-fatigue mat at the primary prep station. In a compact 12×12 kitchen layout floor plan with island, a resilient, water-resistant floor keeps the room looking sharp despite the concentrated wear the tight walkways create.
Bringing the Plan Together
Designing a functional 12×12 kitchen with an island is an exercise in discipline. Start by proving the clearances — 36 inches minimum, 42 preferred — before committing to an island size, and accept that a compact roughly 2-by-4-foot unit is the realistic ceiling for this footprint. Build around an L-shaped base layout when you can, keep the work triangle tight and out of the island’s traffic paths, and give the island one clear job rather than several.
Finish with appliance placement that never sends a door or a person into a walkway, and a durable, water-resistant floor that shrugs off kitchen life. Do all that and 144 square feet delivers a kitchen that feels bigger than it measures, with an island that genuinely helps instead of getting in the way. The constraint isn’t the enemy here — it’s the thing that forces every decision to earn its place.
Prefer to explore on your own?
See how new flooring looks in your actual room in seconds — free, no signup.
Try the free Floor Studio →