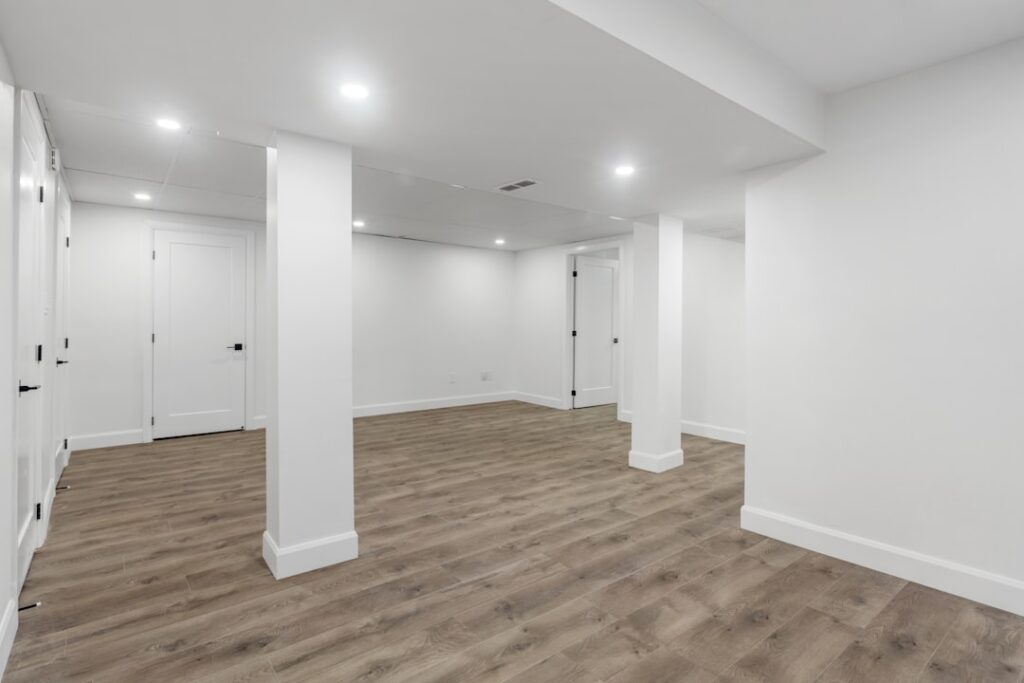
Most basement home gyms fail in one of two ways: the floor isn’t thick enough to absorb a dropped 45-pound plate, or moisture from the slab destroys whatever was put down on top. Solving both problems means understanding what each material is actually built for and matching it to the slab condition. Gym flooring for basement ranges from $1 per square foot interlocking foam to $7 per square foot bonded rubber, and the right choice depends on what you lift, how often, and how dry the concrete is. This guide breaks down each option with real-world performance data.
- Test the Concrete Before You Buy Anything
- Rubber Tiles: The Versatile Default
- Rolled Rubber for Larger Spaces
- Foam Tiles for Stretching and Yoga Zones
- Pros of Each Common Option
- Cons and Tradeoffs by Material
- What It Costs to Floor a Typical Basement Gym
- Installation Tips That Save Headaches
- Maintenance for a Long-Lasting Floor
- Final Picks for Different Budgets
Test the Concrete Before You Buy Anything
Tape a 2-foot square of plastic sheeting to the slab in three locations and leave it for 48 hours. Condensation under the plastic means active moisture coming through the concrete. Any rubber or foam product installed over an active moisture issue will trap water, grow mildew, and ruin the floor within a year.
If the test shows moisture, run a dehumidifier set to 45% relative humidity for 30 days, then retest. If the slab is still wet, install a dimple membrane subfloor like DRIcore or DELTA-FL before the gym flooring goes down. Skipping this step is the most expensive mistake basement gym builders make.
Once the floor can handle the impact, it’s time to fill the space. A solid storage box keeps bands, gloves, and smaller gear organized between sessions.
We may earn a commission when you purchase through our links.
Rubber Tiles: The Versatile Default
Interlocking rubber tiles in 2×2 foot or 3×3 foot formats are the most popular basement gym surface for good reason. They install without adhesive, can be lifted to access the slab, and replaced individually when damaged. Thickness ranges from 1/4 inch to 1 inch.
- 1/4 inch: Cardio zones, light dumbbells under 30 lbs — $2 to $3 per sq ft
- 1/2 inch: General use, dumbbells up to 80 lbs — $3 to $5 per sq ft
- 3/4 inch: Olympic lifting platforms, dropped plates — $5 to $7 per sq ft
- 1 inch: Heavy commercial CrossFit, deadlift platforms — $7 to $10 per sq ft
Recycled rubber tiles smell strongly for the first 4 to 6 weeks. Virgin rubber tiles cost roughly double but skip the off-gassing entirely. For an enclosed basement with poor ventilation, paying the premium for virgin rubber is usually worth it.
Rolled Rubber for Larger Spaces
Rolls run 4 feet wide in lengths from 25 to 50 feet. They cover ground faster than tiles and have fewer seams to catch dirt, but they require two people to handle and need glue-down or double-sided tape installation. Pricing runs $3 to $6 per square foot for material in 1/4 inch to 3/8 inch thicknesses.
Rolled rubber is a good fit for basements over 600 square feet where the seam count of tiles becomes annoying. The tradeoff is reduced flexibility — once it’s glued, rearranging the gym layout means cutting the floor.
Foam Tiles for Stretching and Yoga Zones
EVA foam puzzle tiles are cheap, soft, and decent for bodyweight work, but they compress permanently under dumbbells over 25 pounds. Use them for a yoga corner or kid play zone tucked into the gym, not the lifting area. Pricing runs $1 to $2 per square foot.
Plates dropped on foam either bounce unpredictably or punch through to the concrete below. Olympic lifters who try to save money with thick foam regret it within the first week. Foam is a supplement, not a primary surface for serious training.
Pros of Each Common Option
The right product depends on the training style. A bodybuilder with a dumbbell rack and a flat bench has different needs than a Crossfit lifter doing snatches.
- Rubber tiles: Best all-around, easy install, replaceable
- Rolled rubber: Fewest seams, fastest install for big rooms
- Foam: Cheapest, softest, only for non-weight zones
- Turf strips: Sled work, agility drills, $4 to $8 per sq ft
- Stall mats (4×6 feet): $50 to $80 each, dense rubber, deadlift areas
Cons and Tradeoffs by Material
Rubber traps dust and dog hair more than foam or vinyl, which means weekly vacuuming if pets share the space. Rubber also retains odors from sweat and skin oils — a quarterly wipe-down with a pH-neutral cleaner keeps it manageable. Foam crushes permanently under heavy point loads. Turf doesn’t dampen drops at all and isn’t suitable as a primary lifting surface.
Vinyl gym floors and PVC tiles look slick in showroom photos but provide minimal shock absorption. They work for studio fitness classes but not for free weight training where dropped plates are part of the workflow.
What It Costs to Floor a Typical Basement Gym
A 400 square foot basement gym with mixed-use zones is the most common project size. Budgeting roughly $3 to $5 per square foot for materials and another $1 to $2 for accessories like edge ramps and seam adhesive lands the total in the $1,600 to $2,800 range for a DIY install.
Professional installation adds $2 to $3 per square foot for rubber tile and $3 to $5 for rolled rubber. For a homeowner comfortable with a utility knife and a tape measure, this is a one-weekend DIY job with no specialized tools required.
Installation Tips That Save Headaches
Lay tiles loose for 24 hours before locking them together. Rubber expands and contracts with temperature, and pre-acclimating prevents gaps that show up two weeks later. Start your layout from the center of the room and work outward to balance partial tiles around the perimeter.
Use a sharp utility knife with a fresh blade for cuts. Dull blades tear rubber instead of slicing it cleanly. Edge ramps along exposed sides prevent toe-stubs and protect the tile edges from peeling up. Most rubber gym flooring for basement projects look better with a low-profile black aluminum transition strip at any doorway.
Maintenance for a Long-Lasting Floor
Sweep or vacuum twice a week, more often if you have pets. Mop monthly with a pH-neutral cleaner — diluted Simple Green works well. Avoid bleach, ammonia, and citrus-based cleaners, all of which break down rubber binders over time.
Inspect seams every 6 months and reseat any tiles that have shifted. Rubber gym flooring should easily last 15 to 20 years in a residential basement with this level of care. Commercial-grade tiles often go 25 to 30 years.
Final Picks for Different Budgets
For most home gyms, 3/4 inch interlocking rubber tiles in the lifting zone paired with 1/2 inch tiles in the cardio zone is the right approach. Add a 4×8 foot deadlift platform of two stall mats stacked or a dedicated horse stall mat if you pull 405 pounds or more. Skip foam in lifting areas, test for moisture before installation, and budget for virgin rubber if your basement has weak ventilation. The right gym flooring for basement disappears once it’s installed and lets you focus on training instead of repairs.
Prefer to explore on your own?
See how new flooring looks in your actual room in seconds — free, no signup.
Try the free Floor Studio →