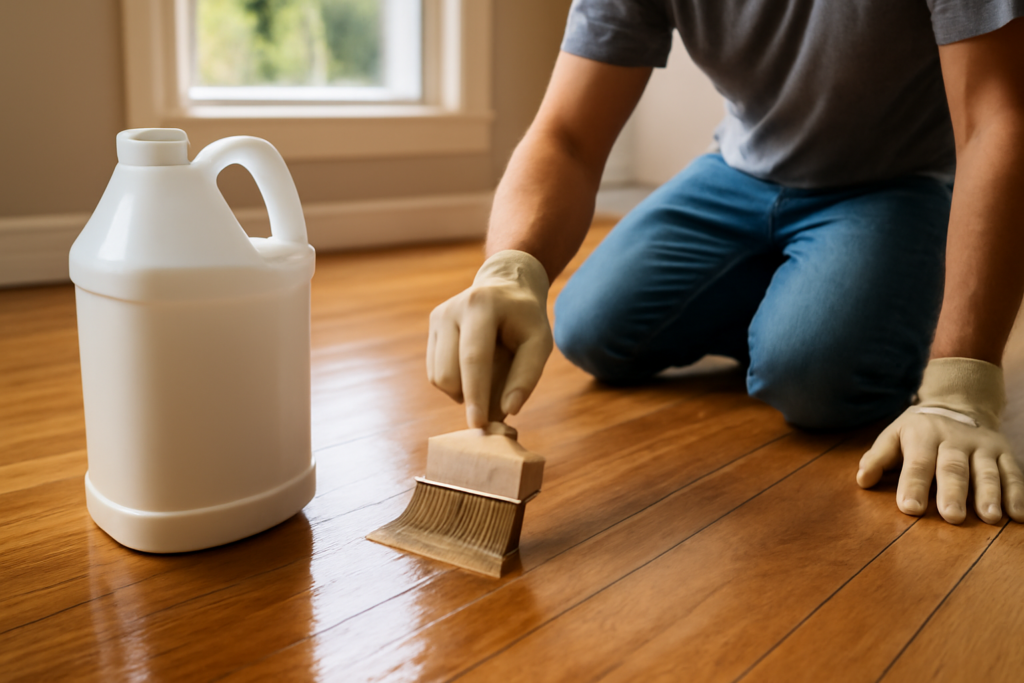
Here is something most sealer marketing will not tell you: if your wood floor already has a factory or site-applied finish, you almost never need to add a separate sealer on top. The phrase floor sealer wood covers a few very different products, and confusing them leads people to buy things they do not need or to skip protection a bare floor genuinely requires. Let’s sort out what sealing actually means for wood floors and when it earns its place.
- What "Sealing" Really Means
- Penetrating Oil vs Surface Finish
- When Sealing Is Actually Needed
- When You Do Not Need Extra Sealer
- Choosing the Right Product
- Application Basics
- Keeping a Sealed Floor Healthy
- Sealing Different Types of Wood Flooring
- How Often to Recoat
- Common Sealing Mistakes
- The Bottom Line
What “Sealing” Really Means
In wood flooring, sealing can refer to two things. The first is a true sealer or primer coat applied to raw wood before a topcoat, meant to control absorption and improve adhesion. The second is the protective finish itself, the layer that shields the wood from water, dirt, and wear. Many modern finishes act as their own sealer, so a separate product is redundant. The key question is always: is the wood bare, or already finished?
Penetrating Oil vs Surface Finish
Wood floor protection falls into two broad families, and they behave very differently.
- Penetrating oils and hardwax oils: soak into the wood fibers and cure inside the grain. They leave a natural, matte look and feel, are easy to spot-repair, but need periodic re-oiling.
- Surface finishes (polyurethane): form a protective film on top of the wood. Available in oil-based and water-based versions, they resist water and wear well and last many years before a full recoat.
Oil finishes let you refresh a worn traffic lane without sanding the whole room. Poly gives you a tougher, more waterproof shell but eventually needs a full screen-and-recoat when it wears through.
When Sealing Is Actually Needed
You genuinely need to seal or finish wood in these situations:
- The floor is raw, unfinished wood straight from installation or a full sanding.
- You just sanded an old floor down to bare wood to refinish it.
- You installed unfinished flooring that was never sealed at the factory.
Bare wood is vulnerable to water stains, dirt, and rapid wear, so it must get a finish before real use. Skipping this step is how you end up with gray, blotchy boards around the sink within months.
When You Do Not Need Extra Sealer
If your floor is prefinished (most factory-finished hardwood and engineered planks) or was site-finished with polyurethane, it is already sealed. Slapping a random topcoat over a worn but intact finish often causes more harm than good, because the new product may not bond and can peel. When a finished floor looks dull, the right move is usually a proper clean, and eventually a screen-and-recoat by hand or pro, not a mystery sealer from the hardware aisle.
The honest takeaway: a healthy finished floor needs cleaning and occasional recoating, not constant resealing.
Choosing the Right Product
Match the product to the wood and the wear:
- Water-based poly: dries fast, low odor, stays clear, and resists yellowing. Great for light woods and quick turnarounds.
- Oil-based poly: ambers over time, dries slower, but builds a warm, durable film prized on high-traffic floors.
- Hardwax oil: natural look, easy spot repair, ideal for those who want a matte, touchable surface and don’t mind maintenance.
Whatever you choose for a floor sealer wood project, confirm it is compatible with the existing finish, or take the floor to bare wood first.
Application Basics
Preparation drives the result. For a full finish job:
- Sand or screen the floor smooth and vacuum every trace of dust, then tack with a damp cloth.
- Apply thin, even coats with the recommended applicator, working with the grain and keeping a wet edge.
- Let each coat dry fully, then lightly abrade between coats for adhesion.
- Apply the number of coats the product specifies, usually two to three for poly.
- Allow the finish to cure before moving furniture back, often several days even after it feels dry.
Work in good ventilation and avoid extreme humidity, which slows curing and can cloud the finish.
Keeping a Sealed Floor Healthy
Once finished, protection is mostly about maintenance. Use felt pads under furniture, keep grit off the surface with regular sweeping, and clean with a product made for your finish rather than harsh all-purpose cleaners or excess water. Wipe spills promptly. When traffic lanes finally dull, a screen-and-recoat renews the surface without a full sand, and it is the smart, cost-effective way to extend a wood floor’s life for decades.
Sealing Different Types of Wood Flooring
Not all wood floors take a finish the same way, and knowing your material steers the choice.
- Solid hardwood, unfinished: the classic candidate for site-applied sealing and finishing, and it can be sanded and refinished many times over its life.
- Engineered wood: usually arrives prefinished and sealed, so leave the factory finish alone; its thin veneer limits how often it can be sanded.
- Reclaimed or raw specialty woods: often need sealing, but test a hidden area first because dense or oily species can resist certain finishes.
When in doubt about whether a floor is already sealed, drip a few drops of water in an inconspicuous spot. If the water beads and sits, the floor has an intact finish and needs no sealer. If it soaks in and darkens the wood, the surface is bare or worn through and does need protection.
How Often to Recoat
Even a well-finished floor wears, and timing your maintenance right saves you from a full sanding. Surface polyurethane in a busy household typically wants a screen-and-recoat every several years, done before the finish wears all the way through to bare wood. Wait too long and you lose the protective layer entirely, which forces a complete resand down to raw wood. Hardwax oil floors ask for more frequent but far simpler attention, a fresh coat of oil on the worn traffic paths as they start to look dry. Watching your high-traffic lanes tells you when it is time; dullness and a thirsty look mean the surface is due.
Common Sealing Mistakes
A few errors ruin otherwise good finish jobs. Applying too thick a coat traps solvent and leaves a soft, gummy surface that never fully hardens, so thin coats always win. Rushing between coats without proper dry time or a light abrasion causes poor adhesion and peeling. Finishing over a dusty or dirty floor locks grit into the surface permanently. And mixing incompatible products, such as an oil-based topcoat over an unsuited base, can lead to a finish that will not bond. Slow down, follow the product’s directions to the letter, and let each stage fully cure before moving on.
The Bottom Line
Reserve sealing for bare or freshly sanded wood, choose oil or surface finish based on the look and upkeep you want, and resist the urge to add sealer over a finish that is still doing its job. Handle it that way and your floors stay protected without wasted product or peeling coats.
Prefer to explore on your own?
See how new flooring looks in your actual room in seconds — free, no signup.
Try the free Floor Studio →