A glass front door looks welcoming from the street, but at night with the hall light on, it turns into a display case for everything inside. Front door privacy film is the cheapest and least permanent fix: a thin vinyl or polyester layer that frosts, patterns or tints the glass so light still comes through while faces, furniture and packages stay hidden. Most door panels and sidelights can be done in under an hour, with no tools beyond a spray bottle, a squeegee and a sharp blade.
Part of our Windows & Doors guide — explore the full guide →
The right film depends on how much privacy you need, how much light you want to keep and how the door faces the sun. Here are the main film types, how to size film for door glass, sidelights and transoms, how to apply it cleanly, and how to choose a pattern that improves curb appeal instead of making the entry look like an office building.
How Front Door Privacy Film Works
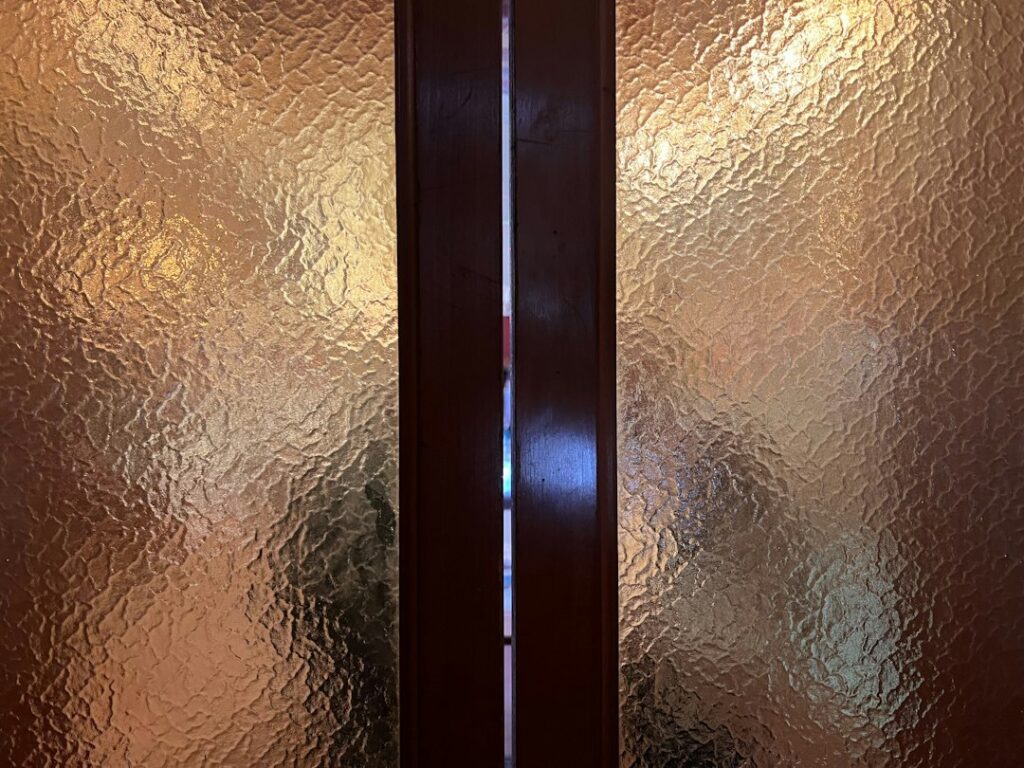
Every front door privacy film works by scattering or reflecting light so a clear image cannot pass through the glass. Frosted and etched films diffuse light evenly, so both sides see a soft glow. Patterned films mix clear and frosted areas, trading a little privacy for more light and decoration. Reflective and tinted films act more like a one-way mirror, but only when the outside is brighter than the inside; at night the effect reverses, a detail most buyers miss.
Two attachment methods dominate. Static-cling film holds to glass with no adhesive, is easy to reposition, and peels off cleanly, which makes it ideal for renters. Adhesive film bonds permanently, handles heat and sun better, and lasts longer, but it takes more care to remove. Both are applied wet.
Choosing a Film Type and Pattern
- Full frost: the most privacy with good light. Looks like sandblasted glass. Works on any door style.
- Frosted bands or stripes: clear lines mixed with frost. Modern look, moderate privacy, more light.
- Decorative patterns: geometric, leaded-glass, beveled or floral designs. Good on traditional and craftsman doors where they echo existing trim.
- Stained-glass look: translucent color panels. Strong curb appeal but darkens the entry.
- Reflective tint: daytime privacy plus heat rejection, but no privacy after dark with interior lights on.
- Gradient film: frosted at the bottom fading to clear at the top, so you keep the view of the sky while blocking eye-level sightlines.
For a front door, a frosted or patterned film usually beats a mirror-style front door window tint, because it gives privacy around the clock. If the door takes strong afternoon sun, a frosted film with a heat-rejecting layer can cut glare and fading on the hall floor as well. Frosted window tint products sold for cars are not the same thing and are not designed for interior door glass.
Curb Appeal Tips
Match the film style to the house. A simple full frost or narrow horizontal bands suit modern and mid-century homes. Craftsman and colonial homes look best with patterns that read as beveled or leaded glass. Use the same film on the door glass and both sidelights so the entry looks like one unit, and if the transom above is high enough that nobody can see through it, consider leaving it clear to keep light in the hallway.
Sizing Film for Door Glass, Sidelights and Transoms
Measure each piece of glass separately, edge to edge where the glass meets the frame or the glazing bead, not the outside of the door. Take the width at top and bottom and the height at both sides, because door glass is often not perfectly square. Cut film about 1/2 inch larger than the glass on every side, then trim it in place after application. The final edge should sit about 1/16 inch inside the frame so water can be squeezed out and the edge does not lift.
- Full-lite door: one large panel. Buy film wide enough to cover it in a single piece; seams on a front door look cheap.
- Half-lite or fan-lite door: often a shaped glass area. Make a paper template first and trace it onto the film backing.
- Sidelights: usually tall and narrow, 8 to 14 inches wide. A standard 12-inch or 24-inch roll often fits with little waste.
- Transoms: rectangular or arched. Arched transoms need a template.
- Divided-lite glass: if grids are on the surface, each pane needs its own piece. If grilles are between the glass layers, one piece covers the whole panel.
The same process applies to privacy film for doors elsewhere in the house, including bathroom doors with glass and patio door privacy film on large sliders, though big slider panels are easier with two people.
Tools and Materials
- Door privacy window film sized for the largest panel
- Spray bottle filled with water and a few drops of baby shampoo or mild dish soap
- Plastic squeegee or a felt-edged card
- Utility knife with fresh snap-off blades and a straightedge
- Glass scraper with a new razor blade
- Lint-free cloths or microfiber towels
- Tape measure, painter’s tape and a pencil
- Gloves and safety glasses for scraping
How to Apply Front Door Privacy Film
- Pick the right time. Apply between about 50 and 90°F, out of direct sun, so the solution does not dry before you finish.
- Clean the glass thoroughly. Spray, then scrape the whole surface with a razor scraper held flat to remove paint specks and residue. Wipe the frame edges too, since dust there ends up under the film.
- Cut the film oversize. Lay it on a clean table, measure from the backing side, and cut about 1/2 inch beyond the glass dimensions.
- Wet the glass generously. It should be dripping. A wet surface lets you slide and position the film.
- Peel the backing and wet the film. Spray the exposed side as you peel. Two pieces of tape on a corner make it easier to separate the liner.
- Position and squeegee. Place the film, slide it into position, then spray the outer face and squeegee from the center out in overlapping strokes.
- Trim the edges. Hold a straightedge or card along the frame and run a sharp blade to leave a narrow gap. Change blades often to avoid tearing.
- Final squeegee. Wrap a cloth around the squeegee and press out remaining water at the edges. Wipe the frame dry.
Small hazy spots and tiny water pockets are normal for a few days and usually disappear as the film cures. Adhesive films can take one to four weeks to fully clear in cool weather.
Glass Safety Before You Apply Film
Most modern front doors and sidelights use tempered or laminated safety glass, but older doors may not. Look for a small etched mark in one corner indicating safety glazing. Be careful with razor scrapers on any glass: keep the blade flat, never pry against an edge, and never press hard on an unsupported corner, which is where tempered glass is most likely to fail. Wear gloves and safety glasses while scraping, and if the glass already has a chip or crack, replace it before adding film.
Some insulated and low-E glass manufacturers limit dark or reflective films on the inside face because they can raise glass temperature in strong sun and stress the seal. If the door is under warranty, check its care instructions first. Light frosted films carry much less risk.
Troubleshooting
- Bubbles that will not go away: lift the corner while wet, re-spray, and squeegee again. For dry bubbles in adhesive film, prick with a pin and press flat.
- Edges lifting: the film was trimmed too close to the frame or the glass was not clean. Re-wet static cling and reseat it; adhesive film may need a small strip of clear tape at the edge or a new piece.
- Dust specks under film: they are trapped for good once dry. Clean more thoroughly and keep the room still while applying.
- Film looks crooked: trim a straight edge parallel to the frame, not to the glass edge, since the frame is what the eye follows.
- Visible at night: a reflective tint was used. Swap to frosted or add a light shade.
Cost and Lifespan
Static-cling and adhesive privacy films for a typical front door and two sidelights generally cost from about $15 to $60 in material, more for premium decorative patterns. Professional installation of decorative film usually runs a few hundred dollars for an entry, depending on pattern and number of panels. Indoor film on a front door often lasts 5 to 10 years before fading or edge wear; static cling tends to last less in direct sun. That is a fraction of the cost of replacing door glass with factory-frosted inserts.
When to Call a Pro
Consider a professional film installer for very large panels, arched or oddly shaped glass, expensive patterned films where a mistake wastes the roll, or insulated glass still under warranty. If the door glass itself is fogged between panes, cracked, or not safety glass, the fix is a glass or door insert replacement from a glazing company, not film. For a standard door and sidelights, though, front door window film is a quick, reversible weekend project.
Frequently Asked Questions
Does front door privacy film work at night?
Frosted and patterned films provide privacy day and night. Reflective or mirror films only work when it is brighter outside, so with lights on inside at night people can see in.
Can I remove privacy film from a door later?
Yes. Static-cling film peels off with no residue. Adhesive film can be peeled after warming it gently and soaking it with soapy water, then any leftover adhesive is scraped off.
Will privacy film damage my door glass?
Light frosted films are generally safe on tempered and standard glass. Dark or reflective films on insulated low-E units can add heat stress, so check the door maker’s guidance first.
Is front door window tint the same as privacy film?
Not exactly. Tint mainly darkens or reflects light, while privacy film diffuses it. For a front door, frosted or patterned film gives more consistent privacy.
How do I keep privacy film from peeling at the edges?
Clean the glass edges thoroughly, trim the film about 1/16 inch inside the frame, and squeegee the edges dry. Avoid washing the film for the first week while it cures.