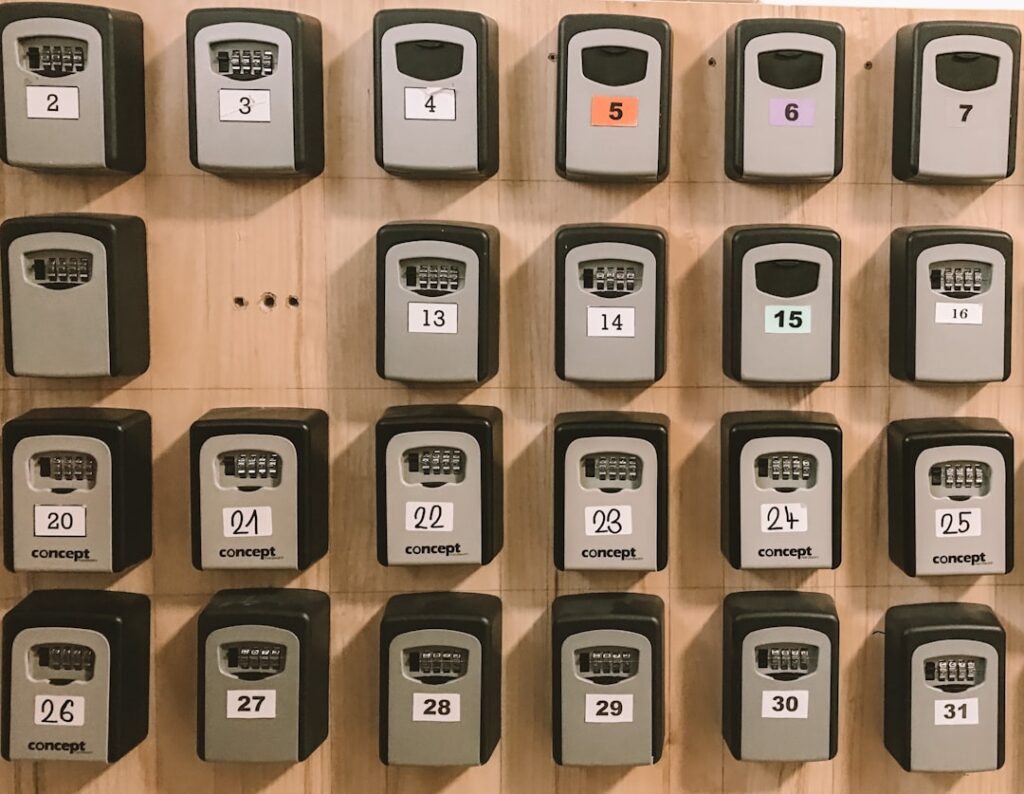
Locking yourself out of the house becomes a non-issue the moment you mount a keypad by the garage door. A garage door opener keypad lets anyone with the code get inside without a key or remote, which is exactly why it is one of the most useful $30 upgrades you can make. Kids home from school, a dog walker, a contractor you trust for the afternoon, all get access on your terms. I install and program these constantly, and once you understand the pairing sequence, adding or resetting one takes about five minutes.
Part of our Garage Doors guide — explore the full guide →
How a Wireless Keypad Works
A modern keypad is a small battery-powered transmitter, not a wired device. It sends the same radio signal your handheld remote does, so it never needs to connect to house power. You mount it on the exterior door trim, enter a PIN you choose, and it tells the opener’s motor unit to run. That wireless design means installation is just two screws and a battery.
Because the keypad talks to the opener over radio frequency, it must be paired to that specific motor’s receiver. The pairing process, which the industry calls learning, is what links your chosen code to the door. Every brand handles it slightly differently, but the core idea is identical across LiftMaster, Chamberlain, Genie, and the rest.
Choosing the Right Keypad for Your Opener
Compatibility is the first thing to verify. A keypad must match your opener’s frequency and rolling-code technology, or it will never pair. Here is how the major systems line up:
- LiftMaster and Chamberlain both use Security+ 2.0 and share the same 877MAX keypad, which fits most units made after 2011
- Genie uses Intellicode and its own GK-R keypad, though the universal GK-BX works across several brands
- Craftsman older units pair with LiftMaster keypads since Sears sourced from Chamberlain
- Universal keypads like the Clicker KLIK2U work with roughly 90 percent of openers built after 1997
If you are unsure of your opener’s model, check the label on the back of the motor housing. When in doubt, a universal keypad such as the Chamberlain Clicker is the safest $30 purchase because it self-detects most systems.
Programming a New Keypad
The general sequence is the same no matter the brand, and once you have done it once it feels obvious. You choose a PIN, then tell the opener to listen for it.
- Install a fresh 9-volt or CR2032 battery, depending on your model, so the keypad has full power during pairing
- Locate the Learn button on the opener’s motor unit, usually beside the antenna wire under a light cover
- Press and release the Learn button; an LED will glow, giving you about 30 seconds to finish
- At the keypad, enter your chosen four-digit PIN and press Enter or the arrow key
- The opener light will blink or the motor will click, confirming the code is now stored
- Test by entering your PIN; the door should open on the first try
If nothing happens, you likely ran past the 30-second window. Simply press the Learn button again and repeat. A garage door opener keypad that fails to pair almost always comes down to a timed-out learn cycle or a dead battery.
Changing or Resetting Your Code
You should change the PIN whenever someone who knew it no longer needs access, such as a former house cleaner or a college kid who moved out. On most keypads you enter your current code, press a specific button, then key in the new one. Consult the tiny manual, because the reset sequence is the one thing that varies most between models.
If you have forgotten the code entirely, you can wipe the opener’s memory. Hold the Learn button on the motor unit for about six seconds until the LED goes dark; this erases every remote and keypad paired to it. You will then need to re-pair your remotes and keypad from scratch, but it gives you a clean slate.
Installing the Keypad Mount
Physical installation is genuinely a two-screw job, but placement matters more than people expect. Mount the keypad on the exterior trim beside the garage door, at a comfortable height of about 48 to 54 inches so an adult can reach it without stooping and a child can be granted access if you choose.
- Choose a spot on solid door trim or masonry, protected from direct rain if possible
- Hold the mounting bracket level and mark the two screw holes with a pencil
- Drill pilot holes, using anchors if mounting into brick or stucco, then screw the bracket in place
- Snap the keypad onto the bracket and confirm it sits flush and does not wobble
Keep the keypad within radio range of the motor unit, which is rarely an issue on a standard garage but worth checking on a large detached structure. Test the signal from the mounted position before you consider the job done.
Temporary Codes and Guest Access
One of the most useful features on newer keypads is the ability to issue a temporary code that expires automatically. The LiftMaster and Chamberlain 877MAX, for instance, lets you set a code that works for a limited number of hours or entries before it stops functioning.
This is perfect for a one-time delivery, a repair technician, or a guest staying for the weekend. You grant access without handing over your permanent PIN, and you never have to remember to change the code afterward because it disables itself. Consult your keypad’s manual for the exact sequence, since it varies by model, but the feature is well worth learning if your keypad supports it. It turns the humble keypad into a genuine access-management tool rather than just a keyless entry.
Battery Life and Weather Protection
A keypad battery typically lasts one to two years. When the keys start responding intermittently or the backlight dims, the battery is fading. Cold winters shorten battery life noticeably, so if you live where temperatures dip below freezing, plan on an annual swap each fall.
Because the keypad lives outdoors, moisture is its main enemy. Mount it under an eave or overhang if possible, and add a small hinged cover if yours did not come with one. A dab of dielectric grease on the battery contacts keeps corrosion from creeping in during humid summers and salty coastal air.
Troubleshooting Common Problems
When a keypad stops working, run through these fixes in order before assuming it has failed:
- No response at all: replace the battery first; a weak battery is the cause 80 percent of the time
- Works up close but not from the door: the battery is marginal or the opener’s antenna wire is damaged
- Code accepted but door will not move: check that the wall-mounted lock button is not engaged, which disables all remote entry
- Keys stick or misread: grime under the buttons; wipe the pad with a slightly damp cloth and let it dry
- Lost pairing after a power outage: some units drop codes; simply re-run the learn sequence
If the keypad still refuses after a fresh battery and a re-pair, the transmitter itself may have failed, and a replacement is cheaper than any repair.
Security Tips Worth Following
A keypad is only as secure as the code behind it. Avoid obvious PINs like 1234 or your house number, and change the code once or twice a year as a habit. Worn keypads can also give a code away, since the four most-pressed buttons develop a subtle shine over time; rotating your PIN periodically defeats anyone trying to guess from that wear pattern.
Consider using the temporary-code feature many newer keypads offer, which grants access for a set number of hours or entries before disabling itself, ideal for a delivery, a house cleaner, or a one-time visitor. That way your permanent PIN never leaves the family.
Finally, mount the keypad where a passerby cannot watch your fingers, and never write the code anywhere near the door. Treat it like a debit card PIN. Do that, and your keypad delivers years of keyless convenience without ever compromising the safety of your home.