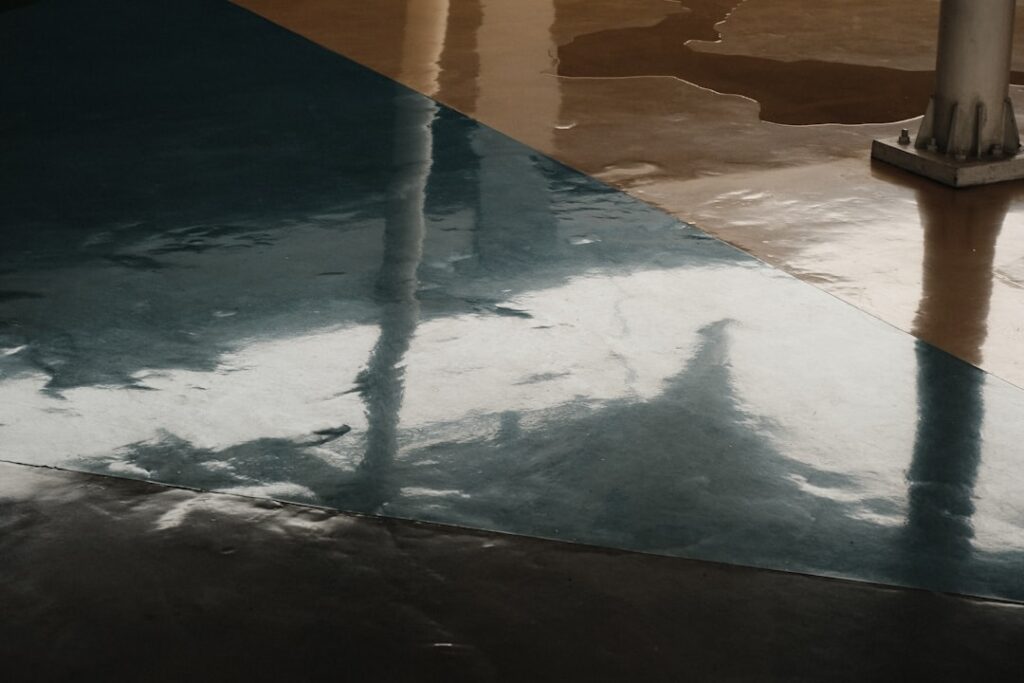
A bare concrete garage floor soaks up oil, dusts constantly, and stains the moment a wrench leaks. A garage epoxy kit turns that raw slab into a hard, glossy, easy-to-clean surface that resists chemicals, hides imperfections, and looks like a showroom. These all-in-one kits bundle the epoxy, hardener, prep materials, and decorative flakes you need to coat a one or two-car garage in a weekend. The finish is genuinely durable, but the results depend almost entirely on the prep work and on following the kit’s instructions exactly. Here is what you need to know before you open the box.
What Is in a Garage Epoxy Kit
Most consumer kits are built around a two-part epoxy that you mix just before applying. The typical kit includes:
- Part A resin and Part B hardener: Mixed together to start the chemical cure.
- Concrete etching solution or degreaser: To prep and open the pores of the slab.
- Decorative flakes: Color chips you broadcast onto the wet coating for traction and looks.
- Application tools: Often a roller cover, sometimes a stir stick and instructions.
Kits are sized by garage. A single-car kit usually covers around 250 square feet, and a two-car kit around 500. Some premium kits add a separate clear topcoat for extra durability and shine, which is worth it for a floor that sees heavy use.
If you’re running out of room even with a clean garage floor, a backyard shed takes the overflow — seasonal gear, tools, lawn equipment. And if you’re parking outside while the garage doubles as a workshop, a carport keeps your car covered without needing a second garage.
We may earn a commission when you purchase through our links.
Water-Based vs Solids Epoxy
Not all kits are equal. Water-based epoxies are the most common at home centers, easy to apply and lower in odor, but they leave a thinner film. Higher-solids and 100 percent solids epoxies build a much thicker, tougher coating that stands up to hot tires and heavy traffic, but they cost more, cure faster, and are less forgiving of mistakes. For a garage that doubles as a workshop, the thicker product pays off; for a lightly used floor, a quality water-based kit is fine.
Whatever you choose, read the coverage and recoat numbers. A single thin coat rarely holds up, so plan on the system the manufacturer specifies, often a coat of epoxy plus a clear topcoat.
Surface Prep Is Everything
Epoxy fails when it cannot bond to the concrete, and almost every failure traces back to skipped prep. Start by clearing the garage and cleaning the slab. Then degrease any oil stains, because epoxy will not stick to oil. Next, etch or grind the concrete so the surface is slightly rough and porous, which gives the epoxy something to grip.
Crucially, test for moisture first. Tape a square of plastic sheeting tightly to the slab overnight; if moisture collects underneath, the concrete is too damp and epoxy will peel. Fill any cracks and let everything dry completely. The slab must be clean, etched, dry, and free of dust before you mix a drop of epoxy.
How to Apply the Epoxy
Once prep is done, timing matters because mixed epoxy has a limited working window, often under an hour. Work efficiently through these steps:
- Mix Part A and Part B thoroughly per the instructions, then let it sit for the induction time the kit specifies.
- Cut in the edges along the walls with a brush.
- Roll the epoxy onto the floor in manageable sections, maintaining a wet edge so sections blend.
- Broadcast the decorative flakes onto the wet coating as you go, before it starts to set.
- Let it cure as directed, then apply the clear topcoat if your kit includes one.
Work from the back of the garage toward the door so you do not paint yourself into a corner. Have everything open and ready before you mix, since you cannot stop midway to find a tool.
Safety First
Epoxy and its solvents release fumes, and the etching solution is corrosive, so treat the project seriously. Ventilate the garage well by opening doors and using a fan, and follow every direction on the product labels. Wear chemical-resistant gloves, eye protection, and clothing you do not mind ruining. The acid etch and degreaser can burn skin and eyes, so handle them with care and rinse spills immediately.
If you are sensitive to fumes or working in a closed space, a respirator rated for organic vapors adds protection. Keep children and pets out of the area during application and curing. Always read and follow the manufacturer’s instructions and safety data, because formulations differ between kits.
Choosing the Right Kit for Your Garage
Not every garage needs the same kit, so match the product to how you use the space. A garage that mostly stores a car and some boxes does fine with a quality water-based kit and a clear topcoat. A garage that doubles as a workshop, holds a vehicle that drips hot fluids, or sees rolling tool chests and jack stands benefits from a higher-solids or 100 percent solids epoxy that builds a thicker, tougher film. The decorative flakes are not just for looks; they add texture that improves traction on a floor that gets wet from snow or washing.
Climate matters as well. In a region with hard freezes, road salt and meltwater are the main threats, so a thicker coating with a strong topcoat holds up better. Measure your floor accurately and buy a little extra, since running short mid-project means a visible seam where a new batch starts. Read reviews and the technical data for the specific kit, paying attention to coverage rates, the number of coats, and whether a separate topcoat is included or sold separately. Buying the right system the first time costs less than recoating a thin, worn floor a year later, and it spares you a second weekend of prep and application.
Cure Time and Maintenance
Patience at the end protects all your work. Most epoxies allow foot traffic after about 24 hours, but you should wait roughly 72 hours, sometimes up to a week, before driving a car onto the floor or parking heavy equipment. Rushing this step can imprint tire marks or lift the coating. Check the kit’s cure schedule and resist the urge to load the floor early.
Once cured, an epoxy floor is easy to live with. Sweep or dust mop regularly, and wipe spills before they sit. Clean with a mild cleaner and a soft mop; avoid harsh acids and abrasive pads that can dull the finish. Place a mat under vehicles if you live in a snowy region, since road salt and standing water are the main enemies of any garage coating. Maintained this way, a quality epoxy floor easily lasts many years.