A chipped corner or a hairline crack in an expensive granite counter feels like a disaster, but most of these blemishes are fixable at your kitchen table in under an hour. A granite countertop repair kit bundles the resins, hardeners, tints, and tools you need to fill chips, bond small cracks, and level pits without calling a fabricator or replacing a slab that costs thousands. Knowing what a kit can realistically do, and where its limits are, saves you both money and frustration.
Part of our Countertops guide — explore the full guide →
Granite is tough, but it is not indestructible. A dropped cast-iron skillet chips an edge, seams shift and crack, and years of use leave tiny pits along a polished surface. The good news is that the same acrylic and epoxy chemistry professionals use comes in consumer form for a fraction of a service call.
What Comes Inside a Repair Kit
Kits vary by price and ambition, but the core contents are consistent. You will find a two-part epoxy or acrylic resin that cures hard, a set of color tints so you can match your specific granite, and a hardener or activator that triggers the cure. Better kits add razor blades or scrapers for leveling, mixing sticks and trays, a small amount of stone-safe adhesive, and sometimes a tube of polishing compound to restore shine after the repair sets.
Entry-level kits run $15 to $30 and handle chips and small fills. Mid-tier kits at $40 to $80 include a wider tint palette and better tools for color matching, which is where amateur repairs usually succeed or fail. Professional-grade systems can exceed $100 but are overkill for a single chip. For a homeowner facing one or two blemishes, a mid-tier kit is the sweet spot because the extra tints make the difference between an invisible fix and an obvious blob.
Fixing a Chip Step by Step
Chips along an edge or sink cutout are the most common repair and the most satisfying. Start by cleaning the area thoroughly with acetone or denatured alcohol to strip grease and sealer, then let it dry completely; any moisture or oil ruins adhesion. Tape off the surrounding surface so squeeze-out does not stick where you do not want it.
Mix a small batch of resin and add tints a drop at a time, testing the color against a hidden spot until it disappears into the stone. Because granite is speckled, you often blend two or three tints to fake the fleck pattern. Overfill the chip slightly, since resin shrinks as it cures, then let it harden per the label, typically 20 minutes to a few hours. Once cured, shave the excess flush with a razor blade held nearly flat, and polish with the included compound. Done patiently, the repair is hard to find even under kitchen lighting.
Dealing With Cracks
Cracks are trickier than chips because they signal stress, and filling one does not remove the underlying cause. For a stable hairline crack, a thin, penetrating epoxy wicks into the gap when you work it back and forth with a blade, bonding the two sides. Warm the counter slightly with a hair dryer first to open the crack and help the resin flow, then tint and level as with a chip.
Be realistic about what filling accomplishes. A cosmetic crack in a countertop that is fully supported will hold fine after a good epoxy bond. But a crack that runs across an unsupported span, near a cooktop cutout or an overhang, may be structural, and resin alone will not stop it from reopening. If the two sides of a crack move when you press them, or if the crack keeps growing, that is a fabricator’s job, possibly requiring a rodded support or seam repair from below.
Filling Pits and Etch Marks
Polished granite develops tiny surface pits over time, natural voids in the stone that were filled at the factory and later popped out. A repair kit’s clear or lightly tinted resin fills these flush, and after polishing they vanish. Work in good light, because pits are easy to miss until a low-angle glare reveals them.
One important distinction: dull etch marks on what you think is granite may mean the stone is actually marble or a marble-heavy granite that reacts to acid. True granite rarely etches, so if lemon juice or vinegar leaves a dull spot, you may be dealing with a different stone that needs a polishing powder rather than a fill. Identify the material before you start, because the wrong product wastes time and can make the mark more visible.
Color Matching: Where Most Repairs Fail
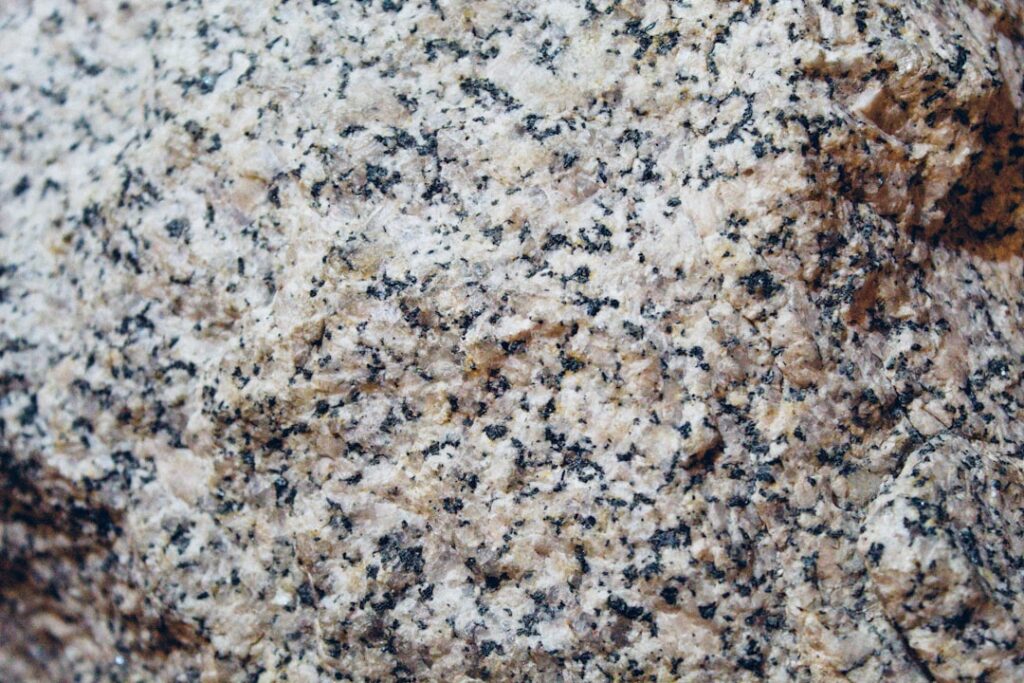
The single biggest reason a home repair looks amateur is poor color matching. Granite is rarely one color; it is a field of quartz, feldspar, and mica in gray, black, pink, or gold flecks. Mixing a single flat tint produces a smooth patch that stands out against the sparkle around it. The trick professionals use is to build the color in layers, a base tint that matches the dominant background, then tiny dots of contrasting tint applied with a fine brush or toothpick to mimic the speckle.
Always test your mix on a scrap or an inconspicuous area first, because resin darkens slightly as it cures. Mix under the same lighting you use in the kitchen, since color reads differently under warm and cool bulbs. Patience here pays off more than any tool in the kit.
When to Skip the Kit and Call a Pro
A repair kit is the right call for chips, pits, small stable cracks, and minor edge damage. It is the wrong call for large breaks, seams that have failed, cracks that are actively spreading, or any damage on an unsupported span. Trying to DIY a structural failure often makes the eventual professional repair harder and more expensive.
A fabricator’s service call typically runs $200 to $600 depending on the damage, which still beats replacing a slab at $2,000 to $5,000. When you weigh a $50 granite countertop repair kit against those numbers, the kit is an easy first attempt for cosmetic damage, and a pro is cheap insurance when the stone’s integrity is genuinely at risk.
Tools and Prep That Make or Break the Job
The kit supplies the resin and tints, but a few extra tools dramatically improve your odds. A pack of fresh single-edge razor blades is essential for shaving cured resin flush without gouging the surrounding polish; a dull blade drags and smears. Fine-grit wet-dry sandpaper in 400, 600, and 1500 grit lets you level and refine a repair progressively before polishing. A small handheld buffer or a felt pad with polishing compound restores the factory shine far better than hand rubbing alone. Good task lighting, ideally a movable lamp you can angle across the surface, reveals pits and level differences that overhead light hides.
Preparation is where most repairs succeed or fail before any resin is mixed. The repair area must be bone dry and completely free of grease, wax, sealer, and dust, because any contamination prevents the resin from bonding to the stone. Wipe with acetone or denatured alcohol and let it flash off fully. Mask the surrounding surface with painter’s tape so squeeze-out and errant tint do not stick where you do not want them. Work when the counter and the room are at a moderate temperature, roughly 65 to 75°F, since cold slows the cure and heat accelerates it unpredictably. Rushing the prep to get to the satisfying part, filling the chip, is the fastest route to a repair that pops out or reads as an obvious patch a month later.
Keeping Repairs Looking Good
After any repair, reseal the area once the resin has fully cured, usually after 24 hours, to protect the surrounding stone and blend the finish. Going forward, use cutting boards, trivets under hot pans, and a stone-safe pH-neutral cleaner rather than acidic or abrasive products. Reseal the whole counter every one to three years depending on how the water beads; when droplets stop beading and start darkening the stone, it is time.
Handled with patience and the right color work, a granite countertop repair kit turns an intimidating flaw into a quiet weekend fix, and keeps a premium surface looking like the investment it was.