
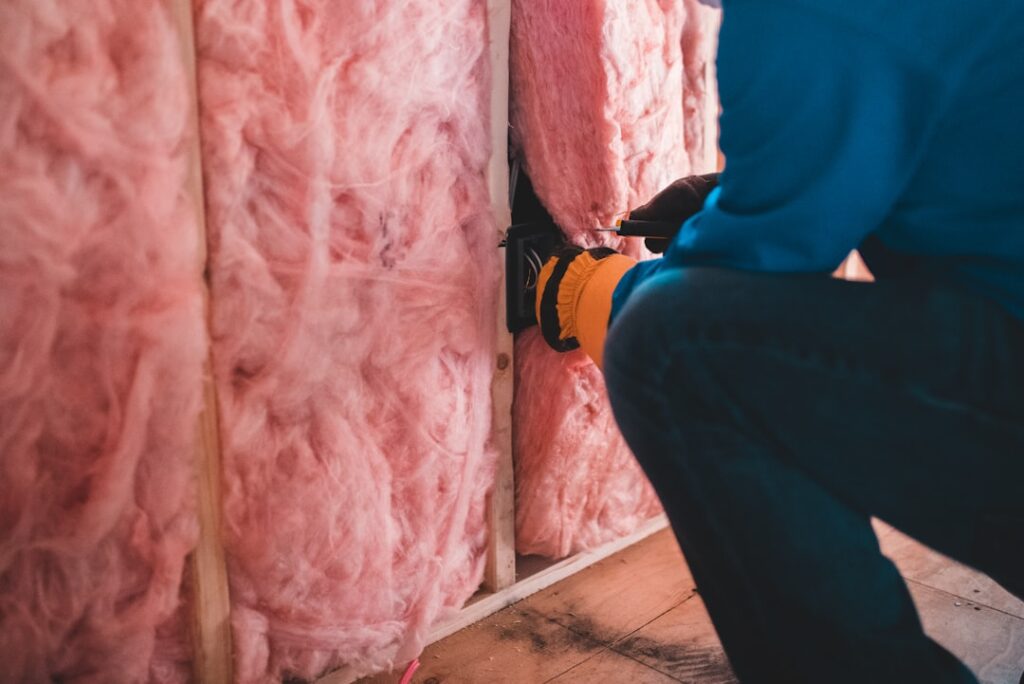
Most hobby greenhouses lose more heat through a single loose door and a run of un-taped glazing seams than through the glass itself. Good greenhouse insulation is less about wrapping the whole structure in something exotic and more about stacking three cheap wins: cutting air leaks, adding a second glazing layer, and storing daytime warmth in mass you release at night. Get those right and you can keep an unheated 8-by-10 structure 8 to 15°F warmer at dawn, which is often the difference between live seedlings and mush. Below are the materials I actually use, what each costs, and roughly how much they buy you in retained heat.
- Set a Target Temperature Before You Buy Anything
- Bubble Wrap Horticultural Film: The Cheapest Real Gain
- Twin-Wall and Triple-Wall Polycarbonate Glazing
- Thermal Mass: Store the Day, Release the Night
- Seal the Leaks First, Because Air Movement Beats R-Value
- Insulate the North Wall, Knee Walls, and Foundation
- Frost Blankets and Row Cover for Cold Snaps
- When You Still Need a Heater, Size It Right
- A Realistic Insulation Budget by Zone
Set a Target Temperature Before You Buy Anything
Insulation only makes sense against a number. Cool-season crops, dormant perennials, and most overwintered fuchsias and geraniums hold fine at 40 to 45°F. Started tomato and pepper seedlings want a night floor closer to 55 to 60°F. Tropicals and orchids push you to 60 to 65°F. Decide which of those you’re protecting, because the answer changes whether you can coast on passive measures alone or need a heater and heavier glazing.
A rough rule for USDA zones 6 and colder: passive insulation plus thermal mass buys you 5 to 15°F of overnight lift over outside air, no more. If your coldest nights run 20°F and you need 45°F inside, that 25°F gap is too wide for passive tricks and you’ll need supplemental heat. In zone 8 or 9, where hard freezes are shallow and brief, passive measures often carry an unheated house through winter on their own.
Bubble Wrap Horticultural Film: The Cheapest Real Gain
Horticultural bubble film is the workhorse of hobby greenhouses. Buy the large-bubble UV-stabilized product sold for greenhouses, not shipping bubble wrap, which yellows and shatters within a season under sunlight. A double layer of trapped air raises the effective R-value of single-pane glass or 6-mil poly from roughly R-0.9 to about R-1.5 to R-2, and it cuts drafts through the frame at the same time.
Line the inside of the frame, bubbles facing the glass, and fix it to the framing rather than the glazing so you keep an air gap. On aluminum frames, greenhouse clips made for the channel hold it without tape; on wood, use a staple gun with stainless staples. Overlap seams by 2 inches and run a strip of clear packing tape down each joint. Expect to pay $0.50 to $0.90 per square foot; a 6-by-8 house takes roughly 200 square feet of coverage, so figure $100 to $180 in film.
- Large bubble (about 3/4 inch) traps more air and insulates better than small-bubble film.
- Triple-layer film exists and adds maybe another R-0.3, worth it only in zone 5 and colder.
- You lose 10 to 20 percent light transmission, so pull it in spring once frost risk passes.
Twin-Wall and Triple-Wall Polycarbonate Glazing
If you’re building or re-glazing, this is where the biggest durable gain lives. Single-pane glass is around R-0.9. An 8mm twin-wall polycarbonate panel runs about R-1.6, and 16mm triple-wall or five-wall panels reach R-2.5 or better. The dead-air channels do the work, and unlike bubble film the panels are permanent, hail-resistant, and diffuse light in a way plants like.
Twin-wall 8mm is the practical sweet spot for most hobby growers at $2 to $4 per square foot. Triple-wall 16mm roughly doubles the price to $4 to $7 per square foot but is worth it on the roof, where you lose the most heat, and on the north face. Seal the open flutes at panel ends with breather tape and aluminum U-profile so they don’t wick water and grow algae inside the channels.
Thermal Mass: Store the Day, Release the Night
Insulation slows heat loss; thermal mass is what actually holds a greenhouse above freezing overnight without a heater. Water is the champion because it stores about 8.3 BTU per gallon per degree Fahrenheit. A row of 55-gallon drums painted flat black, set along the north wall where they catch sun but don’t shade plants, is the classic move.
Sizing matters. A common target is 2 to 5 gallons of water mass per square foot of floor. For a 6-by-8 (48 sq ft) house, that’s roughly 100 to 240 gallons: two to four 55-gallon drums, or a stack of black-painted 5-gallon jugs if drums won’t fit. The drums absorb solar heat all day, hold it in the 60s and 70s, then radiate it back through the cold hours. Expect a 5 to 10°F overnight lift from a well-sized mass wall.
Cheap Mass Options
- Recycled 55-gallon steel or plastic drums, painted flat black: often free to $25 each.
- 1-gallon and 5-gallon jugs of water tucked under benches, painted dark.
- Concrete pavers or a brick knee wall, which store less per pound than water but add structure.
Seal the Leaks First, Because Air Movement Beats R-Value
On a cold, windy night, air infiltration through gaps can dump more heat than conduction through the glazing. Before you spend on film or panels, spend an hour with a caulk gun and a roll of foam weatherstrip. Walk the structure on a bright day and mark every point of daylight leaking through a seam.
- Weatherstrip the door frame and add a sweep at the bottom; loose doors are the number-one leak.
- Caulk or tape the sill-to-frame joint and any spot where glazing meets the base rail.
- Seal the ridge and where the roof meets the walls with greenhouse-rated silicone.
- Close automatic roof vents fully and check that the piston seats; a cracked vent bleeds heat all night.
Sealing is close to free and often returns a 3 to 5°F overnight improvement by itself. Just don’t seal so tightly that you never ventilate. On mild days you still need airflow to manage humidity and prevent botrytis, so build in a vent you can crack when the sun is up.
Insulate the North Wall, Knee Walls, and Foundation
The north wall gets almost no useful winter sun, so light transmission there is a poor trade. Face that wall with rigid foam board and a reflective surface to bounce daytime light and heat back onto your plants. One-inch foil-faced polyisocyanurate board runs about R-6 per inch and costs $20 to $35 for a 4-by-8 sheet.
Do the same on the knee walls, the low solid section below the benches, where you’re growing nothing anyway. Foam board on the lower 2 to 3 feet of every wall cuts a surprising amount of conductive loss because cold pools low. Bank soil, straw bales, or bagged leaves against the outside base to insulate the foundation line where frost creeps in. In zone 5 and colder, a 12-inch skirt of rigid foam buried at the perimeter blocks the frost bridge under the sill.
Frost Blankets and Row Cover for Cold Snaps
For the handful of brutal nights each winter, add a temporary layer inside. Floating row cover (spun polypropylene) in the heavy 1.5 to 2.0 ounce weight buys 4 to 8°F of frost protection draped directly over benches or hooped over sensitive crops. It’s cheap, at $0.10 to $0.30 per square foot, and stores in a bin the rest of the year.
Stack the layers for the worst nights: bubble film on the frame, a mass wall doing its job, and row cover thrown over the plants. Three light layers with air between them beat one heavy layer every time. Pull the row cover off in the morning so the greenhouse can recharge its thermal mass.
When You Still Need a Heater, Size It Right
Passive greenhouse insulation reduces heater runtime and fuel cost, but in cold zones you’ll still want backup. Size the heater from the heat-loss estimate rather than guessing. The quick method:
- Add up the exposed surface area of walls and roof in square feet.
- Find your design temperature difference: target inside temp minus your coldest expected night. Say 55°F inside, 15°F outside, so 40°F difference.
- Multiply area by the difference by the glazing U-factor (about 1.1 for single glass, 0.6 for twin-wall poly, 0.4 for twin-wall with bubble film added).
For a 6-by-8 house with roughly 300 square feet of exposed glazing, twin-wall poly, and a 40°F difference: 300 x 40 x 0.6 = 7,200 BTU per hour. A 1,500-watt electric heater delivers about 5,100 BTU, so you’d want a 2,000 to 3,000-watt unit or a small propane heater on a thermostat. Notice how insulation changes the math: drop that U-factor from 1.1 to 0.6 and you nearly halve the heater you need, and the electric bill with it. That’s the real payoff of good greenhouse insulation. Spend on sealing and glazing first, then buy the smallest heater that closes the remaining gap.
A Realistic Insulation Budget by Zone
Layer these to taste. In zone 8 and warmer, sealing plus a mass wall often carries an unheated house through winter for under $150. In zone 6 and 7, add bubble film to the frame and foam board on the north and knee walls for another $150 to $300, and keep a thermostatic heater as insurance. In zone 5 and colder, budget for twin-wall polycarbonate glazing, a full mass wall, and a properly sized heater; the insulation just keeps the running cost sane. Whatever your zone, the order never changes: seal air leaks, add a second glazing layer, bank thermal mass, then heat only what’s left.


