
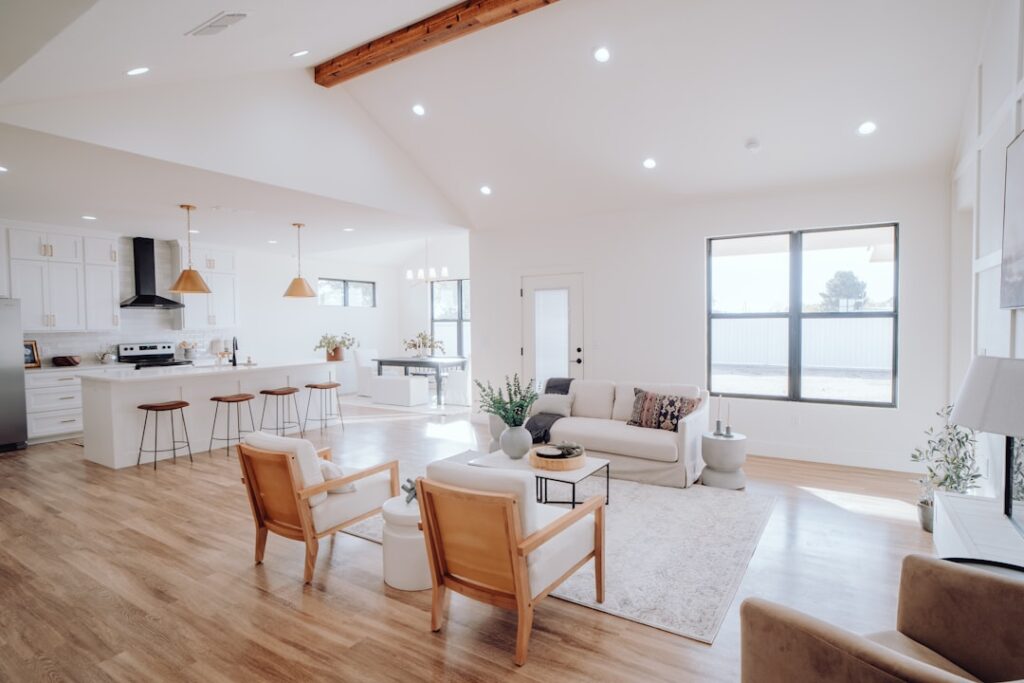
Few upgrades transform a staircase like a set of well-crafted hardwood steps, which pair the durability of solid wood with a warmth that carpet and laminate cannot match. Installing hardwood steps ties your staircase into adjacent wood floors, resists decades of foot traffic, and typically returns strong resale value because buyers read solid-wood stairs as a quality signal.
Whether you are covering builder-grade pine, replacing worn carpet, or building new, understanding tread and riser anatomy, wood species, and finishing options helps you plan a project that looks intentional and lasts. This guide covers the practical decisions from board selection to long-term care.
Anatomy of a Hardwood Staircase
Every step has two main parts. The tread is the horizontal surface you walk on, and the riser is the vertical face between treads. A standard tread is about 10 to 11 inches deep and 1 inch thick, while risers are usually 7 to 7 3/4 inches tall, dimensions set largely by building code for safe, comfortable stepping.
The front edge of the tread, the nosing, overhangs the riser by roughly 3/4 to 1 1/4 inch. That overhang is not decorative; it gives your foot extra landing depth and is required by most codes. Understanding these parts matters because retrofit tread kits, stringers, and cove molding all reference them, and getting the nosing right is central to both looks and safety.
Choosing a Wood Species
Hardness and appearance drive species selection. Stairs take concentrated wear, so a durable species pays off. The Janka hardness scale is a useful reference when comparing options.
- Red oak: The workhorse choice at around 1,290 Janka, affordable, widely stocked, and easy to stain to match existing floors.
- White oak: Slightly harder at about 1,360, with a tighter grain and a more contemporary look, popular for modern homes.
- Maple: Hard at roughly 1,450 with a clean, pale grain, though it stains unevenly and is best kept natural.
- Hickory: Very hard at about 1,820, with dramatic grain variation for a rustic feel.
- American walnut: Softer at around 1,010 but prized for its rich, dark tone in high-end installations.
Match your stair species to your main flooring when possible so the transition at the top and bottom looks seamless. If you plan to stain, oak accepts color beautifully and is the safest all-around pick.
Solid Treads vs. Retrofit Kits
There are two main paths. Full solid-wood treads are 1-inch-thick boards installed on the staircase framing, the traditional method used in new construction and full remodels. They are the most durable and refinishable option but require more carpentry.
Retrofit or overlay tread kits are thinner engineered pieces, often 3/8 to 1/2 inch, designed to cap existing treads after you strip carpet. They install faster and cost less, making them popular for DIY carpet-to-wood conversions. The tradeoff is that they raise the step height slightly and cannot be sanded as many times over their life. Choose solid treads for a permanent, refinishable result and overlays when speed and budget lead.
Installation Overview
A typical staircase of 13 to 15 steps takes a skilled installer one to two days. The process rewards patience and precise measuring, since no two steps in an older home are perfectly identical.
- Remove old carpet, tack strips, and staples, then vacuum and inspect the substrate for squeaks and loose boards.
- Screw down any movement in the existing treads to silence squeaks before covering.
- Measure each tread individually for width and depth, since old stairs are rarely uniform.
- Cut treads and risers to fit, dry-fitting each before gluing.
- Apply construction adhesive and set risers first, then treads, fastening with finish nails set below the surface.
- Fill nail holes, add cove molding under the nosing, and finish or install pre-finished pieces.
Work from the top down or bottom up consistently, and keep the staircase off-limits while adhesive cures, usually 24 hours.
Finishing and Refinishing
You can buy pre-finished treads with a factory-applied, ultra-durable aluminum-oxide coating, or finish raw wood on site to match an exact stain. Site finishing gives perfect color continuity with your floors but adds days of drying and requires the stairs to be unused. Pre-finished pieces install faster and offer a tougher factory coat, though matching an existing floor’s tone can be tricky.
Existing solid treads can be refinished several times. Sanding down worn nosings and reapplying two to three coats of a durable polyurethane restores stairs that look beaten. Plan on 24 to 48 hours of cure time between coats and no foot traffic during the process. Refinishing rather than replacing solid treads is far cheaper and preserves the original wood.
Cost Expectations
Budget varies widely with species and labor. Materials for oak treads and risers typically run $40 to $100 per step, with exotic species and walnut pushing higher. Professional installation adds roughly $75 to $200 per step depending on complexity, so a full 14-step staircase often lands between $1,500 and $4,000 installed.
Retrofit overlay kits lower the material cost and, because they skip demolition of the tread framing, cut labor too. DIY installation of an overlay kit can bring a full staircase in under $1,000 in materials if you own the tools. Always price the whole staircase, including handrail refinishing and cove molding, not just the treads.
Safety and Maintenance
Wood stairs are naturally slicker than carpet, so plan for traction. A satin or matte finish is less slippery than high gloss, and adding low-profile stair treads, clear anti-slip strips, or a runner down the center improves grip for kids, seniors, and pets. Code also requires consistent riser heights within 3/8 inch across the flight, so uneven steps should be corrected during installation.
Maintenance is simple. Dust-mop weekly and clean with a hardwood-specific cleaner, avoiding excess water that can seep into seams. Place a mat at the base of the stairs to catch grit, and touch up scuffs on the nosing before they wear through the finish. Handled well, hardwood steps easily last the life of the house and can be refinished for a fresh look whenever style or wear demands.
Matching Stairs to Your Floors
One detail that separates a polished remodel from an awkward one is how the stairs relate to the flooring above and below them. When the same species and stain flow from a hardwood hallway onto the treads, the eye reads the whole level as one continuous surface. If your upstairs is carpeted and downstairs is wood, a common and attractive approach is to match the treads to the downstairs floor and use the risers as a neutral transition.
Two-tone staircases have also grown popular, pairing dark-stained treads with crisp white-painted risers for a classic, high-contrast look. This works well because the risers take little wear and can be painted rather than stained, saving cost while adding visual definition. If you go this route, seal the painted risers with a durable enamel so scuff marks wipe off easily.
Common Mistakes to Avoid
The most frequent misstep is skipping the squeak-proofing before installation. Once treads are glued and nailed down, silencing a squeak underneath means tearing the work apart, so screw down every loose board first. A second common error is inconsistent nosing overhang, which looks sloppy and can violate code; use a spacer block to set the same overhang on every step. Finally, do not rush the finish. Walking on stairs before the polyurethane fully cures leaves permanent footprints and dull spots that force an early refinish. Patience during the cure window protects the investment you just made.
Prefer to explore on your own?
See how new flooring looks in your actual room in seconds — free, no signup.
Try the free Floor Studio →

