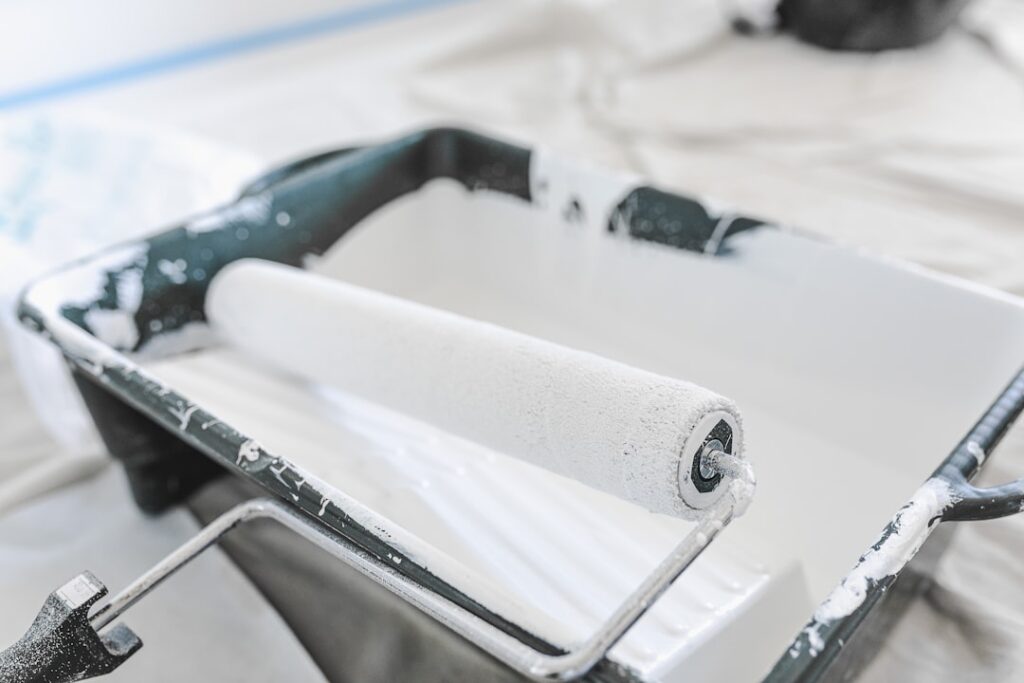
Choosing the right house paint is about far more than picking a color. The type of paint, the sheen, the quality tier, and the prep work all determine whether your finish looks flawless for a decade or peels and fades in two years. A gallon of quality paint costs $35 to $70, and the difference between a bargain paint and a premium one shows up fast in coverage, durability, and how the surface holds up to cleaning and weather.
Part of our Paint & Walls guide — explore the full guide →
This guide covers everything a homeowner needs to buy and apply house paint with confidence, from interior versus exterior formulas to the sheen levels and prep steps that separate a professional result from an amateur one.
Interior Versus Exterior Paint
Interior and exterior paints are formulated for completely different jobs, and using one where the other belongs leads to failure. Exterior paint contains additives that let it flex through temperature swings, resist UV fading, shed moisture, and fight mildew. It’s built to endure sun, rain, and freeze-thaw cycles. Never use exterior paint indoors, though, because it off-gasses more and isn’t designed for interior air quality.
Interior paint prioritizes a smooth finish, low odor, low VOCs for healthier indoor air, and washability so you can wipe away scuffs and fingerprints. It’s not built to withstand weather and will quickly deteriorate outdoors. There are also specialty formulas, kitchen-and-bath paints with extra mildew resistance for humid rooms, and cabinet or trim enamels that cure to a hard, durable finish. Always match the paint to its environment; it’s the most basic rule and the most commonly broken.
Paint Types and Bases
Nearly all house paint today is water-based, and the terminology is worth understanding. Latex and acrylic paints are water-based, dry quickly, clean up with soap and water, resist yellowing, and stay flexible. Acrylic, with its higher-quality binder, adheres and holds up better than standard latex, making it the go-to for both walls and exteriors. These are the right choice for the vast majority of projects.
Oil-based, or alkyd, paints were once standard for trim and cabinets because they self-level into a hard, glassy finish, but they’ve largely fallen out of favor. They take far longer to dry, require mineral spirits for cleanup, emit strong fumes, yellow over time, and face increasing regulatory restrictions. Modern water-based enamels now rival oil-based durability on trim and cabinets without the drawbacks. Unless you have a specific reason, choose a quality acrylic or water-based enamel for virtually every surface in and around your home.
Understanding Sheen Levels
Sheen, the amount of gloss in a finish, affects both looks and durability, and matching sheen to surface is one of the most important choices you’ll make. Flat and matte finishes have no shine, hide wall imperfections beautifully, and suit ceilings and low-traffic walls, but they’re the hardest to clean. Eggshell has a slight sheen, hides most flaws, and wipes down reasonably well, making it the popular default for living rooms and bedrooms.
Satin offers a soft glow with good washability, ideal for hallways, kids’ rooms, and family spaces that see wear. Semi-gloss is durable, moisture-resistant, and easy to scrub, so it’s the standard for trim, doors, kitchens, and bathrooms. High-gloss delivers a hard, reflective, furniture-like finish for doors, cabinets, and accent trim, but it magnifies every imperfection, so the surface prep must be flawless. As a rule, higher sheen means more durability and washability but less forgiveness of surface flaws.
Quality Tiers and What You Get
Paint is sold in good, better, and best tiers, and the price difference reflects real performance gaps. Premium paints contain more solids, higher-quality binders, and better pigments, which means superior coverage (often one coat instead of two), richer color, better durability, and easier application with less spatter and better flow. A top-tier paint at $50 to $70 a gallon frequently costs less per project than a cheap $25 paint, because it covers in fewer coats and lasts far longer.
Cheap paint has less pigment and binder, so it covers poorly, requires extra coats, shows brush marks, and wears out faster, especially in high-traffic and high-moisture areas. The exception where budget paint is acceptable is a ceiling or a rental you’ll repaint anyway. For walls you want to look good and last, and for any exterior surface, buy the best paint you can afford. Labor and prep are the same regardless of paint quality, so skimping on the paint itself is a false economy that shows up quickly.
Calculating How Much You Need
Buying the right amount prevents both a mid-project run to the store and wasted paint. One gallon of house paint covers roughly 350 to 400 square feet with one coat. To estimate a room, measure the perimeter (add up the wall lengths), multiply by the ceiling height to get total wall area, then subtract about 20 square feet for each door and 15 for each average window.
Divide that square footage by 350 to get gallons per coat, then double it if you’re applying two coats, which is standard for a color change or over a patchy surface. A typical 12 by 12 foot room with 8-foot ceilings has about 384 square feet of wall, needing roughly one gallon per coat, or two gallons for full coverage. Always buy a little extra for touch-ups, and if you’re custom-tinting a color, buy all of it at once so every gallon matches, since separate mixes can vary slightly.
Prep Work Determines the Result
Professionals will tell you that paint quality is only half the equation; preparation is the other half, and it’s where most DIY jobs fall short. Clean the surface thoroughly to remove dust, grease, and grime, since paint won’t adhere to a dirty wall. Scrape and sand any peeling or glossy areas so the new paint grips, and fill holes and cracks with spackle, then sand smooth. Wipe away sanding dust before painting.
Priming is essential in several situations: bare drywall or wood, patched areas, stained spots, drastic color changes (especially covering a dark color with a light one), and glossy surfaces. A quality primer seals the surface, blocks stains, and ensures the topcoat adheres and colors evenly. Skipping primer where it’s needed leads to blotchy coverage and poor adhesion. Finally, tape edges cleanly, protect floors and furniture, and use quality brushes and rollers, cheap tools shed bristles and leave streaks. Thorough prep is unglamorous, but it’s what makes the difference between a finish that looks professional and one that looks rushed.
Understanding VOCs and Low-Odor Options
Volatile organic compounds, or VOCs, are the chemicals that give fresh paint its strong smell and release into the air as the paint dries and cures. High-VOC paints can cause headaches, irritate the eyes and lungs, and off-gas for weeks, which matters most in bedrooms, nurseries, and any room with poor ventilation. Regulations have pushed the industry toward lower-VOC formulas, and most quality interior paints today are labeled low-VOC or zero-VOC.
For interior projects, especially where children, pets, or anyone with respiratory sensitivity will be spending time, choose a low- or zero-VOC paint. The performance of these modern formulas now rivals traditional high-VOC paints, so you rarely sacrifice durability or coverage for cleaner air. Keep in mind that tinting a zero-VOC base can add a small amount of VOCs back through the colorant, and that low odor does not mean instantly safe, so still ventilate the space well while painting and for a day or two after. Ventilate by opening windows and running a fan, and let the room air out before sleeping in a freshly painted bedroom.
Application Tips and Costs
Good technique produces a smooth, even finish. Cut in the edges and corners with a brush first, then roll the large areas while the cut-in paint is still wet so the two blend seamlessly, a technique called maintaining a wet edge. Use a roller with the right nap for your surface: a shorter 3/8-inch nap for smooth walls, a thicker 1/2 to 3/4-inch nap for textured surfaces. Apply in thin, even coats and let each dry fully, typically two to four hours for recoat, before adding the next.
On cost, expect $2 to $6 per square foot for professional interior painting including labor and materials, or $20 to $50 in paint and supplies to do a room yourself. Exterior painting runs higher, $1.50 to $4 per square foot professionally, given the prep, ladders, and weather considerations. A whole-house interior repaint by pros can run $2,000 to $6,000 depending on size and detail. Whether you hire out or DIY, buying quality house paint and investing in proper prep delivers a finish you’ll be happy to look at every day for years.