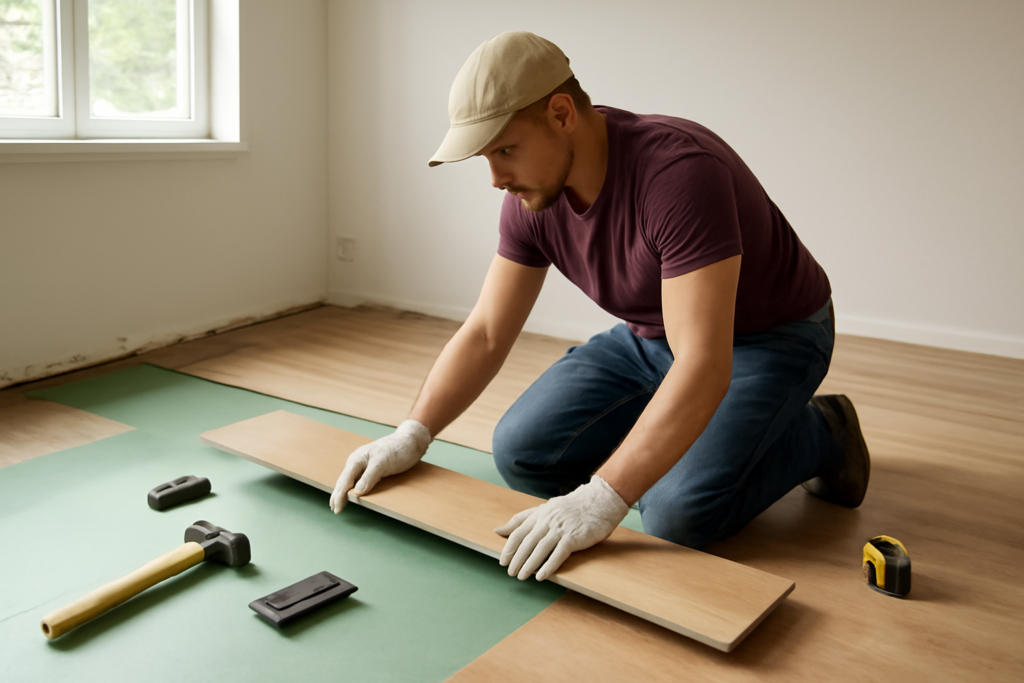
Ask ten homeowners who’ve done it and most will tell you the same thing: it was easier than they feared and slower than they hoped. So how hard is it to install laminate flooring? For a straightforward rectangular room, it’s one of the most beginner-friendly home projects there is, thanks to click-lock planks that snap together without glue or nails. The difficulty lives in the details, cutting around door frames, keeping rows straight, and handling odd angles. Here’s an honest look at what you’re really signing up for.
The Short Answer
Laminate installation is a solid beginner-to-intermediate DIY project. The core skill, clicking planks together on the floor, takes about fifteen minutes to learn. What separates a smooth install from a frustrating one is preparation and the tricky cuts. A confident first-timer can finish an average bedroom in a weekend. Rate the overall difficulty a 4 out of 10, with the caveat that patience matters more than talent.
What Makes It Easy
Several things work in the DIYer’s favor:
- Click-lock system — modern floating floors snap together with angle-and-tap joints; no glue, no nails, no fasteners in the field
- Floats over most subfloors — installs over plywood, concrete, and even existing vinyl or tile if it’s flat and solid
- Forgiving material — mistakes can often be unclicked and redone, unlike glued or nailed floors
- Minimal specialized tools — a saw, tapping block, pull bar, and spacers cover most of it
- Widely documented — the process is standardized across brands
Because you can disassemble and re-lay planks, early errors aren’t permanent, which lowers the stakes considerably for a nervous beginner.
What Makes It Tricky
The frustration, when it comes, clusters around a few spots:
- Cutting around door casings — you undercut the trim with a jamb saw and slide planks beneath it; fiddly but manageable
- Notching around pipes, corners, and irregular walls — requires careful measuring and a jigsaw
- Keeping rows straight — a crooked first row throws off the entire floor, so the layout has to be right
- The final row — usually needs ripping to width and coaxing in with a pull bar in tight quarters
- Uneven subfloors — high or low spots must be leveled first or the floor flexes and clicks apart
None of these are hard skills, but they slow you down and reward a measure-twice mindset.
Tools You’ll Need
The tool list is short and affordable:
- Miter saw or circular saw (or a manual laminate cutter for quiet, dust-free crosscuts)
- Jigsaw for notches and curves
- Jamb saw or handsaw for undercutting door casings
- Tapping block and pull bar (often sold in a $20 to $30 install kit with spacers)
- Rubber mallet, tape measure, speed square, and a pencil
- Knee pads and safety glasses
Most of this runs under $150 if you don’t already own it, and far less if you rent or borrow the saw.
The Basic Process
Here’s the workflow from empty room to finished floor:
- Acclimate the planks in the room for 48 to 72 hours
- Prep the subfloor — clean it, check it’s flat within 3/16 inch over 10 feet, and fix high or low spots
- Lay underlayment if it isn’t pre-attached to the planks
- Plan the layout so you avoid a sliver-width final row; measure the room and adjust the starting-row width
- Undercut door casings so planks slide under the trim
- Install the first row against the longest straight wall with 1/4- to 3/8-inch spacers for the expansion gap
- Work across the room, staggering end joints by at least 6 to 8 inches, tapping each plank tight
- Rip and fit the final row with a pull bar
- Remove spacers and install baseboard or quarter-round to cover the expansion gap
How Long It Takes
Time depends on room complexity more than size. A simple 150-square-foot rectangular bedroom takes a first-timer about 6 to 10 hours, often split across a weekend. A kitchen or bathroom full of cabinets, islands, and pipe cutouts can take twice as long per square foot because of all the notching. Add prep time if the subfloor needs leveling. Experienced installers move much faster, but for DIY, budget generously and don’t rush the layout.
When to Hire a Pro Instead
DIY isn’t always the right call. Consider hiring out when:
- The subfloor is badly uneven and needs significant leveling or repair
- The space has many rooms, angles, stairs, or complex transitions
- You’re installing over a moisture-prone concrete slab that needs testing and a vapor barrier
- You simply don’t have a weekend to give it
Professional laminate installation typically runs $2 to $5 per square foot in labor, on top of $1 to $4 per square foot for materials. Doing it yourself can cut the total cost by 40 to 60 percent, which is why so many homeowners tackle it.
Tips to Make It Easier
A few habits smooth the whole job: dry-lay the first couple of rows before committing, mix planks from several boxes to blend color variation, always cut with the finished side positioned to minimize chipping, and keep a spare plank as a sacrificial tapping surface. Above all, get the first row perfectly straight, because everything downstream depends on it.
The Most Common Beginner Mistakes
Knowing where first-timers stumble lets you sidestep the frustration:
- Skipping acclimation — installing planks straight off the truck leads to buckling or gapping weeks later
- No expansion gap — butting planks tight to the wall causes the floor to peak and tent when it expands
- A crooked first row — every following row inherits the error, so a slightly off start compounds into a visibly skewed floor
- Ignoring an uneven subfloor — high and low spots make planks flex and click apart underfoot
- Poor joint stagger — end joints closer than 6 inches or lined up in an H-pattern look amateurish and weaken the floor
- A sliver final row — failing to plan the layout leaves a 1-inch strip along the last wall that’s hard to cut and looks bad
Nearly all of these are prevented in the planning stage, which is exactly why prep and layout matter more than raw plank-clicking skill.
Which Laminate Is Easiest to Install
Product choice affects difficulty as much as your skill level. Not all laminate installs the same:
- Angle-and-tap click systems — the most common and beginner-friendly; planks lock at an angle then lower flat
- Drop-lock (fold-down) systems — even easier end joints that simply press together
- Pre-attached underlayment — planks with a foam pad already bonded save a whole step and speed the job
- Thicker 10 to 12 mm planks — often lock more solidly and forgive minor subfloor imperfections better than thin 7 mm boards
If this is your first floor, choosing a mid-thickness plank with pre-attached underlayment and a proven click system removes several chances to get stuck. It’s worth spending a little more per square foot for these features on your first project, since the easier handling and forgiveness they offer more than pay for themselves in reduced frustration and wasted material.
The Bottom Line
So, how hard is it to install laminate flooring? For a standard room, it’s an approachable weekend project that rewards patience over skill, and the click-lock, glueless design forgives beginner mistakes. The difficulty rises with door casings, pipe notches, and complex layouts, so budget extra time for those. Prep the subfloor well, plan your layout, take the tricky cuts slowly, and most homeowners finish with a floor that looks professionally done at a fraction of the price.
Prefer to explore on your own?
See how new flooring looks in your actual room in seconds — free, no signup.
Try the free Floor Studio →