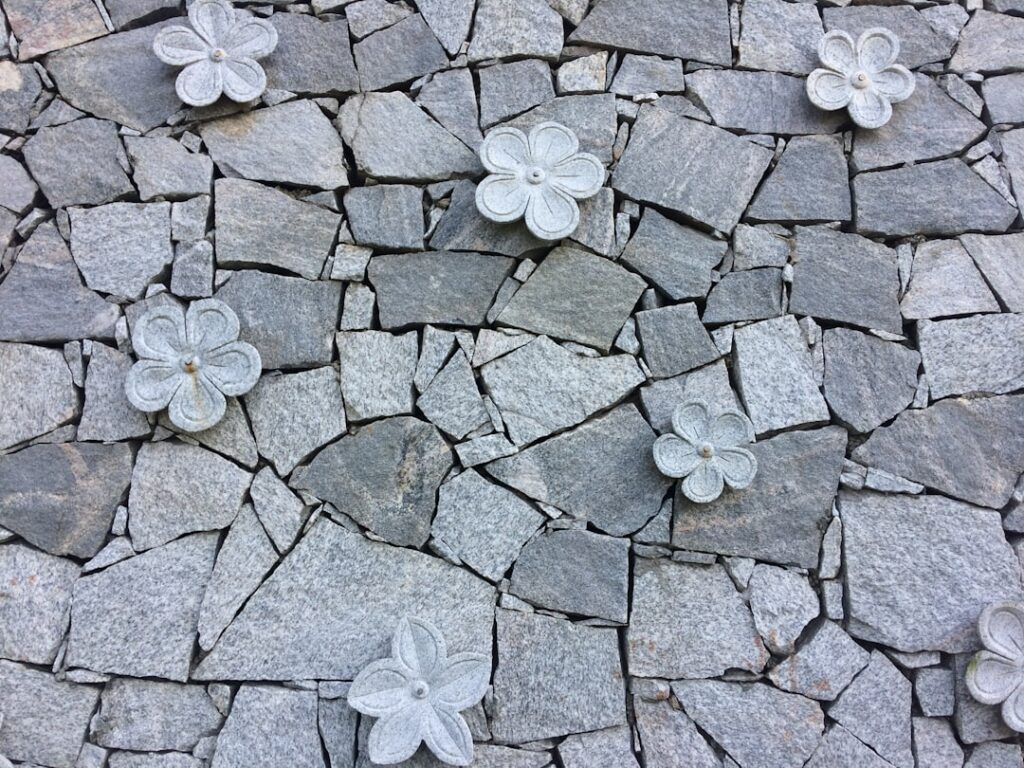
A flagstone patio is one of the few DIY projects where the result genuinely looks like you hired a pro, provided you do not skip the boring parts. Learning how to build a flagstone patio is really about learning how to build a base, because the stone on top is only as stable as the gravel and sand underneath it. Rush the excavation or shortchange the drainage and you will be re-leveling rocking stones every spring. Take your time on the foundation and the patio will sit flat for decades.
Plan the Layout and Slope
Start by outlining the patio with stakes and string, or a garden hose for curves. A common size is 12 by 12 feet or larger, but build to your space. The single most overlooked detail is drainage. Your finished surface must slope away from the house at about 1/4 inch per foot, so a 12-foot run drops roughly 3 inches across its length. Mark that slope on your stakes now; every later step references it. Call 811 before digging to have utilities located.
Excavate to the Right Depth
Dig out the entire footprint to a depth of about 7 to 8 inches below your finished height. That accounts for roughly 4 inches of compacted gravel, 1 to 2 inches of sand, and 1.5 to 3 inches of stone thickness. Maintain the slope you marked as you dig, checking with a level on a long board. Remove all sod, roots, and soft topsoil, and tamp the exposed subsoil firm. Soft spots left now become low, puddling areas later.
Build the Gravel Base
The gravel base does the structural work. Use crushed angular gravel, often sold as 3/4-inch minus or paver base, not smooth round pea gravel, because the jagged edges lock together. Lay it in two lifts of about 2 inches each, wetting and compacting each lift with a plate compactor or hand tamper before adding the next. A landscape fabric between subsoil and gravel helps in clay or wet soils by preventing the base from sinking into the mud, though it is optional in well-draining ground.
- Compact in 2-inch lifts, not all at once
- Keep checking the slope as you build up
- The base should be firm enough to walk on without footprints
Add and Screed the Sand Layer
Spread a 1 to 2 inch layer of coarse bedding sand over the compacted gravel. To get it perfectly flat, lay two parallel pipes or screed rails on the gravel set to your slope, fill between them with sand, then drag a straight board across the pipes to level it. Pull the pipes and fill the gaps. Do not compact this sand yet; it stays loose so you can seat each stone into it.
Lay the Flagstone
Now the satisfying part. Dry-fit your flagstones across the patio first, like a puzzle, arranging them for tight, even joints and a pleasing mix of sizes. Aim for joints between 1/2 inch and 1 inch wide if you plan to sand them, or up to 2 to 3 inches if you intend to plant ground cover between stones. Set each stone onto the sand, then tap it down with a rubber mallet, checking with a level (carrying your slope). Add or remove sand beneath each stone until it sits solid with no rocking. Stand on each corner to confirm stability before moving on.
Cut stones to fit edges with a brick hammer and chisel, or a circular saw fitted with a diamond blade for clean lines. Wear eye and ear protection and a dust mask when cutting stone.
Fill the Joints
You have three honest options for the joints, each with trade-offs:
- Polymeric sand: swept into dry joints then misted with water, it hardens to resist weeds and washout. Best for tight joints and the most low-maintenance choice, but it can haze the stone if not cleaned off and may need reapplication over years.
- Regular sand: cheapest and easy, but it washes out in rain and lets weeds through, so expect to refill it.
- Planting (creeping thyme, moss, or Irish moss): a soft, natural look for wide joints, though it needs water and weeding to establish.
For polymeric sand, sweep it in fully, blow off every grain from the stone faces, then activate with a gentle mist per the bag’s directions. Standing water during activation is the number-one cause of failure.
Edge Restraint Keeps It Together
Without an edge, the perimeter stones drift and the whole patio loosens. Contain the edges with buried plastic paver edging spiked into the base, a row of larger anchor stones, or a soldier course set in a small concrete haunch for permanence. This step is easy to skip and the first thing to regret.
Choosing Your Flagstone
The stone you pick affects both the look and the labor. Sandstone is the most common flagstone, easy to work, affordable, and available in warm buffs, reds, and browns, though softer types can flake in harsh freeze-thaw climates. Bluestone is a denser, more uniform stone with a refined blue-gray color that suits modern designs and stands up to weather well. Limestone and quartzite offer their own colors and durability. For thickness, aim for pieces around 1.5 to 2 inches for a sand-set patio, thinner stones crack underfoot, while very thick stones are heavy and harder to level. Buy about 10 to 15 percent extra to account for cuts and breakage, and hand-pick a range of sizes so you can fit them like a puzzle with consistent joints.
Tools and Materials Checklist
Gathering everything before you start saves frustrating trips mid-project:
- Excavation: shovel, mattock, wheelbarrow, and a way to haul off soil
- Base: crushed gravel (3/4-inch minus), coarse bedding sand, and landscape fabric for soft soils
- Compaction: a rented plate compactor (worth it) or a hand tamper for small jobs
- Leveling: a 4-foot level, a long straight screed board, screed pipes, and stakes with string
- Setting and cutting: rubber mallet, brick hammer and chisel, or a circular saw with a diamond blade, plus safety glasses, gloves, ear protection, and a dust mask
- Jointing: polymeric sand or regular sand, a stiff broom, and a leaf blower for cleanup
Final Checks and Maintenance
Hose the patio lightly and watch where water goes; it should run off cleanly with no pooling. Over the first season, a few stones may settle, lift them, add sand, and reset. Refresh sand joints as needed, pull weeds early, and reseal polymeric joints when they start to loosen. Build the base right and a flagstone patio rewards the effort with a surface that ages beautifully and shrugs off freeze-thaw winters.