A single carpenter ant on your kitchen counter might not seem alarming, but it could signal thousands more chewing through the framing behind your walls. Unlike termites, carpenter ants do not eat wood — they excavate it to build smooth, gallery-like nests that weaken structural lumber over months and years. Knowing how to get rid of carpenter ants before they cause serious damage can save you thousands of dollars in repairs. This guide covers identification, treatment options, and long-term prevention strategies that actually work.
- How to Identify Carpenter Ants
- Find the Nest Before You Treat
- Baiting: The Most Effective DIY Method
- Dust and Foam Treatments for Wall Voids
- Perimeter Spray for Outdoor Control
- When to Call a Professional Exterminator
- Prevent Carpenter Ants from Coming Back
- Carpenter Ants vs Termites: Key Differences
How to Identify Carpenter Ants
Carpenter ants are among the largest ants in the United States, measuring 1/4 to 1/2 inch long. Workers are usually black, though some species show reddish-brown coloring. Their single-node waist and evenly rounded thorax distinguish them from other large ant species. If you see winged ants emerging indoors between January and June, you almost certainly have a mature colony nesting inside the structure.
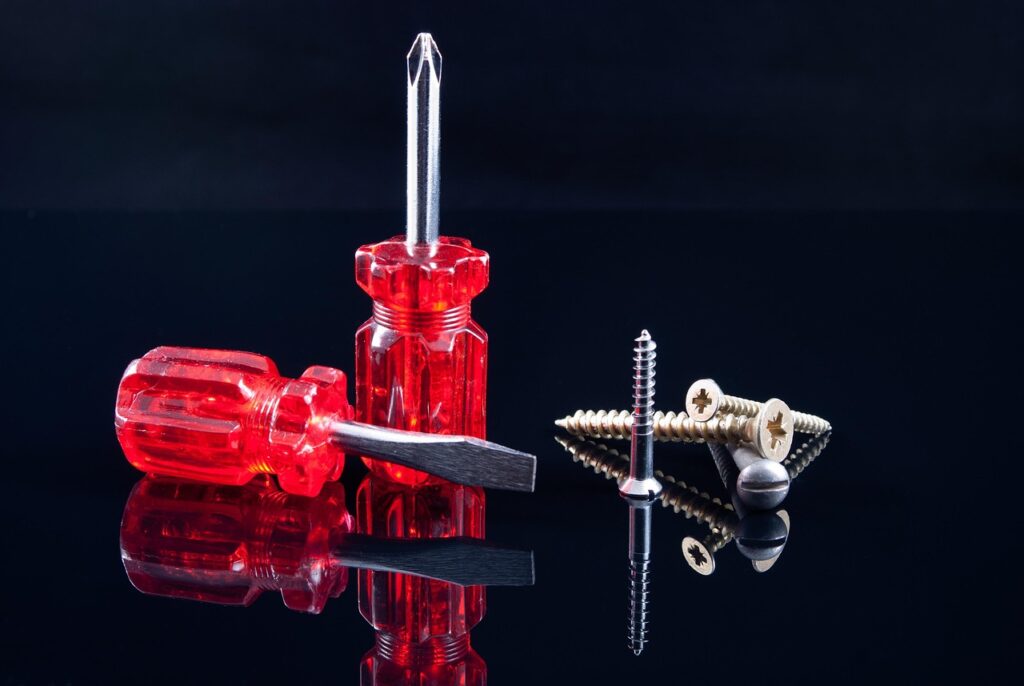
Look for frass — fine sawdust-like shavings mixed with insect body parts — near baseboards, window sills, or beneath wall voids. Frass piles are the clearest sign of an active nest. Tap on suspect wood with a screwdriver handle; hollow sounds or wood that yields easily confirms internal damage.
Find the Nest Before You Treat
Treating carpenter ants without locating the nest is a waste of time and product. Parent colonies typically live in moist, decaying wood outdoors — dead trees, stumps, or landscape timbers within 100 yards of your house. Satellite colonies inside the home prefer wall voids near plumbing leaks, dishwashers, bathtubs, and roof eaves where moisture accumulates.
Follow foraging trails after dark using a red-lens flashlight. Carpenter ants are most active between 10 PM and 2 AM. Trace workers back to their entry point — commonly a gap around a pipe penetration, a crack along the foundation, or a branch touching the roofline.
Baiting: The Most Effective DIY Method
Gel and liquid baits outperform spray-and-kill methods because foraging workers carry the toxicant back to the queen. Place bait stations along confirmed trails and near entry points. Advion and Maxforce Quantum are professional-grade gel baits available to homeowners for $15 to $30 per tube. Avoid disturbing the trail — you want workers to feed freely and share the bait through trophallaxis.
Allow 2 to 4 weeks for the bait to reduce the colony. If activity persists after a month, the nest may be too large for baiting alone, and you should combine methods or call a licensed pest control operator.
Dust and Foam Treatments for Wall Voids
When you can pinpoint the nest inside a wall, dust insecticides deliver product directly where ants live. Drill a 1/8-inch hole into the wall void and puff in boric acid dust or Delta Dust (deltamethrin) using a hand bellows duster. A light coating is all you need — ants walk through the dust, groom it off, and transfer it to nestmates.
Expanding foam insecticides such as Fuse Foam reach deep into voids and around pipe chases. They kill on contact while leaving a residual that lasts 30 days or more. Seal drill holes afterward with a dab of spackle or a trim plug.
Perimeter Spray for Outdoor Control
A non-repellent liquid insecticide applied around the foundation creates an invisible barrier that foraging ants unknowingly carry back to their nest. Taurus SC and Termidor SC (fipronil-based) are the gold standard, costing $35 to $75 per bottle and covering up to 100 linear feet of foundation. Mix according to the label and spray a 6-inch band up the foundation wall and 6 inches out onto the soil.
Reapply every 90 days during the active season (April through October in most of the US). Trim vegetation 12 inches away from the house and remove firewood stacks leaning against the siding to eliminate harborage points.
When to Call a Professional Exterminator
DIY methods handle small satellite colonies well, but large infestations embedded in structural framing often require professional intervention. A licensed pest control operator can perform a thorough inspection, drill and treat inaccessible wall cavities, and apply restricted-use products not available to homeowners. Expect to pay $250 to $600 for a one-time carpenter ant treatment, with annual monitoring plans running $150 to $300 per year.
Call a pro immediately if you see winged reproductives swarming indoors, notice sagging floors or soft spots in framing, or if baiting has not reduced activity after 4 to 6 weeks.
Prevent Carpenter Ants from Coming Back
Moisture control is the single most important prevention measure. Carpenter ants need damp wood to colonize — fix plumbing leaks, improve crawl space ventilation, and replace any water-damaged lumber. Extend downspouts at least 4 feet from the foundation to direct rainwater away from the structure.
Seal cracks and gaps around utility penetrations with silicone caulk or copper mesh. Replace weatherstripping on exterior doors and repair torn window screens. Store firewood at least 20 feet from the house and elevate it off the ground on a metal rack. These simple steps eliminate the conditions that attract carpenter ants in the first place.
Carpenter Ants vs Termites: Key Differences
Homeowners frequently confuse carpenter ant damage with termite damage, but the treatment approach differs significantly. Carpenter ant galleries are clean and smooth, with frass piled outside the nest. Termite tunnels are rough, packed with mud and fecal pellets, and termites actually consume the cellulose in wood. Carpenter ants have a pinched waist, elbowed antennae, and two pairs of unequal wings during swarm season. Termite swarmers have a thick waist, straight antennae, and four wings of equal length.
If you are unsure which pest you are dealing with, collect a sample in a sealed bag and bring it to your local cooperative extension office or pest control company for free identification. Correct identification ensures you choose the right treatment and avoid wasting money on products designed for the wrong insect.