A door that sticks, rubs on the jamb, or swings open on its own almost always has a hinge problem. Learning how to install door hinges correctly — with properly cut mortises, clean pilot holes, and dead-level alignment — is one of those skills that separates a polished interior from a builder-grade flip. A new 32-inch interior door typically needs three 3.5-inch hinges, takes about 45 minutes to hang the first time, and costs roughly $12-$25 in hinge hardware plus whatever the door slab runs.
Part of our Windows & Doors guide — explore the full guide →
Tools and Materials You Need
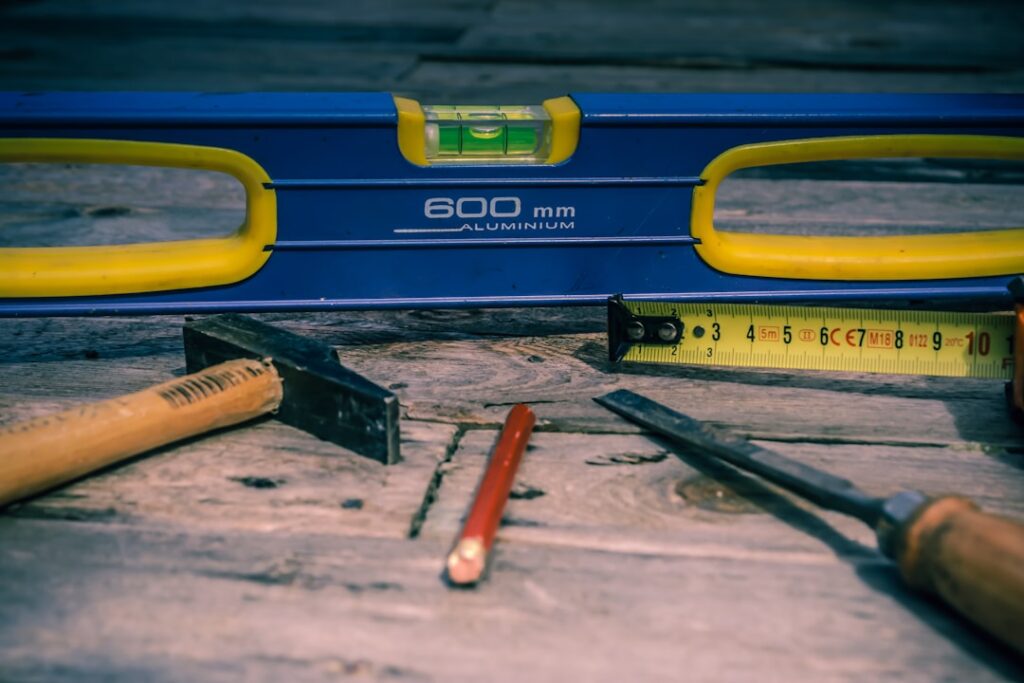
Gathering everything before you start saves trips to the garage. For a standard interior door install:
- Three hinges (3.5-inch for interior doors under 36 inches, 4-inch for larger or exterior)
- Sharp 3/4-inch or 1-inch wood chisel
- Rubber or wooden mallet
- Combination square or hinge template
- Utility knife with fresh blades
- Drill with a self-centering Vix bit matched to hinge screws
- Phillips or square-drive screwdriver
- Pencil, level, and a few wood shims
Hinge Spacing Rules
Standard interior door hinge spacing is the “7-11-7” rule: top hinge 7 inches from the top of the door, bottom hinge 11 inches from the bottom, and a third hinge centered between them. On 80-inch standard-height doors, the middle hinge lands 38 inches from the top of the door.
Exterior doors often use four hinges because of the weight. Solid wood and insulated steel doors need heavier 4-inch ball-bearing hinges capable of handling 100 pounds or more.
Cutting the Hinge Mortise
A mortise is the rectangular recess that lets the hinge leaf sit flush with the edge of the door and the jamb. A perfectly cut mortise is the difference between a gappy door and one that closes flush.
- Position the hinge on the door edge and trace its outline with a sharp pencil
- Score the outline with a utility knife, cutting 1/16 inch deep on all three sides
- Make parallel stop cuts across the recess every 1/4 inch, going to the hinge-leaf depth
- Chisel out the wood between stop cuts with the beveled side down
- Clean up the edges with the chisel held vertically against the scored lines
- Test-fit the hinge — it should sit flush with the door edge, not proud, not recessed
If you make mortising multiple doors, a router with a hinge-mortising jig from Porter-Cable or Milescraft cuts perfect mortises in 30 seconds each. The $45 jig pays for itself after three or four doors.
Drilling Pilot Holes Correctly
Screwing into hardwood jambs without pilot holes strips the head, splits the wood, or sends the screw off-center so the hinge binds. A self-centering Vix bit is the single best $15 investment for this job. It centers itself in the hinge hole automatically and drills a pilot hole exactly the right size.
Use a 5/64-inch bit for the included 1-inch screws that come with most hinges. For exterior doors, swap two of the jamb screws for 3-inch wood screws that reach into the framing — this prevents the hinge from pulling out under the weight of a solid door.
Hanging the Door
With hinges attached to the door and the leaves folded back, lift the door into position and align the hinge leaves with the mortises cut in the jamb. Two hands on the door and one foot kicking a wedge shim under the bottom for support makes this a one-person job.
Drop a single screw in each hinge first, top to bottom, before driving the rest. That way if the door needs adjustment, you can remove the partial screws and shift without damaging the jamb.
Checking Alignment
Close the door slowly. The gap between the door edge and jamb should be consistent from top to bottom, about the thickness of a nickel (1/16 inch). If the gap is wider at the top than the bottom, the hinges need shimming. If the door rubs at the top of the strike side, the top hinge is too proud — loosen it and add a thin cardboard shim behind the jamb leaf.
A door that swings open or closed on its own has a plumb problem in the jamb, not a hinge problem. Check the hinge-side jamb with a 6-foot level before blaming the hinges.
Self-Closing and Specialty Hinges
Garage-to-house fire-rated doors, door hinges in laundry rooms, and most commercial doors need spring-loaded self-closing hinges. Replace two of the three standard hinges with spring hinges — leave the middle hinge standard so the door hangs straight when open.
Kwikset and Schlage sell residential spring hinges for $20-$35 per pair. Adjust the spring tension with the included hex wrench; start with two clicks of tension and add more if the door does not latch on its own.
Common Mistakes to Avoid
- Cutting mortises too deep — the hinge sits below flush and the door will not close properly
- Forgetting to predrill jamb screws — strips the head and ruins the install
- Hanging the door with only one screw per hinge before checking swing
- Using short screws on exterior doors — the weight pulls the hinge off over time
- Mixing hinge finishes on the same door — stick to all matte black, all brushed nickel, etc.
Finishing Touches
Once the door swings cleanly and latches properly, replace any temporary short screws with the full-length ones provided. On painted doors, touch up any chisel marks on the mortise edges with matching paint. On stained doors, a fine-point touch-up marker in the door’s wood tone hides small chips.
Done properly, new hinges last 30 years or more. Done sloppily, you will be re-shimming and rehanging within a month. Take the extra 10 minutes to cut the mortises cleanly and pre-drill every screw hole — your doors will thank you every time they close flush.