Most people think insulation is what saves energy. It is only half the story. Learning how to install energy efficient insulation starts with a step nearly everyone skips: air sealing. Insulation slows heat that moves by conduction, but it does almost nothing to stop the air leaks that account for 25 to 40 percent of a home’s heating and cooling loss. Seal the leaks first, then insulate to the right R-value for your climate, and you get the full return on the work. Do it in the wrong order and you leave money in the walls. This guide covers the whole sequence.
- Start by Air Sealing, Not Insulating
- Know Your Target R-Value
- Choosing the Insulation Type
- Installing Batt Insulation
- Installing Blown-In Attic Insulation
- Do Not Forget Ventilation and Moisture
- Seal Ducts and Verify Your Work
- Prioritizing Projects for the Best Return
- Knowing When to Call a Professional
Start by Air Sealing, Not Insulating
Before you unroll a single batt, seal the air leaks in the space you are insulating. Air moving through gaps carries heat, moisture, and comfort right out of the house, and insulation stuffed over unsealed leaks lets the air pass straight through. In an attic, this is the highest-value work you can do. Seal these common leak points:
- Gaps around plumbing pipes, wiring, and duct penetrations through the top plate, using fire-rated caulk or expanding foam.
- The tops of interior wall plates where they meet the attic.
- Around recessed can lights (use only fixtures rated IC and airtight, or build a code-compliant cover).
- The attic access hatch or door, which should be weatherstripped and insulated on its back.
- Around chimneys and flues, using metal flashing and high-temperature fire-rated sealant, never regular foam.
Use caulk for gaps under 1/4 inch and expanding spray foam for larger cracks. This single step, often costing under $100 in materials, frequently delivers a bigger comfort and energy improvement than the insulation itself.
Know Your Target R-Value
How much insulation you need depends on your climate. The Department of Energy divides the country into climate zones with recommended R-values. For attics, the common targets are R-30 to R-49 in warm southern zones and R-49 to R-60 in cold northern zones. Walls typically call for R-13 to R-21 depending on stud depth, and floors over unconditioned space R-25 to R-30. Check your specific zone before you buy, and remember there is a point of diminishing returns; going far above the recommendation for your zone rarely pays back.
To hit a target with batts, read the R-value printed on the packaging. To hit it with blown-in insulation, follow the coverage chart on the bag, which tells you the depth and bags per 1,000 square feet needed for your target R.
Choosing the Insulation Type
The three most common DIY-friendly options each suit different jobs. Fiberglass batts are cheap, widely available, and ideal for open stud and joist cavities in walls, floors, and accessible attics. Blown-in cellulose or fiberglass is the best choice for covering an attic floor evenly and for filling irregular spaces, and it can be rented and blown in a day. Mineral wool batts cost more but add fire and sound resistance for interior walls and basements. For unvented cathedral ceilings and rim joists, spray foam or rigid foam board is often the right call, though spray foam is usually a professional job.
Installing Batt Insulation
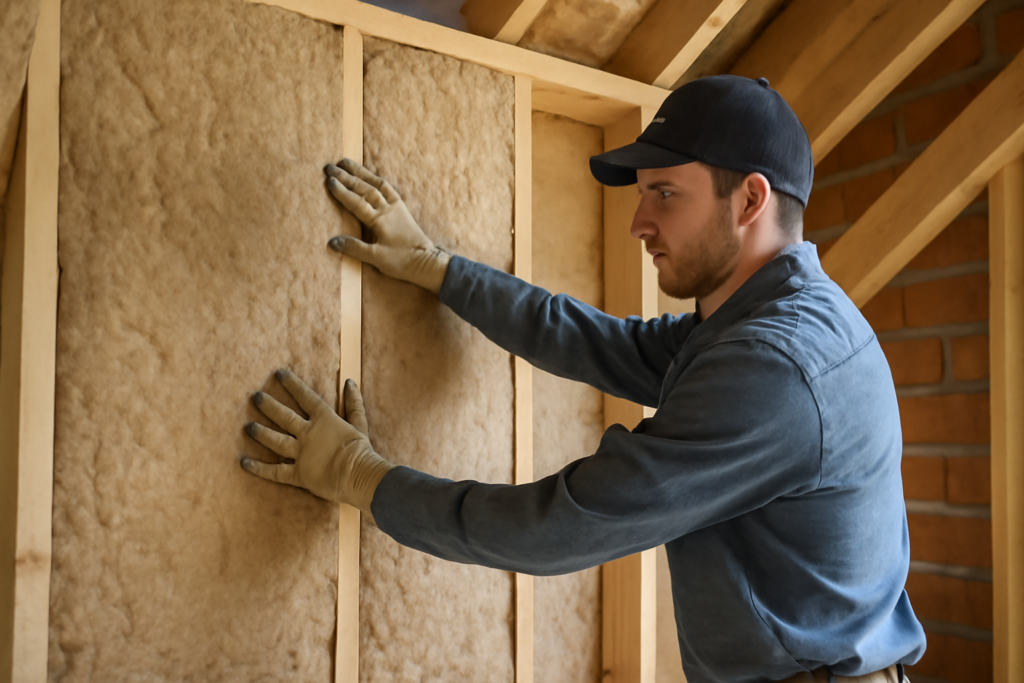
Batts are the most approachable for a first-timer. Measure the cavity, then cut each batt slightly long with a utility knife against a straightedge, compressing it with a board to make a clean cut. The goal is a snug, gap-free fit, because gaps and voids are where batt jobs fail. Follow these principles:
- Fit the batt fully into the cavity so it touches the back and both sides with no gaps at the edges.
- Split the batt around wires and pipes rather than compressing it over them; peel it to half thickness, tuck one half behind the wire and lay the other in front.
- Cut neat notches around electrical boxes so the batt fits around them, not crushed over them.
- Do not compress insulation to fit a thicker batt into a thinner cavity; compression lowers the R-value.
- Face the vapor retarder (the paper or foil facing) toward the warm-in-winter side, which is the interior in most climates.
Wear a respirator or dust mask, safety glasses, gloves, and long sleeves throughout, since the fibers irritate skin and lungs.
Installing Blown-In Attic Insulation
For an attic floor, blown-in insulation gives the most even, gap-free coverage and is surprisingly doable. After air sealing, install baffles at the eaves to keep the insulation from blocking soffit vents and choking off attic ventilation. Set depth markers, simple rulers or cards stapled to the framing, at your target depth so you can gauge coverage as you go. Rent a blowing machine (many home centers lend one free with a bag purchase), have a helper feed bales into the hopper while you direct the hose, and blow the material evenly across the attic to the marked depth. Work from the far corners back toward the hatch so you do not trap yourself, and dam around the attic access with a barrier before you insulate over it.
Do Not Forget Ventilation and Moisture
Energy-efficient insulation only works long term if you protect against moisture. In a vented attic, keep soffit and ridge vents clear so air can move and carry away moisture; the eave baffles you installed do this job. Never bury or cover attic ventilation with insulation. In humid or cold climates, get the vapor retarder placement right, warm side in winter, so moisture does not condense inside the insulation and rot the framing. In crawlspaces and basements, address bulk water and consider a vapor barrier on the ground.
Seal Ducts and Verify Your Work
One last high-value step often lumped in with insulation is sealing HVAC ducts that run through unconditioned attics and crawlspaces. Leaky ducts waste conditioned air where you cannot use it. Seal joints with mastic or foil tape (never cloth “duct tape,” which fails), then wrap the ducts in insulation. When you finish the whole project, the payoff shows up as a more even temperature room to room, a furnace and air conditioner that cycle less, and a noticeably lower energy bill. Air seal first, insulate to your zone’s R-value, protect ventilation and manage moisture, and you will have installed energy-efficient insulation the way the pros do.
Prioritizing Projects for the Best Return
If you cannot do the whole house at once, sequence the work where each dollar buys the most savings. The attic almost always comes first, because heat rises and an under-insulated attic is usually the single biggest source of loss, and it is also the easiest space to access and air seal. After the attic, address air sealing and insulating the rim joists and any exposed foundation walls in the basement or crawlspace, which are cheap, high-impact targets that many homeowners overlook. Walls come next, but they are the hardest to improve in an existing home since the cavities are hidden behind finished surfaces; in a remodel with open walls, insulate then, and in a finished house consider dense-packed cellulose blown in through small holes by a pro. Floors over unconditioned garages and crawlspaces round out the list. Working in this order, attic, then basement and rim joists, then walls, then floors, delivers the most comfort and the biggest bill reduction for the least money and effort.
Knowing When to Call a Professional
Plenty of insulation work is well within reach of a capable homeowner, but some jobs are better left to a pro. Rolling batts into an accessible attic, air sealing top-plate penetrations, insulating rim joists, and even renting a machine to blow in attic insulation are all reasonable DIY projects for a weekend. Spray foam, on the other hand, is generally a professional job because it requires specialized equipment, protective gear, and precise mixing to cure and perform correctly, and a botched application is expensive to fix. Dense-packing existing closed walls, dealing with knob-and-tube wiring found in older attics, remediating moisture or mold problems, and any work in a tight, poorly ventilated crawlspace are also good reasons to bring in a contractor. Many utilities and state programs offer rebates or free energy audits that identify your home’s worst losses and sometimes subsidize the work, so it is worth checking what incentives are available before you start. A professional energy audit, often using a blower-door test to measure air leakage and infrared imaging to reveal missing insulation, takes the guesswork out of where to focus. Whether you do it yourself or hire out, the winning formula never changes: seal the air leaks first, insulate to the recommended R-value for your climate zone, and protect the assembly from moisture, and your home will be more comfortable and cheaper to run for as long as you own it.