
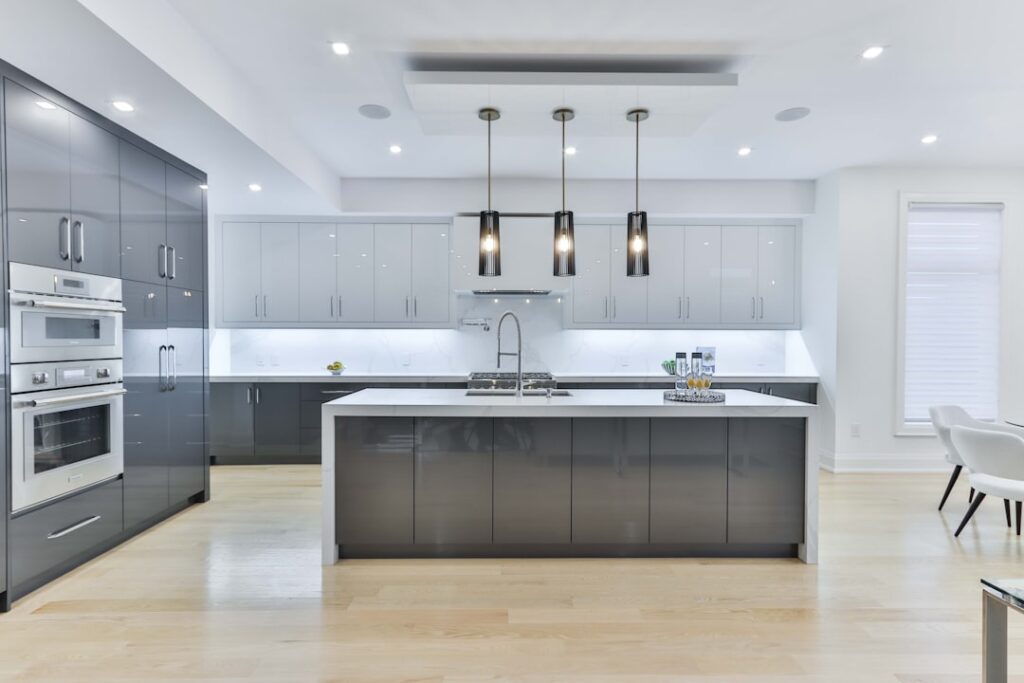
Task lighting on the counter is the difference between chopping in a dim shadow and seeing exactly what you are doing, and smart control turns that same fixture into ambient scene lighting after dinner. Hue under cabinet lighting brings the full Philips Hue ecosystem, 16 million colors, tunable white, scheduling, and voice control, to the underside of your upper cabinets. There is no single dedicated Hue under-cabinet product, so the real question is which Hue components to use and how to run them cleanly. This guide covers the options, setup with the Bridge, installation, and cost.
Part of our Kitchen Remodeling guide — explore the full guide →
Which Hue Products Fit Under Cabinets
Hue does not sell a purpose-built under-cabinet bar, so you adapt what it does offer. The two main paths are the Hue Lightstrip Plus, a flexible adhesive-backed strip you run along the underside of the cabinet, and Hue smart bulbs in low-profile puck or fixture housings wired to a Hue-compatible source.
The Lightstrip is by far the most popular choice because it hides in the recess under the cabinet, throws even light across the whole counter, and bends around corners. Most kitchens use one continuous strip run cut to length.
The Lightstrip Plus Approach
The Hue Lightstrip Plus comes as a base kit with a controller and power supply, plus extensions to reach the length you need. A base kit covers about 6.5 feet, and extensions add roughly 3.3 feet each up to a maximum total length. Measure the full run under your cabinets, then buy the base plus enough extensions.
The strip is cut only at marked points, so plan your layout around those cut lines. You can bend it around inside corners, but sharp folds crack the strip, so use the corner without over-flexing or add a connector to turn a tight corner.
The Bridge Makes It Worthwhile
As with all Hue, the Bridge unlocks the good stuff. Without it, you control the strip over Bluetooth within phone range only. With the Hue Bridge, you get scheduling, sync with the rest of your Hue lights, voice control through Alexa, Google, or Apple Home, and triggers like turning the counter light on at sunset.
For a kitchen, the scheduling alone earns the Bridge, letting the under-cabinet lights come on softly in the morning and switch to bright task white when you start cooking. Plug the Bridge into your router and it manages everything.
Planning the Layout
Good under-cabinet light is even and shadow-free, which means positioning the strip toward the front edge of the cabinet underside, not the back. Mounting it near the front pushes light onto the whole counter and reduces the harsh shadow line a rear-mounted strip casts.
Add a small aluminum channel with a diffuser over the strip if you want to hide the individual LED dots and soften the light. Channels also protect the strip from grease and heat and give a much more finished, built-in appearance for around $10 to $20 per section.
Installation Steps
- Clean the underside of the cabinets with alcohol so the adhesive bonds well
- Measure and plan the run, marking cut points and corner locations
- Cut the strip only at the marked lines and connect extensions as needed
- Peel and press the strip along the front underside, or seat it in an aluminum channel
- Route the low-voltage lead and power supply to a nearby outlet, hiding the cord along the cabinet back
- Pair the strip with the Hue app and add it to a room and the Bridge
Hide the power supply inside an upper cabinet or behind the backsplash return, and drill a small discreet hole if needed to pass the low-voltage cable. Planning the cord path before you stick anything down keeps the install looking clean.
Powering Multiple Runs
If your kitchen has cabinets on two separate walls with a gap, such as a range or window between them, you cannot always run one continuous strip. In that case use two strips, each on its own controller, and group them in the app so they act as one light. Each strip needs its own power supply near an outlet.
Watch the maximum length per controller. Exceeding it dims the far end, so split long kitchens into two zones rather than pushing a single strip past its limit.
Cost Breakdown
- Hue Bridge: about $60
- Lightstrip Plus base kit: $80 to $100
- Each Lightstrip extension: $25 to $35
- Aluminum channel with diffuser: $10 to $20 per section
- Second strip and supply for a split kitchen: add $100 to $140
A typical single-wall kitchen lands around $200 to $300 including the Bridge, channel, and enough strip. That is a premium over dumb LED tape, but you gain color, dimming, scheduling, and integration with the rest of a smart home.
Getting the Best Results
Set a bright 4000K white scene for task work and a warm, dimmed scene for evening ambiance, then let a schedule switch between them automatically. Use a diffuser channel for the cleanest look, keep the strip toward the cabinet front, and match the color temperature to your other kitchen lighting so the room reads as one cohesive space rather than a patchwork of tones.
Syncing With the Rest of the Kitchen
The real advantage of choosing Hue over generic LED tape shows up when the under-cabinet lights join your other smart lighting. Group the strip with recessed cans, pendants, and any accent lighting into a single kitchen room in the app, then build whole-room scenes that adjust everything at once. A morning scene can wake the counters gently while the ceiling stays dim, and a dinner-party scene can drop the overheads and push warm color under the cabinets for atmosphere. Voice control ties it together, letting you set the whole kitchen with a single command. That coordination, not just the color, is what makes the smart-lighting premium worthwhile in a room you use every day.


