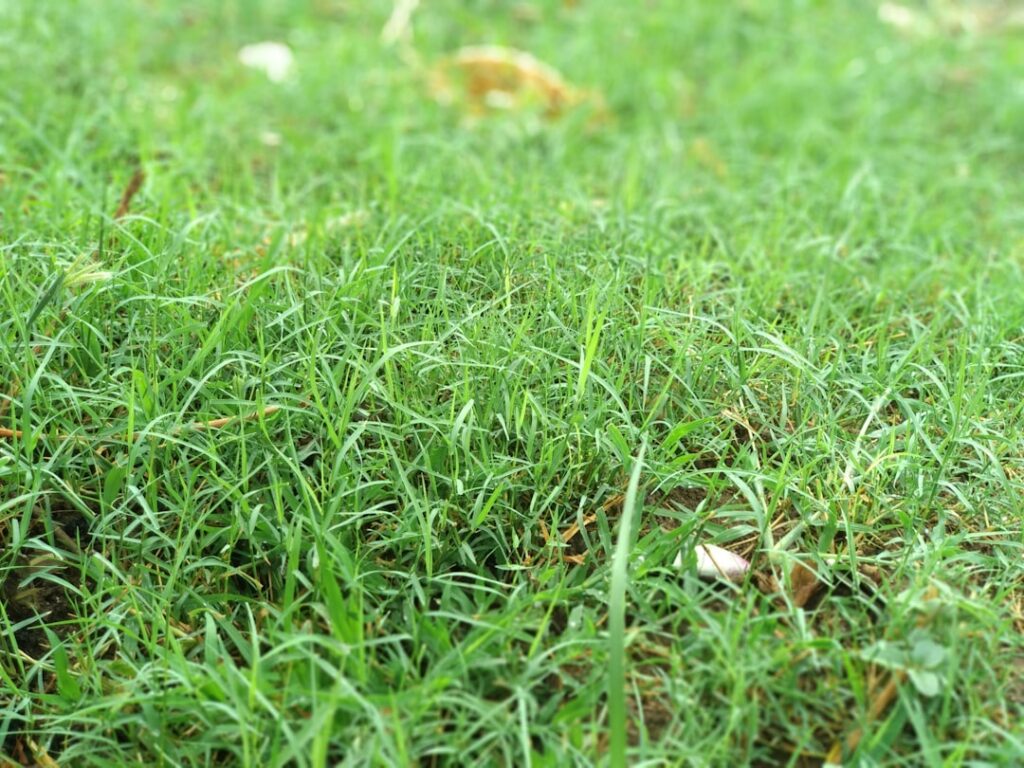
Hydroseeding is a planting method that sprays a slurry of grass seed, water, fertilizer, and mulch onto prepared soil using a specialized hose or cannon. It is faster than hand seeding, cheaper than sod, and produces a thick, uniform lawn in 3–4 weeks. Whether you are establishing a new lawn, repairing bare patches, or stabilizing a slope, this 2026 guide covers everything you need to make an informed decision about hydroseeding.
What Is Hydroseeding?
Hydroseeding (also called hydraulic mulch seeding or hydro-mulching) is a commercial lawn planting technique developed in the 1950s. It involves mixing grass seed, wood fiber mulch, fertilizer, a tackifier (binding agent), and water in a large tank mounted on a truck or trailer. The resulting slurry is then sprayed onto prepared soil through a high-pressure hose.
The mulch in the slurry serves multiple purposes: it protects seeds from birds and wind, retains moisture to promote germination, and provides a layer of organic matter that breaks down into the soil. The tackifier — typically a natural guar gum compound — glues the slurry to the ground, making hydroseeding particularly effective on slopes where traditional seeding would wash away.
Hydroseeding is used for residential lawns, commercial properties, highway embankments, golf courses, sports fields, and erosion control projects. It can cover 3,000–5,000 square feet per hour, making it dramatically faster than hand broadcasting or slit seeding.
How Hydroseeding Works
The hydroseeding process relies on the synergy between its four key components:
- Seed: The slurry contains 4–8 pounds of grass seed per 1,000 square feet, depending on the grass variety. Common choices include Kentucky bluegrass, perennial ryegrass, tall fescue, and Bermuda grass.
- Mulch: Wood fiber or cellulose mulch is mixed at 40–60 pounds per 1,000 square feet. It forms a moisture-retaining blanket over the seeds.
- Fertilizer: A starter fertilizer high in phosphorus (e.g., 18-24-12) promotes root development. Applied at 3–5 pounds per 1,000 square feet.
- Tackifier: A natural or synthetic binding agent that adheres the slurry to the soil surface. Critical for slopes steeper than 3:1.
These components are mixed with 500–1,000 gallons of water per acre in a mechanical agitation tank. The slurry is pumped through a hose at 60–120 PSI and sprayed onto the target area, where it forms a green-tinted mat (the dye is cosmetic, helping the applicator see coverage).
Hydroseeding Cost Breakdown
Hydroseeding sits between hand seeding and sod in terms of cost. Here is what to expect in 2026:
| Lawn Size | Hydroseeding Cost | Cost Per Sq Ft | Sod Cost (Comparison) |
|---|---|---|---|
| 1,000 sq ft | $150–$300 | $0.15–$0.30 | $800–$1,600 |
| 3,000 sq ft | $300–$600 | $0.10–$0.20 | $2,400–$4,800 |
| 5,000 sq ft | $400–$900 | $0.08–$0.18 | $4,000–$8,000 |
| 10,000 sq ft | $600–$1,500 | $0.06–$0.15 | $8,000–$16,000 |
| 1 acre (43,560 sq ft) | $2,500–$5,500 | $0.06–$0.13 | $30,000–$55,000 |
What affects cost:
- Lot size: Larger properties get lower per-square-foot rates due to economies of scale.
- Seed mix: Premium seed blends (e.g., 100% Kentucky bluegrass) cost more than basic mixes.
- Site preparation: Grading, tilling, and soil amendments are usually billed separately at $0.50–$2.00 per square foot.
- Slope/terrain: Steep slopes require additional tackifier and labor, adding 15–30% to the base cost.
- Geographic location: Prices vary by region. The Southeast and Midwest tend to be cheapest; the Northeast and West Coast are priciest.
Hydroseeding vs. Sod vs. Hand Seeding
| Factor | Hydroseeding | Sod | Hand Seeding |
|---|---|---|---|
| Cost per sq ft | $0.06–$0.20 | $0.80–$1.60 | $0.02–$0.08 |
| Time to full lawn | 3–4 weeks (germination) + 8–12 weeks (establishment) | Instant appearance; 2–3 weeks to root | 4–6 weeks (germination) + 10–16 weeks (establishment) |
| Seed variety options | Unlimited (custom mix) | Limited to available sod farms | Unlimited |
| Slope suitability | Excellent (tackifier holds seed) | Good (but heavy; may slide) | Poor (seed washes away) |
| DIY feasibility | Moderate (requires equipment) | High (labor-intensive but simple) | High (simple but slow) |
| Uniformity | Very good | Excellent | Moderate (uneven coverage risk) |
| Erosion control | Excellent | Good | Poor |
When to choose hydroseeding: You have a large area (3,000+ sq ft), slopes, or a budget that does not allow for sod. Hydroseeding delivers 80% of sod’s results at 10–20% of the cost.
When to choose sod: You need an instant lawn, have a small area, or have an event coming up within 2–3 weeks. Also learn about when to plant grass seed if timing is a consideration.
Best Time to Hydroseed
Timing is critical for hydroseeding success. The ideal window depends on your grass type and climate zone:
| Grass Type | Best Season | Ideal Soil Temperature | Climate Zones |
|---|---|---|---|
| Cool-season (fescue, bluegrass, ryegrass) | Early fall (Sept–Oct) | 50–65°F | Zones 3–7 |
| Cool-season (secondary window) | Early spring (Mar–Apr) | 50–65°F | Zones 3–7 |
| Warm-season (Bermuda, zoysia, St. Augustine) | Late spring–early summer (May–Jun) | 65–80°F | Zones 7–11 |
Early fall is the gold standard for cool-season grasses. The soil is still warm from summer (promoting germination), air temperatures are cooling (reducing water evaporation), and weed competition is declining. Spring hydroseeding works but faces more weed pressure and the approaching summer heat stress.
Pros & Cons of Hydroseeding
| Pros | Cons |
|---|---|
| 75–80% cheaper than sod | Takes 3–4 weeks for visible growth |
| Faster germination than hand seeding | Requires consistent watering for 4–6 weeks |
| Excellent erosion control on slopes | Cannot walk on the lawn for 4–6 weeks |
| Custom seed mix for your specific conditions | Vulnerable to washout in heavy rain before germination |
| Covers large areas quickly (3,000–5,000 sq ft/hour) | Professional application recommended (equipment is specialized) |
| Even, uniform coverage | Requires soil preparation (grading, tilling) beforehand |
The Hydroseeding Process (7 Steps)
- Soil testing. Get a soil test from your local extension office ($15–$30). This determines pH, nutrient levels, and any amendments needed. Optimal pH for most grasses is 6.0–7.0.
- Site preparation. Remove existing vegetation, rocks, and debris. Grade the surface to direct water away from structures. Till the top 4–6 inches of soil to loosen compaction.
- Soil amendments. Based on your soil test, incorporate lime (to raise pH), sulfur (to lower pH), compost (to improve organic matter), or starter fertilizer. Spread amendments and rake into the top 2–3 inches.
- Final grading. Rake the surface smooth, eliminating low spots that could pool water. The final grade should slope away from your home at a minimum of 1% (1/8 inch per foot).
- Hydroseeding application. The contractor mixes the slurry in a tank truck and sprays it across the prepared soil. Application takes 30–90 minutes for an average residential lot (5,000–10,000 sq ft).
- Initial watering. Begin watering within 24 hours if rain is not expected. Keep the hydroseed mat consistently moist (not soaked) for the first 2–3 weeks.
- Ongoing care. Transition to deeper, less frequent watering once grass is 2 inches tall. First mowing at 3–4 inches of height, typically 4–6 weeks after application.
Hydroseeding Aftercare Guide
The 6 weeks after hydroseeding are the most critical. Follow this timeline for best results:
- Days 1–14: Water 2–3 times daily for 10–15 minutes per zone. Keep the hydroseed mat visibly damp at all times. Never let it dry out completely or crust over.
- Days 15–21: Reduce watering to 1–2 times daily. Grass should be visibly sprouting. Green growth through the mulch mat is normal and expected.
- Days 22–35: Water once daily for 20–30 minutes. Grass should be 1–3 inches tall. Stay off the lawn to avoid compacting the developing root zone.
- Days 36–60: Transition to every-other-day watering for 30–45 minutes. The root system is establishing depth. First mowing when grass reaches 3–4 inches (mow to 2.5–3 inches).
- Days 61–90: Water 2–3 times per week at 1 inch per session. Apply a second round of fertilizer (balanced 10-10-10 or similar) at 4–5 pounds per 1,000 square feet.
Common aftercare mistakes: Overwatering (creates fungal issues), underwatering (seeds die before rooting), mowing too early (damages immature plants), and heavy foot traffic before 6 weeks (compacts soil and kills seedlings).
Can You DIY Hydroseeding?
DIY hydroseeding is possible but has significant limitations. Here are your options:
- Rent a hydroseeder: Small, trailer-mounted hydroseeders are available at some equipment rental companies for $200–$400 per day. They handle lots up to 10,000 square feet.
- Use a DIY hydroseed kit: Products like Hydro Mousse and other spray-on seed systems cost $20–$50 and attach to a garden hose. They work for small patches (100–500 sq ft) but lack the mulch density and tackifier strength of professional equipment.
- Mix your own slurry: Combine grass seed, paper mulch (shredded newspaper works), liquid fertilizer, and a small amount of dish soap (as a surfactant) in a large trash can. Apply with a watering can or pump sprayer. This is the most budget-friendly option but produces uneven results.
For areas over 1,000 square feet, professional hydroseeding is strongly recommended. The equipment, materials, and expertise typically produce results that justify the $0.06–$0.20 per square foot cost. If you are also dealing with obstacles on your property, see our guide on tree stump removal for preparing the site.
Frequently Asked Questions
How long does hydroseeding take to grow?
Grass seeds in a hydroseed application typically germinate in 5–10 days for ryegrass, 10–14 days for fescue, and 14–21 days for Kentucky bluegrass. A full, mowable lawn is usually established within 4–6 weeks. Complete maturity (thick, dense turf) takes 3–6 months.
Is hydroseeding worth the cost?
For areas over 3,000 square feet, hydroseeding is almost always worth it. It costs 75–80% less than sod while producing comparable results within 2–3 months. The main trade-off is patience — you will wait 4–6 weeks for usable grass versus sod’s instant lawn.
Can you hydroseed over an existing lawn?
Yes, but results are best when the existing lawn is thinned first. Mow the existing grass as short as possible, dethatch with a power rake, and aerate before overseeding with a hydroseed application. The slurry needs soil contact for seeds to germinate successfully.
What happens if it rains after hydroseeding?
Light rain is beneficial and reduces your watering burden. However, heavy rain within the first 48 hours can wash away the slurry before the tackifier fully sets. If a major storm is forecast, delay your hydroseeding appointment. After 48–72 hours, the mulch mat is typically stable enough to withstand moderate rainfall.
Does hydroseeding work on hills and slopes?
Yes — hydroseeding is the best seeding method for slopes. The tackifier in the slurry bonds the seed and mulch to the soil surface, preventing washout that would occur with broadcast seeding. For slopes steeper than 2:1, contractors often apply a heavier mulch rate and additional tackifier for extra stability.
Can you hydroseed in summer?
Summer hydroseeding is possible for warm-season grasses (Bermuda, zoysia) but risky for cool-season grasses (fescue, bluegrass) due to heat stress. If you must hydroseed cool-season grass in summer, water 3–4 times daily and expect higher seed mortality. Fall remains the optimal season for most regions.
Last updated: March 2026