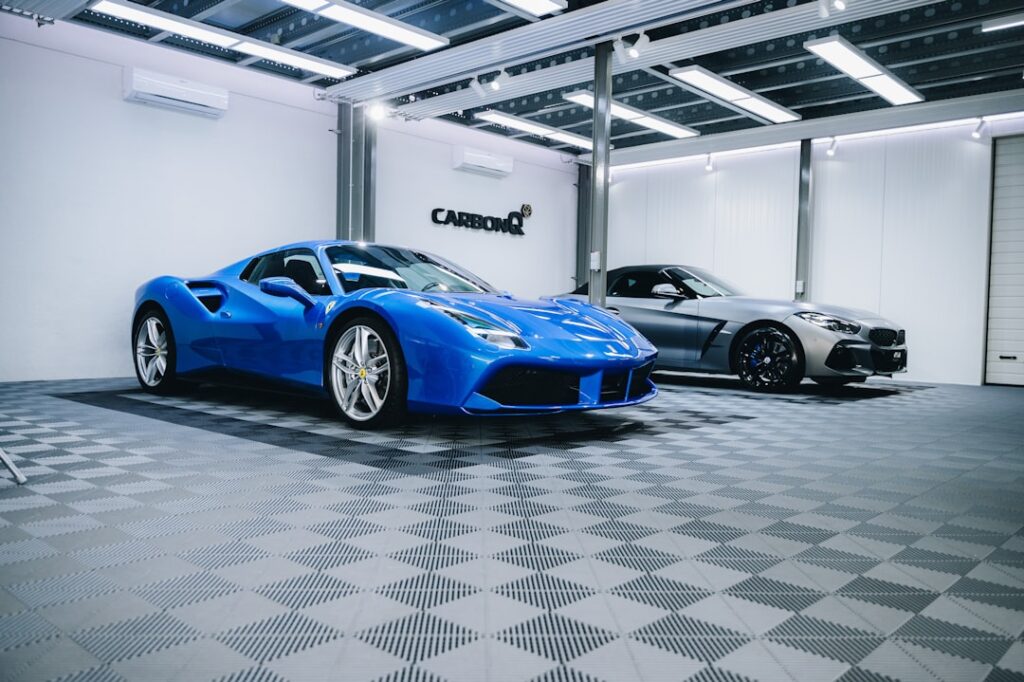
An industrial epoxy floor coating is engineered to survive punishment that would destroy an ordinary floor: forklift traffic, dropped tools, harsh chemicals, oil, and constant abrasion. While it earns its name in warehouses and manufacturing plants, the same heavy-duty formulas are increasingly popular in home garages, workshops, and hobby spaces where owners want a floor that simply will not quit.
Understanding what separates an industrial-grade system from a basic hardware-store kit helps you choose the right product and get a finish that lasts decades. This guide covers the coating types, surface prep, installation, and cost so you know what you are paying for.
- What Makes a Coating Industrial-Grade
- Types of Industrial Epoxy Systems
- Surface Preparation Is Everything
- The Installation Process
- Understanding Coating Thickness
- Safety and Traction Additives
- Performance Benefits
- Cost of an Industrial Epoxy Floor
- Where Industrial Epoxy Is Used
- How Long the Curing Process Takes
- DIY Versus Professional Installation
- Is It Worth It for Your Space?
What Makes a Coating Industrial-Grade
The key difference is the amount of actual epoxy solids in the mix. A basic DIY kit is often water-based and thin, leaving a film only a few mils thick. An industrial epoxy floor coating uses high-solids or 100-percent-solids epoxy that builds a thick, dense film, sometimes 20 to 40 mils or more, dramatically improving durability, chemical resistance, and impact strength.
These systems are typically applied in multiple coats, often with a primer, a base coat, and one or more topcoats, creating a bonded, seamless surface that handles heavy loads and aggressive cleaning without breaking down.
Types of Industrial Epoxy Systems
- Self-leveling epoxy — flows out to a smooth, seamless surface ideal for high-traffic floors that need a flat finish.
- Epoxy mortar — the toughest option, mixing epoxy with graded aggregate for extreme impact and abrasion resistance.
- Anti-slip epoxy — includes aggregate broadcast into the surface for traction in wet or oily areas.
- Chemical-resistant epoxy (novolac) — formulated to withstand acids, solvents, and aggressive chemicals.
- Electrostatic dissipative (ESD) epoxy — controls static in electronics and sensitive environments.
Surface Preparation Is Everything
No industrial coating succeeds on a poorly prepared slab. Because these systems are so durable, any bond failure shows up as delamination that is costly to fix. Professional prep is aggressive and thorough:
- Mechanically profile the concrete by diamond grinding or shot blasting to open the pores.
- Repair cracks, spalls, and joints with an epoxy filler.
- Test for moisture, since vapor pushing up from below defeats even the best coating.
- Remove all oil, grease, and existing coatings completely.
- Vacuum and clean until the surface is dust-free before priming.
Shot blasting is the industry standard for large floors because it creates an ideal texture for the epoxy to grip.
The Installation Process
Installing a high-build system is a careful, time-sensitive job. Each coat has a working window and a recoat window that must be respected:
- Apply a penetrating primer to seal the concrete and boost adhesion.
- Mix the base and hardener precisely; incorrect ratios ruin the cure.
- Trowel or squeegee the base coat to the specified thickness, back-rolling for evenness.
- Broadcast aggregate or flakes into the wet coat if traction or decoration is wanted.
- Apply the topcoat once the base cures, sealing everything into a tough, unified surface.
Temperature and humidity must stay within the product’s range throughout, and full chemical cure can take several days before the floor handles heavy loads.
Understanding Coating Thickness
Thickness, measured in mils (thousandths of an inch), is one of the clearest ways to gauge how heavy-duty a coating really is, and it explains much of the price difference between systems. A thin water-based garage kit might leave only 2 to 4 mils of film, adequate for light use but quick to wear. High-solids industrial systems build 10 to 40 mils or more, and epoxy-mortar floors can be thicker still.
The thicker the film, the more impact, abrasion, and chemical exposure it absorbs before reaching the concrete. For a floor that faces forklifts, dropped tools, or aggressive cleaning, that extra thickness is exactly what buys the long lifespan, which is why industrial specifications call for it rather than relying on a thin decorative coat.
Safety and Traction Additives
A smooth industrial floor can become dangerously slick when wet or oily, so traction is a key design choice rather than an afterthought. Anti-slip aggregate, such as fine silica or aluminum oxide, is broadcast into the topcoat to create a textured surface that keeps footing secure in wet zones, near equipment, or on ramps. The amount and grade of aggregate can be tuned to balance grip against ease of cleaning. In food-service and wet-process areas especially, specifying the right slip resistance protects workers and helps the floor meet safety expectations without giving up the seamless, washable qualities that make epoxy attractive.
Performance Benefits
The payoff for the effort is a floor with genuinely industrial toughness:
- Impact resistance — shrugs off dropped tools and equipment.
- Chemical resistance — protects against oil, solvents, and cleaners.
- Abrasion resistance — withstands rolling loads and constant foot traffic.
- Seamless and hygienic — no grout lines or seams where dirt and bacteria hide.
- Easy cleaning — a non-porous surface wipes and pressure-washes clean.
Cost of an Industrial Epoxy Floor
Because of the materials and labor involved, an industrial epoxy floor coating costs more than a basic garage kit. Professionally installed systems typically run $4 to $12 per square foot, with heavy epoxy-mortar or chemical-resistant novolac floors reaching $12 to $20 or more per square foot. DIY high-solids kits for a home garage cost less but demand serious prep and careful application.
When you weigh the price against a lifespan that can exceed 15 to 20 years with minimal maintenance, the cost per year is low, especially compared with repeatedly refinishing bare concrete.
Where Industrial Epoxy Is Used
Although the name suggests factories, the same heavy-duty coatings appear in a wide range of settings, and understanding them helps you gauge whether your project truly needs industrial strength:
- Warehouses and distribution centers — where forklifts and pallet jacks run constantly.
- Auto shops and home garages — resisting oil, brake fluid, and hot tire pickup.
- Commercial kitchens and food plants — seamless, sanitary, and easy to wash down.
- Manufacturing floors — standing up to dropped parts and rolling machinery.
- Serious hobby workshops — a home craftsman who wants a floor that never stains or chips.
Matching the coating to the real demands of the space avoids both under-building a floor that will fail and over-spending on strength you do not need.
How Long the Curing Process Takes
An important expectation to set is cure time, since these thick systems do not go back into service immediately. After the final coat, the floor is typically dry to the touch within hours but should not bear foot traffic for about 24 hours. Light use often waits two to three days, and full chemical cure, when the floor reaches its maximum hardness and chemical resistance, can take five to seven days. Rushing traffic onto a green coating can mar the surface or weaken the bond, so plan the downtime into your project.
DIY Versus Professional Installation
A capable homeowner can install a high-solids kit on a garage-sized floor, but industrial-scale or high-performance systems usually call for a pro. The reasons come down to equipment and timing. Shot blasting a large slab, mixing precise batches within a short pot life, and applying a thick coat evenly across a big area all take experience and specialized tools. A professional crew also carries the warranty and knows how to diagnose moisture and adhesion issues before they cause failure. For a small workshop, DIY can save money; for a large or mission-critical floor, professional installation protects the investment.
Is It Worth It for Your Space?
An industrial-grade coating is the right choice when your floor faces heavy traffic, chemical exposure, or hard use, such as a serious workshop, a garage where you turn wrenches, or any space that must stay clean and tough. For a lightly used area, a mid-grade system may be plenty, and spending on a full epoxy-mortar floor would be overkill.
Invest in proper surface prep, choose the system that matches your demands, and consider hiring a professional for large or high-performance floors. The result is a seamless, chemical-proof, impact-resistant surface that keeps looking good and performing hard for decades, easily outlasting cheaper coatings and paying for itself in avoided repairs and refinishing.