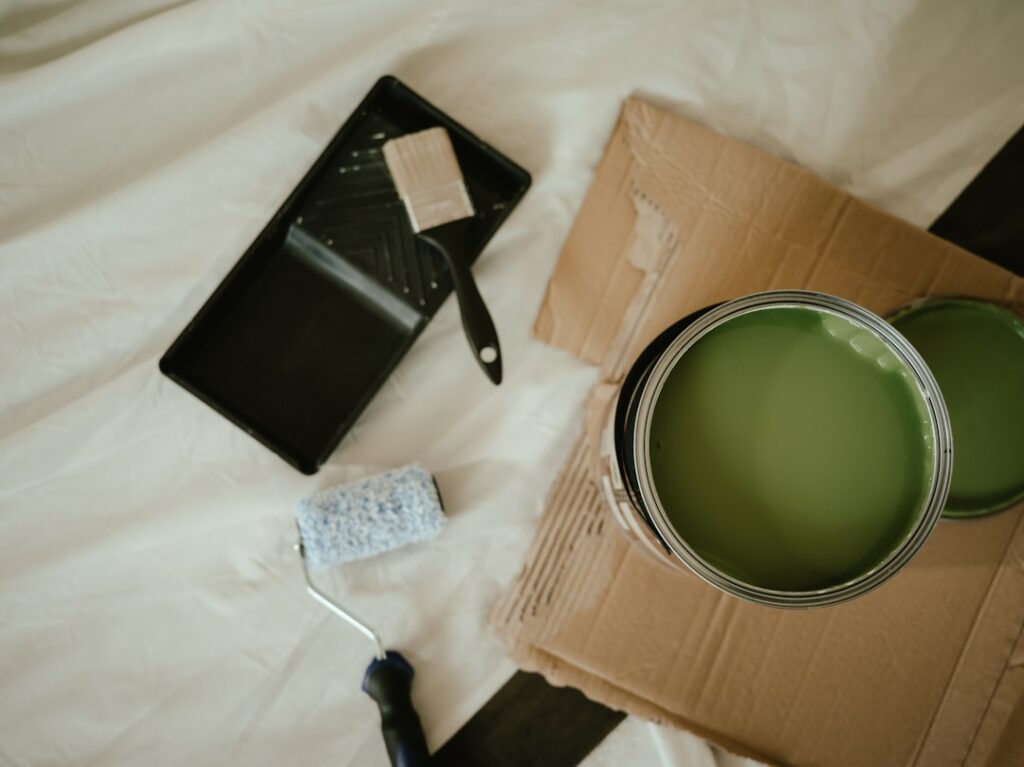
Walk down any paint aisle and roughly nine out of ten cans on the shelf are some form of the same product. Interior acrylic latex paint has quietly become the default for walls, ceilings, and trim in American homes, and for good reason: it goes on easily, cleans up with water, and holds its color for years. Yet most homeowners buy it without understanding what “acrylic latex” actually means or how to pick the right sheen for each room. Get those two things right and you will paint less often, scrub more confidently, and end up with a finish that looks professionally done.
The name itself causes confusion. Despite the word “latex,” there is no rubber in the can. The term is a holdover from early water-based paints. Today it simply means a water-based paint that uses acrylic or vinyl-acrylic resins as the binder. The higher the acrylic content, the tougher and more flexible the dried film, which is why premium lines advertise “100% acrylic” while budget lines lean on cheaper vinyl blends.
What Makes Acrylic Latex Different
Every can of paint is really three things working together: pigment for color, binder to hold that pigment to the wall, and a carrier that evaporates. In acrylic latex, water is the carrier and acrylic polymer is the binder. As the water leaves, the acrylic particles fuse into a continuous, slightly flexible skin. That flexibility is the key advantage over old oil-based paints, which cure hard and brittle and crack as a house expands and contracts through the seasons.
Compared to oil, water-based acrylic dries faster, yellows far less over time, and releases dramatically fewer fumes. You can recoat most acrylic latex in two to four hours versus overnight for oil. Cleanup is soap and water instead of mineral spirits. The one area where oil still occasionally wins is ultra-smooth self-leveling on trim, but modern acrylic enamels have closed most of that gap.
Choosing the Right Sheen
Sheen is the single decision that most affects how a room looks and how well the paint holds up. The same color in flat and semi-gloss reads almost like two different colors under light. As a rule, the higher the sheen, the more durable and scrubbable the surface, but also the more it highlights every bump and roller mark on the wall.
- Flat/matte: hides imperfections best, ideal for ceilings and low-traffic adult bedrooms; hardest to clean
- Eggshell: the all-rounder for living rooms and hallways; slight softness, wipes down reasonably
- Satin: a step tougher, great for kids’ rooms, bathrooms, and busy family spaces
- Semi-gloss: the standard for trim, doors, and cabinets; wipes clean and resists moisture
- High-gloss: furniture-grade shine for accent doors and railings; shows every flaw
My default recommendation for most homes is eggshell on the walls and semi-gloss on the trim and doors. That combination gives you a soft, forgiving wall surface with crisp, wipeable woodwork that frames each room.
Coverage and How Much to Buy
A gallon of interior acrylic latex covers roughly 350 to 400 square feet in one coat on smooth, previously painted walls. Textured surfaces, fresh drywall, and dramatic color changes eat into that number. To estimate a room, add up the wall lengths, multiply by the ceiling height, and subtract about 20 square feet for each door and 15 for each average window.
Plan on two coats for almost every job, and add a coat of primer if you are covering bare drywall, a stark color change, or a stained patch. A tinted primer under a deep red or navy can save you an entire finish coat. For a standard 12-by-12 bedroom, budget two gallons of finish plus a gallon of primer if the surface is new.
Surface Prep That Actually Matters
Paint failures almost always trace back to prep, not the paint itself. Acrylic latex bonds beautifully to a clean, dull, dry surface and poorly to grease, gloss, or dust. Start by washing kitchen and bathroom walls with a degreaser, then rinse. Fill nail holes and dings with lightweight spackle, let it dry, and sand flush with 120-grit paper.
Anywhere you are painting over an existing glossy surface, scuff-sand it first so the new coat has something to grip. Wipe down the sanded area with a damp cloth to remove dust. If you skip this step on old semi-gloss trim, the fresh paint can peel off in sheets months later. Ten minutes of sanding is cheap insurance against a redo.
Application Tips for a Pro Finish
Temperature and technique separate a smooth wall from a streaky one. Acrylic latex flows and levels best between 60°F and 85°F with moderate humidity. Too cold and it won’t coalesce properly; too hot and it dries before you can blend the edges. Keep a wet edge by working in sections and always rolling back into the still-wet paint rather than into a dried band.
Use a 3/8-inch nap roller cover for smooth drywall and a 1/2-inch nap for light texture. Load the roller well, lay the paint on in a loose “W” pattern, then fill it in without pressing hard. For trim, a 2 to 2.5-inch angled sash brush with synthetic bristles gives the crispest lines; natural bristle brushes soak up water and go limp in latex.
Cleanup, Storage, and Longevity
One of the quiet joys of acrylic latex is cleanup. Rinse brushes and rollers under warm water until it runs clear, spin them dry, and reshape the bristles. Wipe your hands and drips before they cure, since dried acrylic is far harder to remove. Seal leftover paint tightly, tap the lid closed with a rubber mallet, and store the can upside down in a spot that never freezes.
Low-VOC and Zero-VOC Options
Volatile organic compounds, or VOCs, are the solvents that evaporate as paint dries and create that classic fresh-paint smell. They also contribute to indoor air pollution and can trigger headaches or irritation, especially in poorly ventilated rooms. Modern interior acrylic latex paint has made huge strides here, with many premium lines now offering low-VOC and even zero-VOC formulas that meet strict air-quality standards.
These low-emission paints are especially worth the small price premium in bedrooms, nurseries, and any space where people sleep or spend long hours. Keep in mind that adding deep tint to a zero-VOC base can reintroduce a small amount of VOCs through the colorant, though far less than older paints. Regardless of which formula you choose, ventilate while painting and for a day or two after by opening windows and running a fan, since even low-VOC paint benefits from good airflow during the cure.
Common Application Mistakes to Avoid
A few recurring errors turn an easy job into a frustrating one. The most common is overloading the roller, which drips, spatters, and leaves thick ridges that dry unevenly. Load enough to keep the cover saturated but not dripping, and roll off the excess on the tray’s ramp before touching the wall. Another frequent misstep is painting a second coat before the first has properly dried, which lifts and smears the coat below.
People also underestimate the value of quality tools. A cheap brush sheds bristles into your finish, and a bargain roller cover leaves lint embedded in the paint. Spending a few extra dollars on a good synthetic brush and a quality roller cover pays for itself in a smoother result and less rework. Finally, resist the urge to overwork the paint. Acrylic latex begins to set within minutes, so lay it on, spread it out, and leave it alone rather than repeatedly rolling back over a section that has started to tack up, which only creates drag marks and texture.
Stored properly, a partially used can stays good for two to five years, which makes it perfect for future touch-ups. Keep a labeled index card with the color name, sheen, and room so you never have to guess later. A quality interior acrylic latex paint, applied over clean and properly prepped surfaces, will hold its color and stand up to washing for a decade or more, which is exactly why it earned its spot as the standard can on every shelf.